Before starting your advanced realistic flame project, you need to define clear goals for flame behavior and appearance, gather high-quality reference materials, and prepare your scene with accurate lighting and environment settings. Choose suitable simulation tools like Unreal Engine or Houdini, and plan your workflow to reduce rework. Hardware verification is essential to guarantee performance, so optimize your system accordingly. Continue exploring this checklist to master every step for believable, immersive fire effects.
Key Takeaways
- Define specific flame behaviors, appearance, and safety standards early to guide detailed simulation planning.
- Gather comprehensive reference materials on flame dynamics, colors, and smoke for authenticity.
- Choose appropriate tools like Unreal Engine or Houdini that support advanced fluid and shader simulations.
- Assess hardware capabilities to ensure optimal performance for complex effects and reduce bottlenecks.
- Establish simulation steps and production workflows upfront to streamline development and minimize rework.
Unreal Engine fire simulation software
As an affiliate, we earn on qualifying purchases.
As an affiliate, we earn on qualifying purchases.
Assess Your Project Requirements and Goals
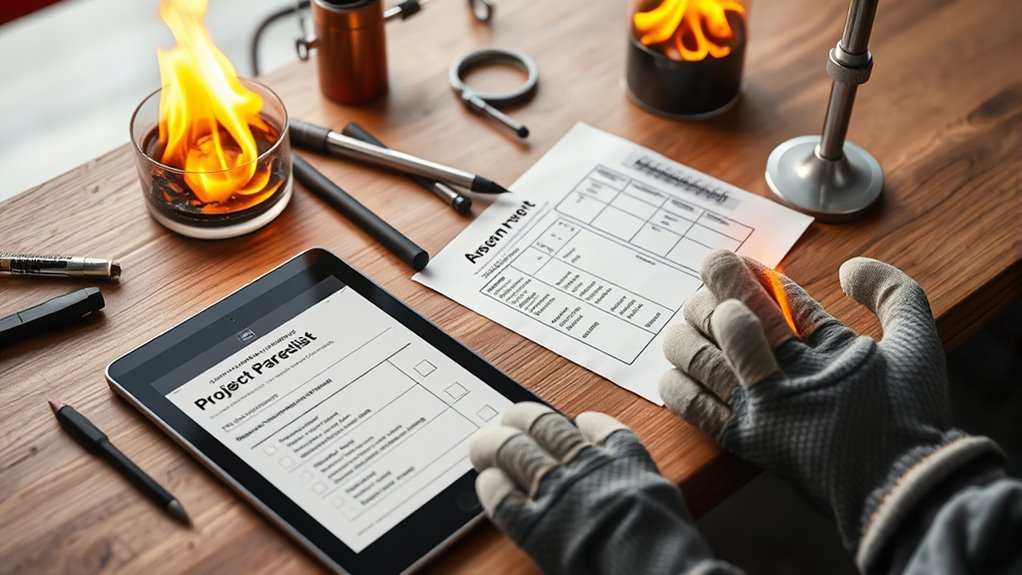
Before selecting the right flame technology, you need to clearly define your project requirements and goals. Understanding your specific needs helps guarantee ideal fire safety and effective combustion chemistry. Consider the scale of your project—are you working on a small prototype or a large industrial setup? Determine the desired flame appearance, temperature range, and control precision. Clarify whether safety standards demand certain fire safety features or certifications. Knowing these details guides you toward technologies that match your safety protocols and performance expectations. Additionally, evaluating the combustion chemistry involved in your project can help optimize efficiency and safety. By evaluating your project’s scope and objectives upfront, you streamline decision-making and avoid costly errors later. This focused approach ensures you choose a flame technology that balances safety, efficiency, and realism for your particular application.
Houdini fluid dynamics plugin
As an affiliate, we earn on qualifying purchases.
As an affiliate, we earn on qualifying purchases.
Gather High-Quality Reference Materials
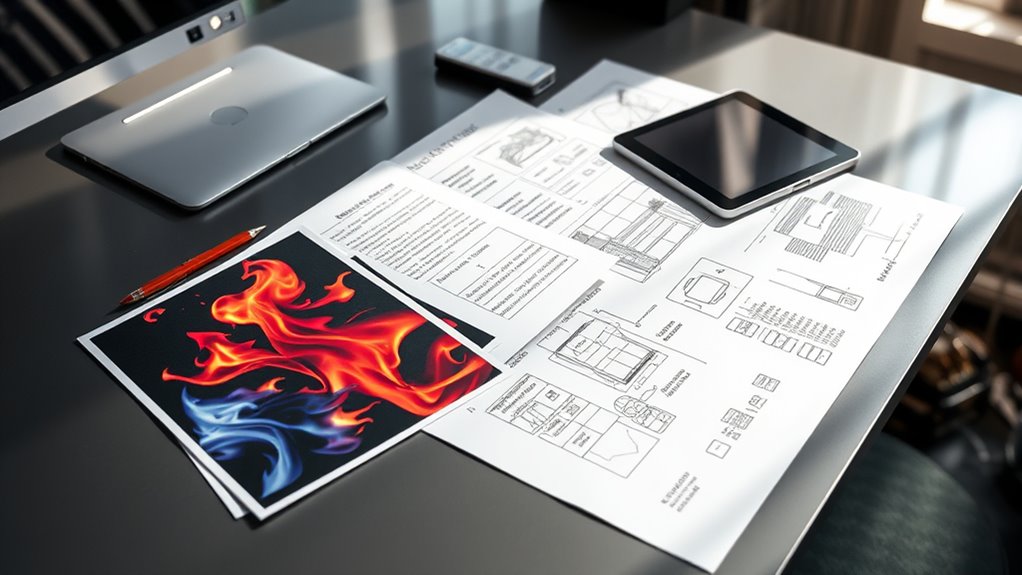
Gathering high-quality reference materials is essential to accurately replicate realistic flames in your project. These references help you understand flame behavior, color variations, and movement patterns. Use high-resolution images and videos to analyze texture mapping, capturing the intricate details of flickering flames and smoky effects. Pay close attention to color grading, noting how hues shift from bright oranges and yellows to darker reds and charred blacks. Studying real flames ensures your digital version feels authentic, avoiding unnatural or static appearances. Collect diverse references from different environments and lighting conditions to broaden your understanding. Additionally, examining dynamic lighting effects can provide insights into how flames interact with their surroundings, further enhancing realism. This foundational step guides your creative decisions and helps you implement more convincing effects, ultimately elevating the realism of your flame simulations.

Rocket Gibraltar
As an affiliate, we earn on qualifying purchases.
As an affiliate, we earn on qualifying purchases.
Prepare Your Scene and Environment Settings
Setting up your scene and environment correctly lays the groundwork for convincing flame effects. Start by adjusting your environment settings to match the scene’s mood—dim lighting can enhance the glow of flames, while appropriate background elements prevent distractions. Consider how color grading impacts the overall look; subtle shifts in hue and contrast can make flames feel more integrated and realistic. Incorporate sound design early, guaranteeing ambient sounds complement the flames and reinforce immersion. Proper scene setup also involves controlling reflections and shadows, which can dramatically influence realism. Additionally, understanding the importance of contrast ratio can help you optimize the visual depth and clarity of your scene, making the flames appear more vibrant and true to life. By fine-tuning these elements, you create a cohesive environment that enhances the flame effects’ believability. Preparing your scene meticulously ensures your flames will appear natural and compelling within the final composition.

Glooglitter Gold Smoke Transducer Disassembly Smoke Temperature Sensing Removal Tool Adjustable Assembly Device for Convenient Installation Direct Replacement (10ft)
Height Versatility: this Smoke transducer disassembly features an adjustable height, reaching up to 10 Ft; It eliminates the…
As an affiliate, we earn on qualifying purchases.
As an affiliate, we earn on qualifying purchases.
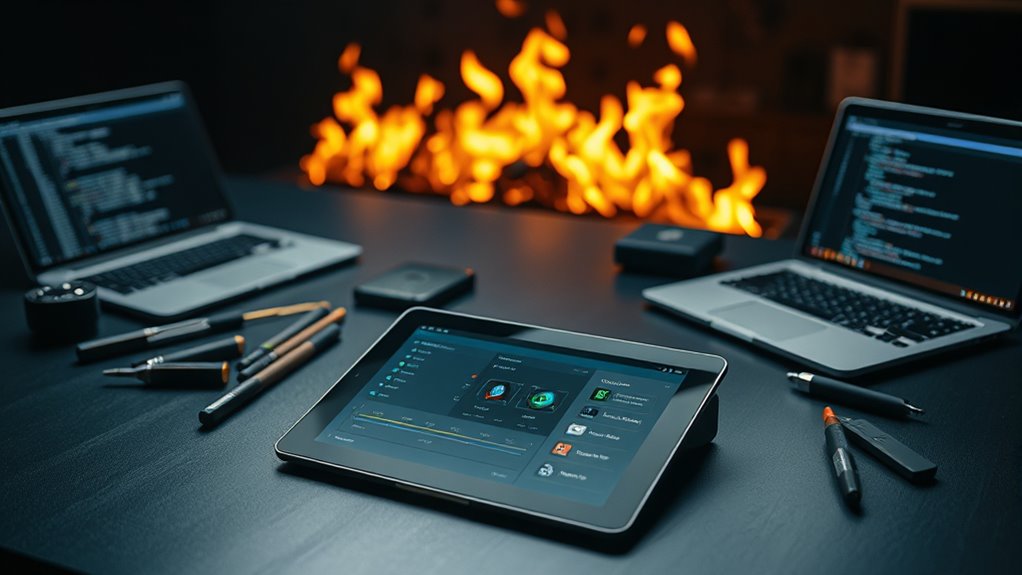
Choose Appropriate Flame Simulation Techniques and Tools

Choosing the right flame simulation techniques and tools is essential for achieving realistic and compelling fire effects. You should consider particle dynamics to accurately model how flames move, flicker, and interact with the environment. Particle-based methods give you control over fire behavior, making effects more believable. Additionally, shader programming plays a crucial role in defining the appearance of flames, such as color gradients, transparency, and heat distortion. Select tools that support these features, like fluid simulation software or advanced rendering engines, to streamline your workflow. Keep in mind that the best approach depends on your project’s scope and target platform. By combining effective particle dynamics with tailored shader programming, you’ll create fire effects that are both visually stunning and technically sound. Understanding regional legal resources can also help you access tutorials and community support to enhance your simulation techniques.
Optimize Lighting and Material Settings for Realism
To make your flames look more realistic, you need to adjust the light intensity so it matches the scene’s mood. Fine-tuning material properties like reflectivity and translucency also plays a vital role in achieving authenticity. Focus on these settings to enhance the overall believability of your flame effects. Additionally, understanding how proper lighting techniques influence the appearance of materials can significantly improve the realism of your renders.
Adjust Light Intensity
Have you ever wondered how subtle changes in light intensity can dramatically enhance the realism of flames? Adjusting your light intensity influences the scene’s mood and authenticity. Start by matching the color temperature to your flame source; warmer tones create a more natural glow, while cooler tones can add contrast. Be mindful of light diffusion—softening the light reduces harsh shadows and mimics real fire’s glow. Increase intensity for brighter, more energetic flames or dial it down for subtle flickers and embers. Small tweaks can make a big difference, so test different levels to find the perfect balance. Remember, realistic flames aren’t just about brightness but also about how light interacts with the environment, enhancing depth and believability. Additionally, understanding the individual responses to light adjustments helps in creating a more convincing and immersive scene.
Fine-tune Material Properties
Fine-tuning your material properties is essential for achieving realistic flames because the way surfaces interact with light dramatically affects their authenticity. To enhance shader accuracy and maintain material consistency, focus on these key adjustments:
- Adjust the reflectivity and roughness to mimic real-world surfaces.
- Use accurate color grading to match the flame’s glow and ambient lighting.
- Fine-tune the transparency and subsurface scattering for realistic light diffusion.
- Regularly compare your material settings against real-world references to guarantee consistency.
- Incorporate material properties adjustments specific to flame effects to better simulate dynamic lighting conditions.
Establish Rendering and Post-Processing Workflows
Establishing a solid rendering and post-processing workflow is essential for achieving realistic flame effects efficiently. Begin by setting up your rendering pipeline to handle high-quality outputs, ensuring your scenes are properly lit and materials are optimized. Incorporate color grading early in the process to enhance the flames’ vibrancy and mood, making them more convincing. Sound design also plays a critical role; syncing audio cues with visual flames adds depth and realism. Develop a consistent workflow that allows you to quickly iterate on renders, adjust color grading, and refine sound effects. Use batching and automation where possible to save time. Additionally, understanding material properties can help you simulate more authentic flames and improve overall visual fidelity. By establishing these steps upfront, you streamline your production, reduce rework, and produce more immersive, believable fiery effects.
Verify Hardware Capabilities and Performance Optimization

Before diving into detailed flame simulations, it’s crucial to verify that your hardware can handle the demanding calculations involved. Making sure your setup is optimized will improve simulation speed and prevent bottlenecks. Start by evaluating your graphics cards—are they powerful enough to process complex effects? Next, check your CPU and RAM, as they influence overall performance. Then, review your storage solution; fast SSDs can substantially reduce load times. Finally, optimize your system settings for simulation tasks by adjusting graphics settings and allocating resources effectively. This proactive verification helps you avoid slowdowns and ensures smooth, realistic flame rendering. Prioritize high-performance graphics cards and system tuning to maximize simulation speed and achieve the best results. Additionally, understanding how sound vibrations can influence cellular regeneration and overall health may inspire innovative approaches to visual effects and immersive experiences in your simulations.
Frequently Asked Questions
How Can I Estimate the Time Investment for Complex Flame Simulations?
To estimate the time investment for complex flame simulations, start by evaluating the complexity of your project. Consider factors like flame detail, simulation resolution, and the physics involved. Conduct a quick complexity assessment, then break down each stage—modeling, rendering, and post-production. This helps you gauge the time needed for each step, giving you a more accurate overall time estimate. Planning ahead saves you from surprises and keeps your project on track.
What Are Common Mistakes to Avoid During Initial Scene Setup?
Think of your scene setup like planting a garden; if you don’t balance the sunlight and shade, the plants struggle. Avoid common mistakes by carefully composing your scene, ensuring elements don’t clutter or overshadow each other. Pay close attention to lighting balance, as uneven lighting can ruin realism. Double-check your scene composition for clarity and flow, and always preview how the flames interact with the environment before moving forward.
How Do I Determine the Best Flame Simulation Method for My Project?
To determine the best flame simulation method, start by evaluating your scene complexity and understanding your project’s goals. Adjust flame simulation parameters to match the desired realism and performance needs. For simple scenes, use faster, less detailed methods, while complex scenes benefit from more advanced techniques. Always test different simulation methods, balancing visual fidelity with computational efficiency, ensuring your chosen approach aligns with your scene’s requirements.
What Safety Precautions Should I Consider When Working With High-Performance Hardware?
Think of safety as your shield in a battlefield—protect yourself first. Always wear fire-resistant gear to prevent burns and make sure you’re trained in electrical safety to avoid shocks. Keep your workspace clear of flammable materials, use proper grounding, and regularly inspect your hardware. Never bypass safety protocols; they’re designed to keep you safe while working with high-performance hardware, especially when dealing with intense flame simulations.
How Can I Troubleshoot Rendering Issues Specific to Flame Effects?
To troubleshoot rendering issues with flame effects, start by checking shader troubleshooting. Make certain your shaders are correctly configured and compatible with your software version. Next, review your render settings for optimization—adjust sampling rates, lighting, and resolution to improve performance. If flames appear unnatural or flicker, tweak the shader parameters or replace faulty textures. These steps help you identify issues efficiently, resulting in better render quality and faster turnaround.
Conclusion
As you bring your flames to life, remember that every spark begins with a solid foundation. With preparation and precision, you’re sculpting a fiery dance of realism that can ignite your audience’s imagination. Think of your project as a roaring fire—once you’ve laid the right logs and stoked the flames, the brilliance will naturally emerge. Trust your process, and let your creativity burn bright beyond the horizon of what’s possible.