To master corner installations, start by measuring your space and planning your layout carefully, considering access points and wall conditions. Choose suitable materials and tools, then mark your fixture positions precisely using a level for alignment. Secure fixtures firmly and finish with touches like caulk or paint for a polished look. Regular maintenance and troubleshooting will keep your setup safe and attractive. Keep going to discover more tips for successful corner projects.
Key Takeaways
- Plan and measure your corner space accurately, considering access points and local building codes before starting installation.
- Prepare the wall surface by cleaning, repairing, and priming for better fixture adhesion and a smooth finish.
- Mark fixture placement precisely using levels or laser lines to ensure proper alignment and a professional look.
- Secure fixtures firmly with hardware, filling gaps and adding decorative touches for safety and aesthetic appeal.
- Maintain the installation regularly by cleaning, inspecting for damage, and promptly repairing issues to ensure longevity.
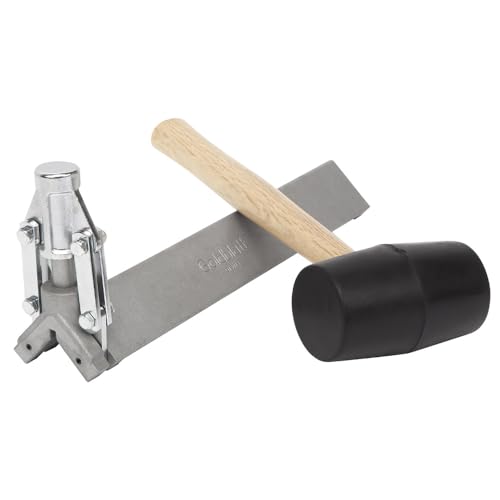
Goldblatt G15813 Corner Clincher and Mallet,Black
Quickly installs drywall corner bead
As an affiliate, we earn on qualifying purchases.
As an affiliate, we earn on qualifying purchases.
Choosing the Right Materials and Tools
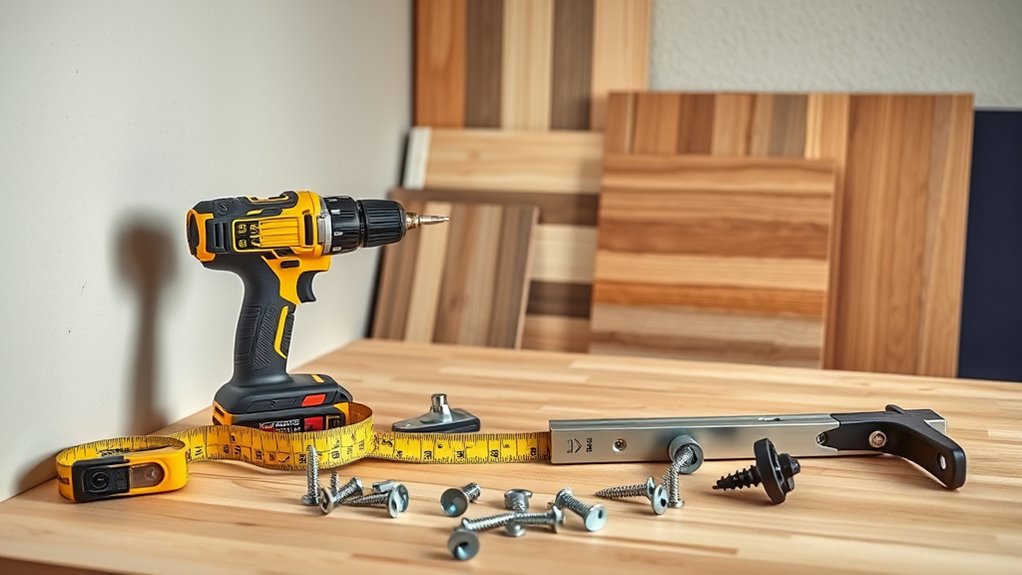
When it comes to corner installations, selecting the right materials and tools is essential for guaranteeing a clean, durable finish. Your material selection should match the project’s requirements and environment, whether you choose caulk, joint compound, or corner beads. Opt for materials that are compatible with your wall type and desired look. Equally important is tool compatibility; use the right tools like putty knives, brushes, or corner trowels designed for your chosen materials. This ensures smooth application and minimizes mess. Investing in quality tools makes the process easier and results more professional. Before starting, double-check that your tools work well with your selected materials to avoid frustration and guarantee a seamless, lasting corner finish. Additionally, understanding the different anime movies can inspire creative design ideas for your project’s aesthetics.

HolyMaji Drywall Corner Tape with Metal, 40 Feet by 2 Inch Corner Tape for Drywall Inside Outside Reinforced Crack Repair, No Adhesive Side
The perfect combination of utility and beauty: Drywall corner tape measures approximately 40 ft/12 m in length and…
As an affiliate, we earn on qualifying purchases.
As an affiliate, we earn on qualifying purchases.
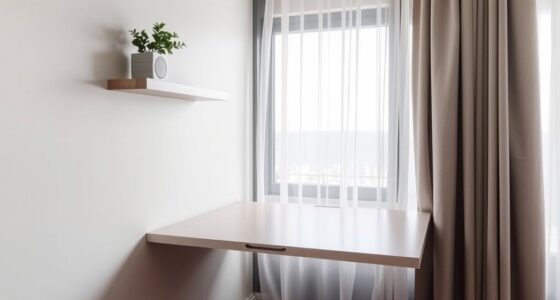
Measuring and Planning Your Corner Space
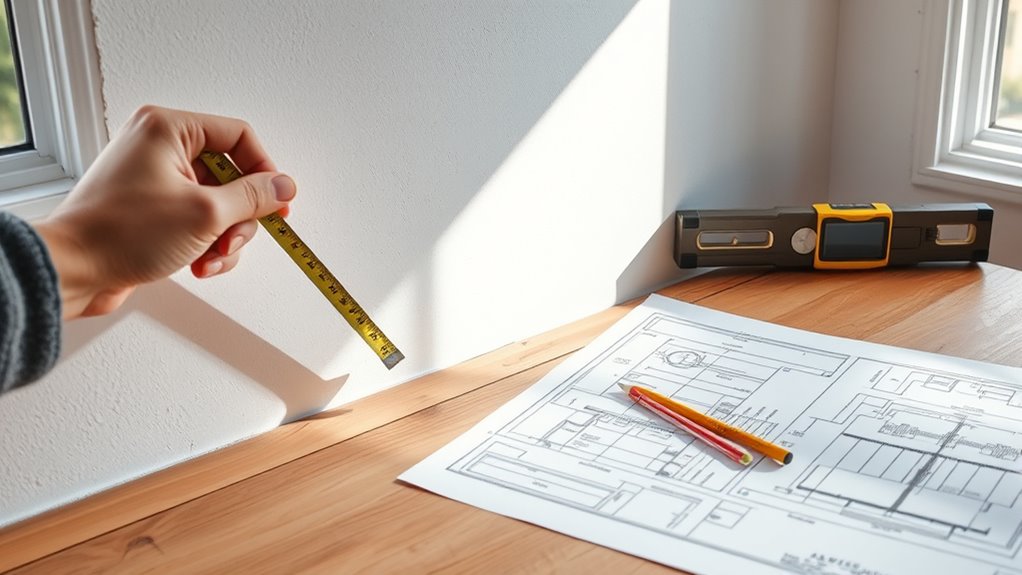
Start by measuring your wall dimensions to make certain your installation fits perfectly. Visualize how the piece will sit in the corner, considering how it will look and function. Don’t forget to check access points like doors or outlets that might affect placement. Additionally, reviewing local building codes and permits can help ensure your installation complies with safety standards and avoids potential legal issues.
Measure Wall Dimensions
Have you measured your wall space accurately before planning your corner installation? Precise wall measurements are essential for effective space planning. Use a tape measure to record the length and height of each wall in your corner. Be sure to measure from the floor to the ceiling and from corner to corner, noting any irregularities or obstructions. Mark these dimensions clearly to avoid confusion later. Accurate wall measurements help you determine the right size for your furniture or fixtures, ensuring a perfect fit. Don’t forget to account for outlets, switches, or moldings that could impact placement. Taking detailed measurements now saves time and prevents mistakes during installation. Properly measuring your wall space is a vital step toward creating a functional, well-planned corner setup. Additionally, understanding the dimensions of your space can help you choose the most suitable and efficient corner installation options.
Visualize Space Layout
To effectively plan your corner installation, visualizing the space layout is vital. Start by imagining how different furniture pieces will fit, considering the flow of the room. Think about color schemes that complement your overall decor, helping you decide on wall paint or accents that enhance the space. Lighting options also play a pivotal role; determine whether natural light or fixtures will highlight your setup. Use graph paper or digital tools to sketch the layout, placing furniture and decor to see how everything interacts. Visualizing these elements ensures a balanced design, avoiding overcrowding or awkward gaps. Incorporating safety considerations, such as proper clearance and secure fixtures, is essential for a functional and secure space. By planning ahead with a clear mental picture, you’ll create a functional, aesthetically pleasing corner that fits seamlessly into your space.
Assess Access Points
Before finalizing your corner installation, it’s important to measure and evaluate the access points surrounding the space. Check how easily you can move in and out, considering doorways, pathways, and clearance areas. Accessibility options, like wider openings or unobstructed routes, can improve functionality, especially if you or others have mobility needs. Safety considerations are vital; ensure that access points aren’t blocked or tight, reducing trip hazards or accidents. Take note of the location of electrical outlets, switches, or vents that could impact your placement. Planning for smooth access helps avoid future frustrations and guarantees your installation fits seamlessly within the space. Proper assessment now guarantees a safe, accessible, and efficient corner setup that meets your needs. Additionally, understanding the weight of your pinball machine is crucial to ensure your flooring can support it and to facilitate safe transportation and installation.
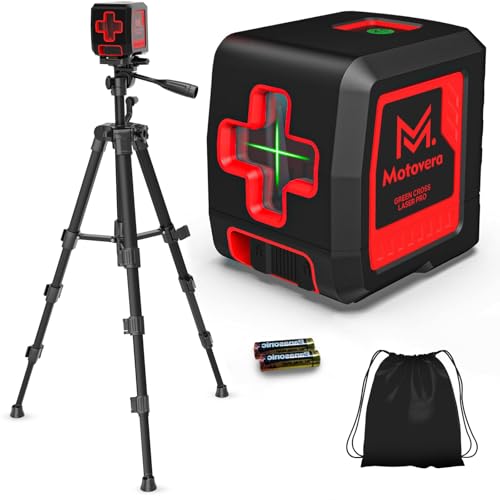
Motovera Self Leveling Laser Level 100ft, Green Cross Line with Tripod, 4 Brightness Modes & Pulse Function, Manual & Self-Leveling Modes, IP54 Waterproof for Picture Hanging, Tile, DIY Construction
【Ultra-Bright Green Beam & High-Precision Accuracy】Powered by an advanced green laser diode, this tool delivers 4X the brightness…
As an affiliate, we earn on qualifying purchases.
As an affiliate, we earn on qualifying purchases.
Preparing the Wall Surface

Ensuring your wall surface is properly prepared is essential for a successful corner installation. First, examine the wall texture; smooth surfaces are ideal, but if your wall is rough or uneven, you may need to sand or apply a primer to create a flat working area. Moisture control is equally important—check for dampness or leaks, and allow the wall to dry thoroughly before proceeding. Any moisture can compromise adhesion and cause issues later. Remove dust, grease, or loose debris to guarantee the surface is clean. Repair any cracks or holes with appropriate filler, then sand smooth once dry. Proper preparation creates a solid foundation, helping your corner fixtures adhere securely and look professional. Incorporating surface preparation techniques can further enhance the stability and longevity of your installation.

Finish Line Caulk – Acrylic Urethane Elastomeric Sealant – Pre-Filled Precision Caulk Gun – White – 1 oz Tube – Flexible & Durable Sealant for Trim, Baseboards, and Small Cracks
✅ One pre-filled precision applicator is included for a single touch-up, repair, or small sealing job without reloading…
As an affiliate, we earn on qualifying purchases.
As an affiliate, we earn on qualifying purchases.
Marking and Aligning Your Fixtures
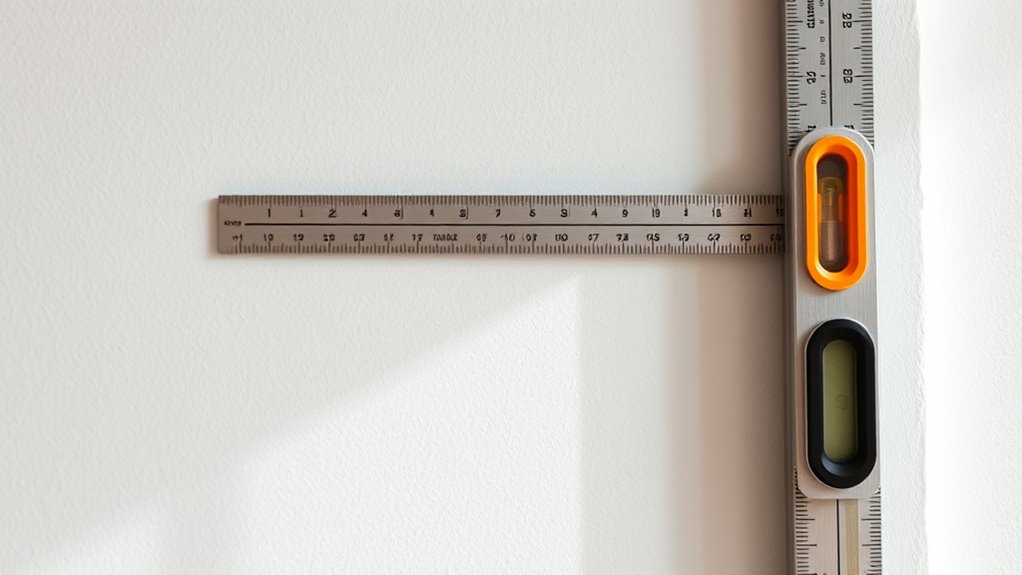
Accurately marking and aligning your fixtures is essential for a professional-looking corner installation. Start by measuring the space carefully and using a pencil to mark where each fixture will go. This ensures that decorative accents, like shelves or trim, are level and aligned properly. Use a level or laser line to double-check your marks before drilling. Pay attention to safety precautions—wear goggles and keep your workspace clear to prevent accidents. Take your time to ensure each mark is precise; small errors can lead to crooked fixtures. Once everything is marked, double-check the alignment from different angles to confirm accuracy. Proper marking and alignment set the foundation for a smooth installation, giving your corner a polished, cohesive look. Additionally, understanding the importance of contrast ratio can help you optimize your projector setup for better image quality in your home cinema.
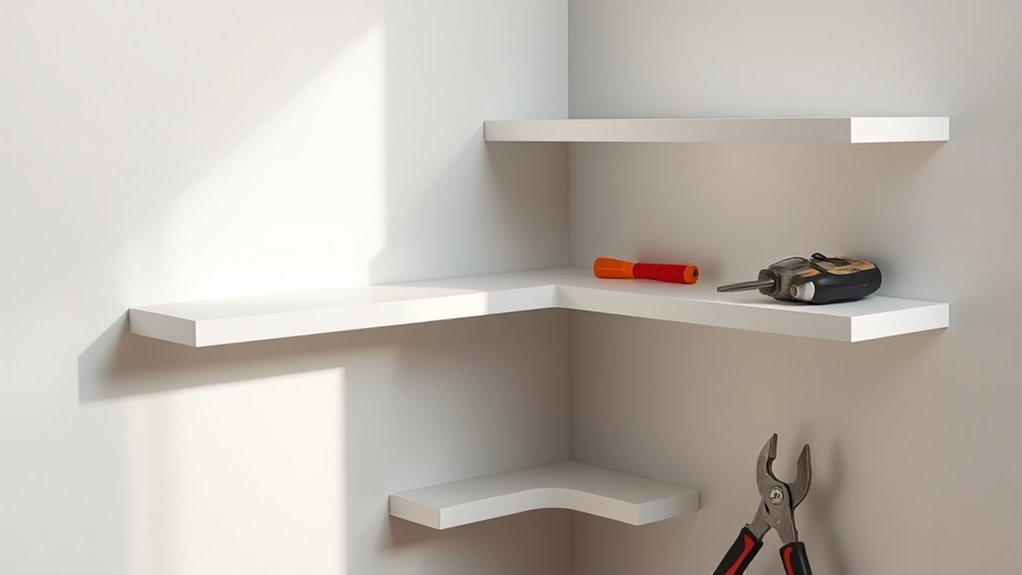
Installing Shelves or Fixtures Step-by-Step
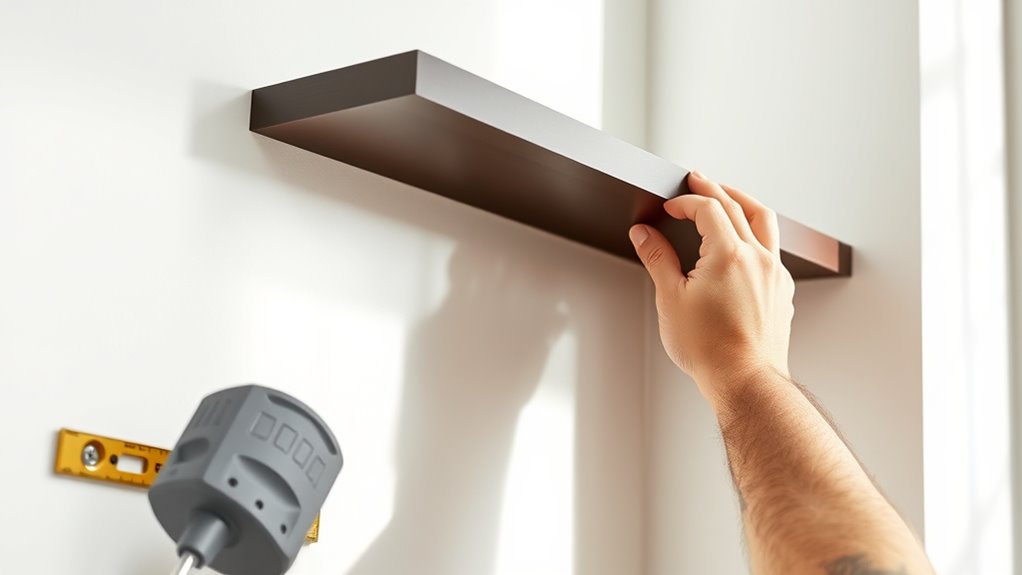
To install shelves or fixtures successfully, start by gathering all the necessary tools and materials, such as a drill, screws, anchors, a level, and the fixtures themselves. Before drilling, mark your spots carefully, ensuring proper alignment for decorative accents or functional needs. Use a level to keep everything straight and avoid wobbling. When attaching fixtures, prioritize safety precautions—wear goggles and handle tools carefully. Here’s a quick overview:
| Step | Action | Tips |
|---|---|---|
| 1 | Mark placement | Use a level for accuracy |
| 2 | Drill holes | Check wall type for anchors |
| 3 | Insert anchors | Secure fixtures firmly |
| 4 | Attach fixtures | Use appropriate screws |
| 5 | Final check | Ensure stability and alignment |
Following these steps guarantees a smooth installation, adding both style and safety to your corner. Proper planning and understanding of wall types can help prevent damage and ensure a secure hold.
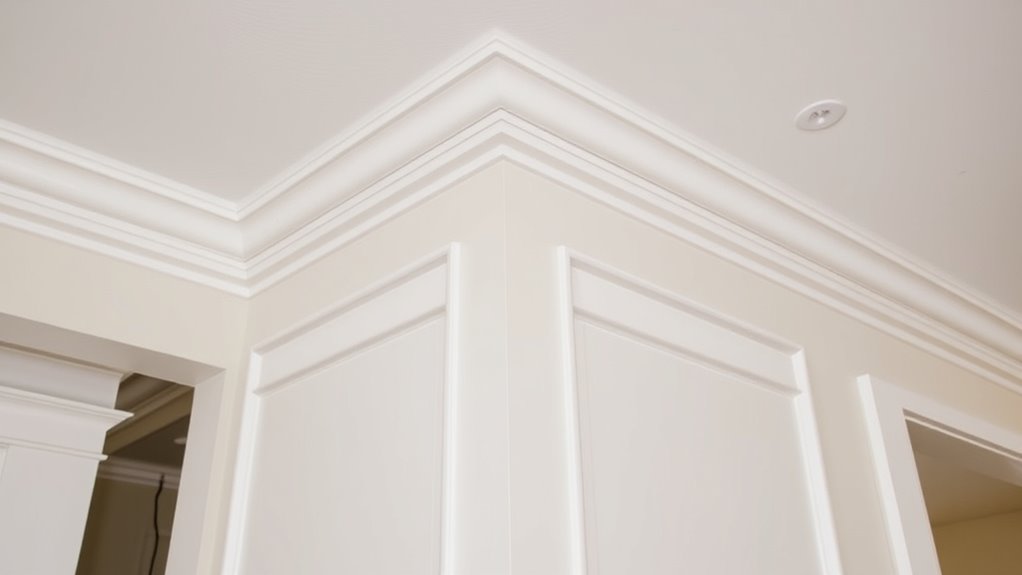
Securing and Finishing Your Installation
Once you’ve installed your shelves or fixtures, the next step is to secure them properly and give your work a polished finish. Ensuring safety precautions are followed is vital to prevent accidents. To enhance the look, consider adding decorative accents that complement your space. Here are three key steps:
- Tighten all mounting hardware securely to prevent wobbling or detachment.
- Fill any visible screw holes or gaps with wood filler or caulk for a seamless appearance.
- Add decorative accents such as trim or paint to hide mounting points and elevate the overall aesthetic.
Taking these steps not only improves safety but also transforms your installation into a stylish, finished piece. Proper securing and finishing make your corner installation both safe and attractive. Additionally, reviewing celebrity lifestyle insights can provide inspiration for incorporating decorative elements into your space.
Tips for Maintaining and Troubleshooting
Keeping your corner installation clean is essential for longevity and appearance. When issues arise, quick solutions can prevent further damage and keep everything functioning smoothly. Let’s explore simple maintenance routines and common troubleshooting tips to help you stay on top of it. Addressing trust issues early can also help maintain a healthy relationship with your partner.
Regular Cleaning Practices
Regular cleaning is essential for maintaining the integrity and appearance of corner installations. Establishing a consistent cleaning schedule helps prevent dirt buildup and damage over time. Use the right cleaning tools, like soft cloths and gentle brushes, to avoid scratching surfaces. To keep your corner installations in top shape, follow these tips:
- Set a regular cleaning schedule—weekly or biweekly—to stay ahead of dust and grime.
- Choose appropriate cleaning tools that suit your material, ensuring gentle yet effective cleaning.
- Immediately address spills or stains to prevent lasting damage or discoloration.
Common Issue Solutions
Even with consistent cleaning, issues can still arise that compromise the appearance and durability of your corner installations. To address problems like loose fittings or chipped paint, check for damaged decorative accents and reattach or replace them as needed. For cracks or gaps, use a suitable filler to restore the seamless look and prevent further damage. If you notice that storage is becoming inefficient, consider adjusting shelving or adding new storage solutions to maximize space. Regularly inspecting your corner installations helps catch issues early, saving you time and effort. Proper maintenance guarantees your decorative accents stay vibrant, while troubleshooting common problems keeps your installation looking its best and functioning smoothly. Keep an eye out for signs of wear, and address them promptly.
Frequently Asked Questions
How Do I Choose the Best Corner Installation for Small Spaces?
To choose the best corner installation for small spaces, focus on maximizing space optimization and storage. Look for corner units that are compact yet offer ample corner storage, like corner shelves or cabinets with adjustable features. Measure your space carefully and pick designs that fit snugly without crowding. Opt for versatile options that blend style and function, ensuring you make the most of every inch while keeping your small area organized.
Can Corner Fixtures Be Installed on Uneven or Textured Walls?
Yes, you can install corner fixtures on uneven or textured walls, but wall texture can pose installation challenges. You’ll need to prepare the surface by cleaning and possibly sanding or applying a primer to guarantee a smooth base. Use appropriate anchors or mounting hardware designed for textured surfaces, and take your time to ensure the fixture is level and secure. Patience and proper tools make this process manageable.
What Safety Precautions Should I Take During Installation?
Your safety during installation is more important than a thousand shining stars. Always wear protective gear like goggles and gloves, and make certain your workspace is well-ventilated. Follow proper tool safety by reading instructions and using the right tools for the job. Keep your area clear of hazards, unplug tools when not in use, and handle sharp objects carefully. Prioritizing installation safety helps prevent accidents and keeps your project smooth and stress-free.
How Do I Remove or Adjust Fixtures After Installation?
To remove or adjust fixtures after installation, start by turning off the power supply to avoid electrical hazards. Carefully loosen or unscrew fixtures for removal, or tighten and align them for adjustment. Use appropriate tools like screwdrivers or pliers, and handle fixtures gently to prevent damage. Always double-check that everything is secure and safe before restoring power. Proper fixture removal and adjustment guarantee your corner installation remains functional and safe.
Are There Eco-Friendly or Sustainable Corner Installation Options?
You can opt for eco-friendly corner installation options that are as green as a rainforest. Look for fixtures made from recycled materials and prioritize those designed with sustainability in mind. Consider using renewable energy sources like solar-powered lighting or water-saving fixtures. These choices help reduce your carbon footprint and support a greener future. By choosing sustainable options, you turn your corner into a small act of environmental kindness, making a big difference.
Conclusion
Now that you’re equipped with all the essential steps, your corner installation is within reach. But don’t get too comfortable just yet—there’s always a trick or two that can make your project flawless. Ready to see how your perfect corner setup transforms your space? Keep your tools close and your eyes sharp. The final touch could be just around the corner—literally. Are you prepared to make your vision a reality?