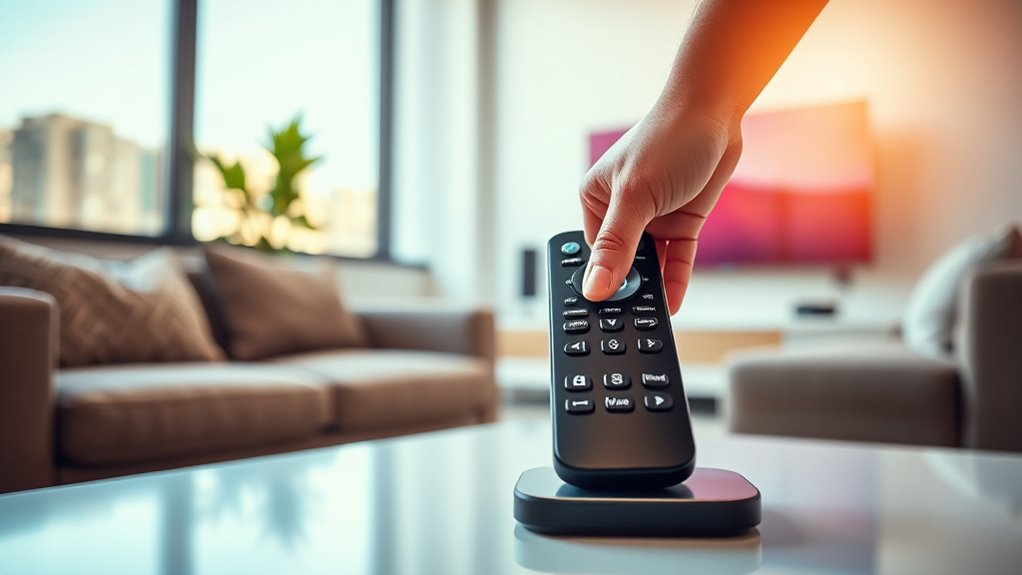

When your remote stops responding, start by checking the batteries and replacing them if needed. Verify you’re within proper range and have a clear line of sight to the device. Restart your device to refresh connections, and clean any debris or dust from both the remote and sensor area. Confirm you’re using the correct remote model and update its firmware. If problems persist, professional help can often resolve stubborn issues—continue here to find more solutions.
Key Takeaways
- Check and replace batteries, and clean contact points to ensure proper power supply.
- Clear obstructions and maintain line of sight between remote and device sensor.
- Clean remote buttons and sensor areas to remove dust, dirt, or sticky residues.
- Reprogram or reset remote and device to restore proper communication.
- If issues persist, seek professional support or consider remote replacement.

Duracell 2032 Lithium Battery, 4 Count (Pack of 1), Child Safety Features, Compatible with Key Fob, Tea Light Candles and Other Devices, CR2032 Battery
LONG-LASTING BATTERIES DESIGNED FOR DEPENDABILITY: Duracell Lithium Coin CR2032 3 Volt batteries deliver long-lasting power and performance you…
As an affiliate, we earn on qualifying purchases.
As an affiliate, we earn on qualifying purchases.
Check the Batteries and Replace if Needed
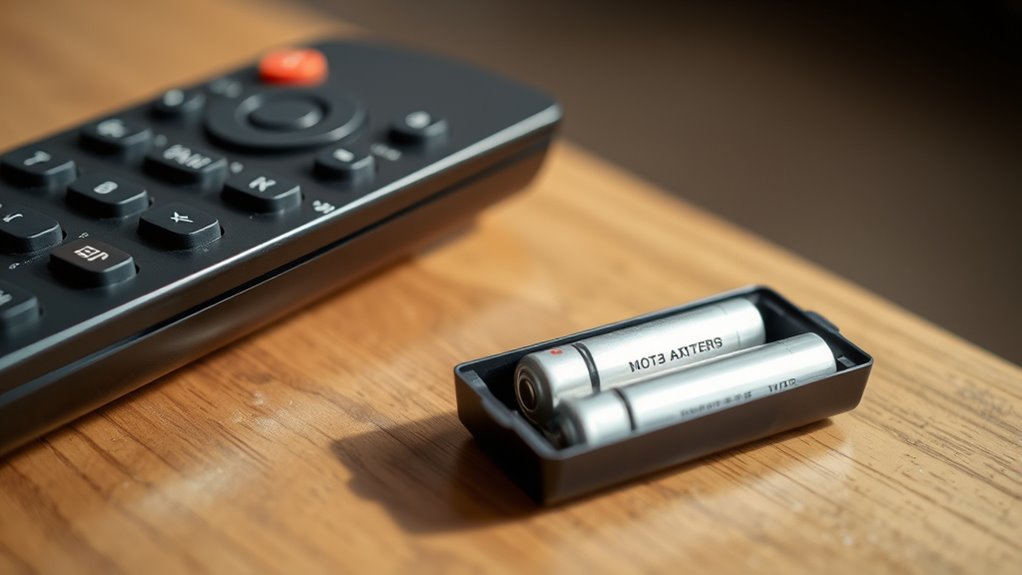
If your remote isn’t responding, the first step is to check the batteries. Poor battery maintenance can cause power issues, so verify the batteries are fresh and properly installed. Remove the batteries and inspect them for corrosion or leaks, which can hinder the power source. If they’re old or weak, replace them with new ones, ideally of the same type recommended by the manufacturer. It’s also a good idea to clean the battery contacts with a dry cloth to remove any buildup that might interfere with the connection. Remember, the remote’s functionality depends heavily on a reliable power source. Regularly checking and replacing batteries can prevent unnecessary frustration and keep your remote working smoothly. Additionally, ensuring your remote has a reliable connection can improve responsiveness and prevent future issues.

Universal-TV-Remote-Control Compatible with Samsung/LG/Vizio/TCL/Hisense/Sony/Philips/Onn/Sharp/Element/Westinghouse/Sanyo/Emerson TV and More Brand Smart TVs
【Compatible Devices】Universal replacement remote control is compatible with TV brands for Samsung, LG, Vizio, Sony, Hisense, Onn, Sharp,…
As an affiliate, we earn on qualifying purchases.
As an affiliate, we earn on qualifying purchases.
Ensure the Remote Is Within Proper Range and Line of Sight
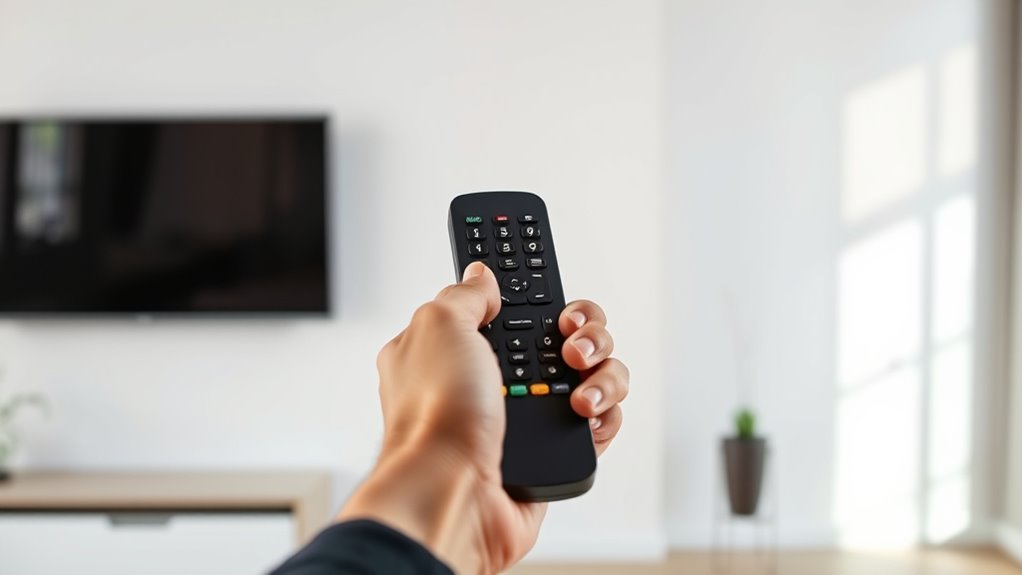
Make sure you’re holding the remote within the recommended distance for your device. Keep a clear line of sight to prevent any obstructions from interfering. Regularly check your positioning to guarantee the remote responds quickly and reliably. Additionally, ensuring the remote’s buttons are clean and functioning properly can prevent input lag issues that compromise responsiveness.
Check Distance Regularly
Ensuring your remote stays within the proper range is essential for reliable operation. Regularly check the distance between you and your device to prevent signal issues. Keep the remote oriented correctly; a slight change can affect signal strength. Also, monitor the battery health, as weak batteries reduce effectiveness, even if the remote is close. Being aware of AI vulnerabilities helps in understanding possible issues with device connectivity and security.
To optimize performance:
- Stay within the recommended distance from the device
- Avoid obstructions that block the signal
- Hold the remote directly facing the sensor
- Replace batteries when they show signs of weakness
- Adjust your remote’s orientation for best line of sight
Maintaining these habits ensures your remote responds promptly and consistently, saving you frustration and time.
Maintain Clear Path
Maintaining a clear path between your remote and the device is essential for reliable communication. The remote design often includes a limited infrared or Bluetooth signal range, so keeping it within proper distance guarantees it functions correctly. Avoid obstructions like furniture or walls that can block the signal, and hold the remote directly facing the device’s sensor. Pay attention to remote aesthetics, as some designs incorporate angled or curved shapes that might affect line of sight. A well-designed remote with a streamlined remote design can make it easier to aim accurately. Ensuring the remote is within the proper range and maintains a direct line of sight prevents miscommunication and frustration, keeping your entertainment setup running smoothly. Additionally, adaptive learning technologies can help optimize your remote usage by adjusting to your habits and environment for more consistent performance.

Zacro Camera Cleaning Kit 16mm APS-C Frame Sensor Cleaning Swab*8 + 20ml Sensor Cleaner for DSLR SLR Digital Camera CMOS Sensor Cleaning, Compatible with Nikon Sony Canon
8Pcs 16mm Sensor Cleaning Swabs: Specifically designed for APS-C frame sensors. Each swab features a lint-free, ultra-fine microfiber…
As an affiliate, we earn on qualifying purchases.
As an affiliate, we earn on qualifying purchases.
Restart Your Device to Refresh Connections
Sometimes, simply restarting your device can resolve remote not responding issues by invigorating its network connections. A quick reboot can refresh system processes, improve device compatibility, and restore proper communication with the remote. When you restart, you give your device a clean slate, which often fixes minor glitches that interfere with remote functionality. This simple step can help address issues related to remote customization settings or temporary network hiccups.
Additionally, staying informed about industry transformations like AI automation can help you understand potential underlying causes for remote issues and prepare for future solutions.

Mars Fox BT Multimedia Music Player Remote Control for Play Pause Next Prevtrack Volume Up/Down Mute Fit for iOS iPhone ipad Android System Smartphone Tablet Devices Sony FiiO Player ect
You don’t need to change the Music with your fingers. This bluetooth remote control can scroll the pause/play…
As an affiliate, we earn on qualifying purchases.
As an affiliate, we earn on qualifying purchases.
Clear Obstacles That Might Block Signal Transmission
Make sure there are no physical barriers like furniture or walls blocking your remote’s line of sight to the device. Also, keep wireless interference from other electronics or Wi-Fi devices to a minimum. Clearing these obstacles can substantially improve your remote’s signal transmission. Additionally, if you are using a remote to control an Audi Tuning device, ensure the receiver is properly configured and within the optimal range for it to function correctly.
Check Physical Barriers
Obstructions like furniture, walls, or large appliances can block your remote’s signal, causing it not to respond. Confirm the sensor alignment is clear and unobstructed for ideal signal transmission. Check that nothing is blocking the remote’s line of sight to the device, as this can impair remote ergonomics and reduce responsiveness. Keep these tips in mind:
- Remove large objects between remote and device
- Avoid placing furniture in the direct signal path
- Clear clutter near the sensor window
- Position the remote at a proper angle for comfort and accuracy
- Confirm the sensor isn’t covered or dirty
- Consider portable electronics compatibility to ensure consistent signal reception.
Minimize Wireless Interference
Wireless interference from other electronic devices can disrupt your remote’s signal, making it unresponsive. To improve performance, check the wireless channel your remote uses. If multiple devices share the same channel, signal congestion occurs, weakening the connection. Switch to a less crowded channel if possible, either through your device’s settings or router configuration. Keep obstacles like walls, furniture, or metal objects away from your remote and receiver, as they can block or weaken the signal. Position the remote closer to the device, reducing the distance and potential interference sources. Avoid placing wireless routers or other electronics near the remote or its receiver, as they can cause additional interference. Minimizing wireless interference guarantees a clearer signal, resulting in more reliable remote control operation. Ensuring your remote has a high-quality, durable performance mat can also enhance stability during use.
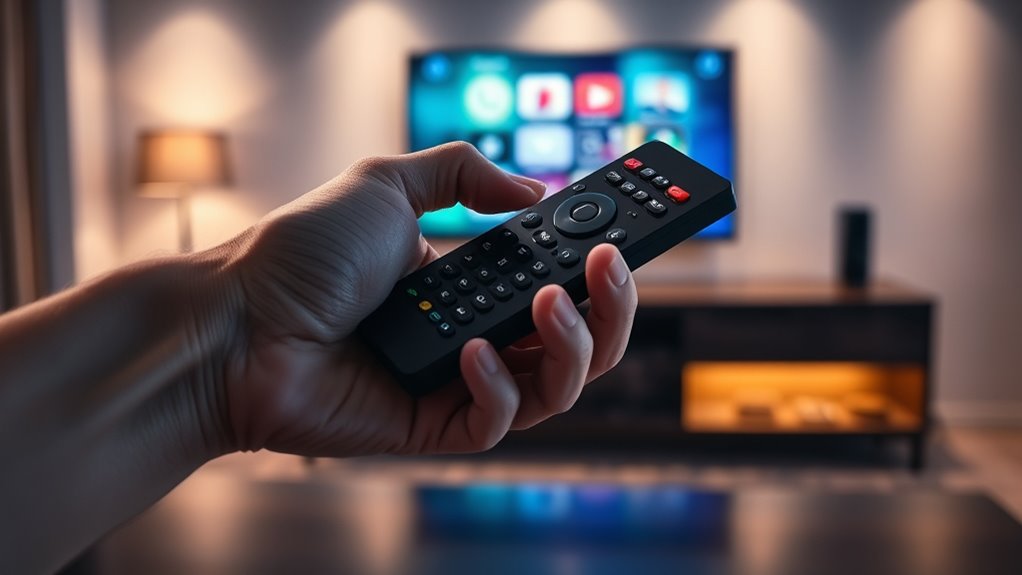
Reprogram or Re-Pair the Remote With Your Device
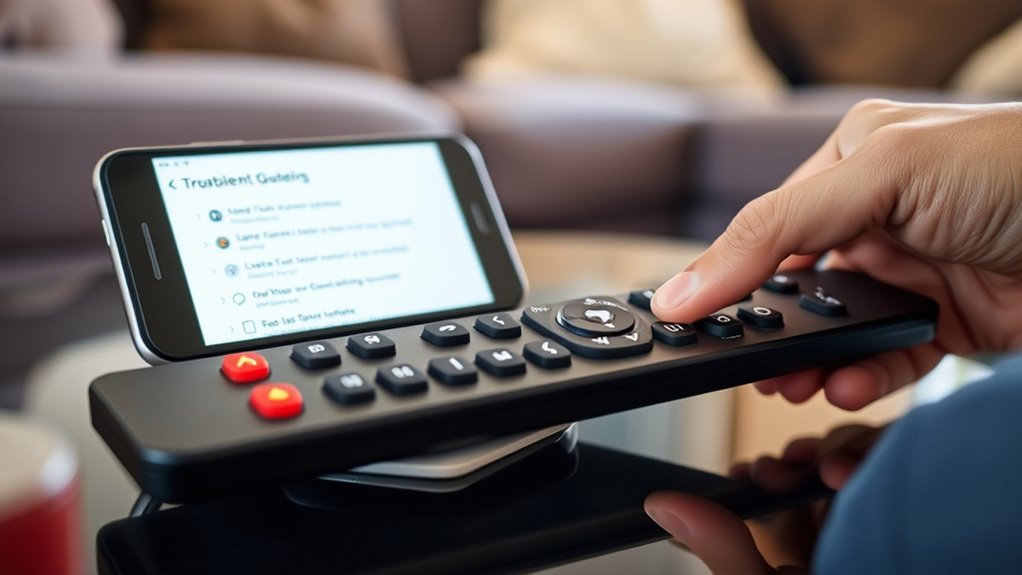
If your remote isn’t responding, reprogramming or re-pairing it with your device can often rectify the issue. This process guarantees your remote communicates correctly with your TV or other electronics. To do this effectively, try these steps:
- Remove batteries, wait a few seconds, then reinsert them
- Follow your device’s specific remote pairing instructions
- Use the remote’s setup or reset button if available
- Reprogram the remote through the device’s menu options
- Ensure your remote is within the recommended range during pairing
- Confirm that your remote’s communication protocols are compatible with your device, as outlined in security features to ensure proper connection.
Avoid Using Damaged or Broken Remotes
Using a damaged or broken remote can cause more issues than it solves, even if you’ve successfully reprogrammed or re-paired it. A remote control’s design plays a vital role in its durability; poor design often leads to broken buttons or unresponsive parts. Additionally, remote manufacturing quality affects how well it withstands daily use. Cheap materials and rushed assembly can result in cracked casings or malfunctioning circuits. Continuing to use a compromised remote may worsen the damage, making repairs more difficult or impossible. To avoid these problems, replace damaged remotes promptly. Investing in high-quality remotes ensures better remote control design and manufacturing quality, reducing the risk of future malfunctions. Proper maintenance and handling can also extend your remote’s lifespan, especially if it’s made from durable materials. Remember, a reliable remote saves you time and frustration in the long run.
Keep Remote and Device Clean and Free of Debris
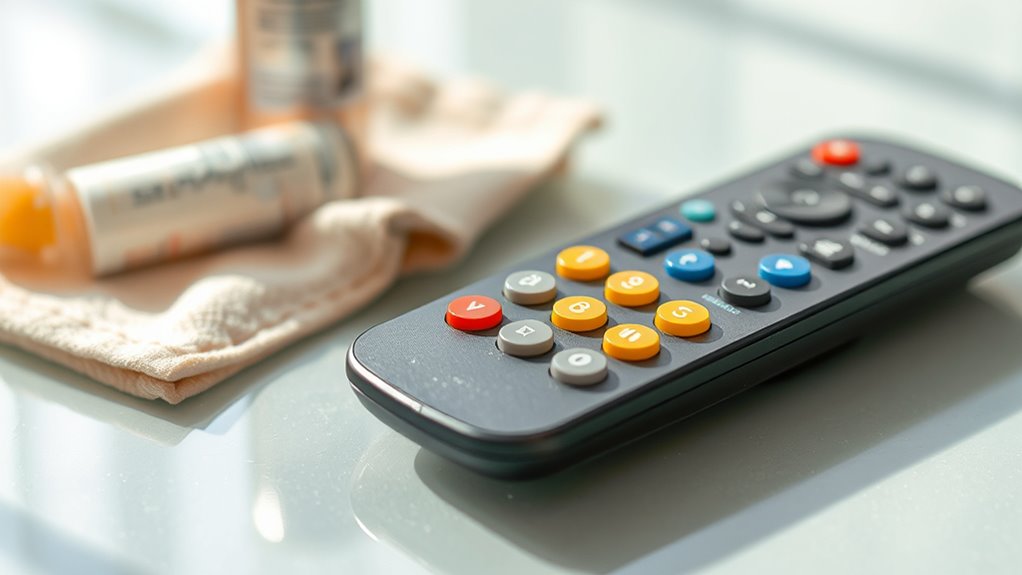
To keep your remote working smoothly, make sure to remove surface dust regularly. Check for sticky residues that can interfere with button presses, and use proper cleaning tools like a soft cloth or compressed air. Staying proactive with cleaning helps prevent issues and keeps your device responsive.
Remove Surface Dust Regularly
Regularly removing surface dust from your remote and device helps prevent buildup that can interfere with buttons and sensors. Dust accumulation can lead to unresponsive controls or sensor issues, making remote maintenance essential. To keep your remote in top shape, consider these tips:
- Use a soft microfiber cloth to gently wipe away surface dust
- Avoid harsh chemicals that could damage the surface
- Use compressed air to blow out dust from crevices
- Keep your remote in a dust-free environment when not in use
- Regularly check and clean the sensor area for peak response
Check for Sticky Residues
Have you noticed your remote or device not responding as quickly as it used to? Sticky residues from snacks, oils, or dirt can build up on buttons and sensors, hindering proper function. To fix this, check for sticky residues on your remote. Carefully inspect the buttons and surface for any sticky or greasy films. Regular remote cleaning helps maintain responsiveness. Use a soft cloth slightly dampened with a mild cleaning solution or rubbing alcohol to gently wipe the surface. Avoid harsh chemicals that could damage the remote. Focus on areas where debris might accumulate, especially around buttons. Removing sticky residues ensures better contact with the device’s sensors, improving responsiveness. Keeping your remote clean and free of debris prevents future issues and prolongs its lifespan.
Use Proper Cleaning Tools
Using the right cleaning tools is essential for keeping your remote and device free of debris that can interfere with performance. Proper maintenance involves selecting suitable cleaning tools to avoid damage and guarantee thorough cleaning. Use soft microfiber cloths to gently wipe surfaces and remove dust. Compressed air can blow out dirt from buttons and crevices. Q-tips are excellent for reaching tight spots, while a small brush can dislodge stubborn debris. Avoid harsh chemicals or abrasive materials that might harm the device. Regular cleaning with proper tools prevents grime buildup and maintains responsiveness. Keep a dedicated set of cleaning tools for your remote to make maintenance quick and effective, prolonging its lifespan and ensuring optimal performance.
- Microfiber cloths
- Compressed air cans
- Q-tips
- Small brushes
- Gentle cleaning solutions
Use the Correct Remote for Your Device Model
To guarantee your remote functions correctly, it’s vital to use the correct remote designed specifically for your device model. Start by checking remote model compatibility with your device. Many remotes look similar but aren’t interchangeable, which can cause response issues. You can identify the right remote by verifying the model number usually printed inside the battery compartment or on the back. Using the correct remote ensures that all buttons and functions work seamlessly. Avoid using universal remotes unless they’re explicitly programmed for your device model, as mismatched remotes often lead to unresponsive controls. Proper remote model identification minimizes troubleshooting and guarantees peak performance. Always double-check that your remote matches your device’s specifications before attempting any other fixes.
Update Firmware or Software for Compatibility
Updating your device’s firmware or software can resolve compatibility issues that cause your remote to be unresponsive. A firmware update or software upgrade guarantees your remote and device work seamlessly together. To do it right:
- Check the manufacturer’s website for the latest firmware update.
- Follow instructions carefully during the software upgrade process.
- Use a stable internet connection to avoid interruptions.
- Restart your device and remote after completing updates.
- Keep your device and remote updated regularly for ongoing compatibility.
These steps help ensure your remote functions correctly and prevent future issues. Updating firmware or software is a quick, effective way to improve responsiveness, especially after new device features or corrections are released. Staying current with updates keeps your remote working smoothly.
Seek Professional Help When All Else Fails
If you’ve tried all troubleshooting steps and your remote still isn’t responding, it’s time to seek professional help. Sometimes, the issue may be beyond basic fixes, requiring expert troubleshooting assistance. Contact the manufacturer’s customer support or a certified technician who specializes in remote repairs. Professional help guarantees you get accurate diagnosis and safe, effective repairs. Attempting to fix complex hardware problems yourself can sometimes cause more damage or void warranties. Don’t hesitate to reach out if your remote is still unresponsive after updating firmware, replacing batteries, and checking connections. Getting professional assistance saves you time and frustration, and it increases the chances of restoring your remote’s functionality quickly and safely.
Frequently Asked Questions
Can Environmental Factors Affect Remote Performance?
Yes, environmental factors can affect remote performance. Weather interference like heavy rain or snow can weaken signals, causing delays or disconnections. Signal obstruction from walls, furniture, or other objects can block or weaken the remote’s signal, leading to unresponsiveness. To improve performance, guarantee clear line-of-sight between the remote and receiver, and avoid using the remote in extreme weather conditions. These steps help maintain a reliable connection.
How Do I Reset My Remote to Factory Settings?
To reset your remote to factory settings, start by removing the remote battery replacement to power it down. Then, press and hold the power button for about 10 seconds to clear any remote signal interference. Afterward, reinsert the batteries and turn it back on. This process helps eliminate glitches and restores default settings, ensuring your remote functions properly and responds consistently.
Are There Compatibility Issues With Universal Remotes?
Ever worry your universal remote won’t work with your devices? Compatibility issues can happen, but don’t worry—universal remote programming often includes compatibility troubleshooting tips. You might need to manually set it up or update the remote’s code. Check your device’s brand and model, and consult the remote’s manual for specific instructions. With patience, you can often resolve compatibility problems and enjoy seamless control over all your electronics.
What Should I Do if My Remote’s LED Isn’T Blinking?
If your remote’s LED isn’t blinking, start by checking the remote battery and replace it if needed, as low power can prevent blinking. Make certain the infrared sensor on the remote and the device are clean and unobstructed. Sometimes, pressing a button firmly helps. If it still doesn’t blink, try resetting the remote or testing it with another device to see if the issue persists.
How Can I Test if the Remote’s Infrared Emitter Is Working?
To test if your remote’s infrared emitter is working, point it at your phone’s camera or an infrared sensor. Press a button on the remote; if you see a flickering light on your camera screen, the infrared emitter is active. Check your remote batteries first, as weak or dead batteries can affect emission. Replace the batteries if needed, and verify nothing blocks the remote’s line of sight to the sensor.
Conclusion
When your remote refuses to respond, don’t let frustration take over. Think of it as a puzzle waiting to be solved—each step, from checking batteries to reprogramming, is a piece that brings the picture into focus. Remember, patience is your greatest tool here. With a little troubleshooting and persistence, you’ll soon regain control. After all, isn’t it worth the effort to get back to your favorite shows and moments?