
To master fixing a remote calculator that’s not responding in a weekend, start by checking the batteries and cleaning any dirt from buttons and sensors. Reset the device, update the firmware if possible, and make certain no interference is blocking signals. Test the connection and re-pair if needed. If problems persist, a factory reset or professional repair might be necessary. Keep going, and you’ll discover more tips to quickly restore your remote’s functionality.
Key Takeaways
- Check and replace batteries, ensuring correct installation and no corrosion for reliable power.
- Clean buttons and sensors regularly to prevent dirt buildup causing unresponsiveness.
- Reset or reboot the remote and device, then update firmware to fix software glitches.
- Verify clear line of sight and minimal interference for proper signal transmission.
- If issues persist, seek professional repair or consider replacing the remote.

Duracell 2032 Lithium Battery, 4 Count, AirTag & Key Fob, CR2032 3V Cell
LONG-LASTING BATTERIES DESIGNED FOR DEPENDABILITY: Duracell Lithium Coin CR2032 3 Volt batteries deliver long-lasting power and performance you…
As an affiliate, we earn on qualifying purchases.
As an affiliate, we earn on qualifying purchases.
Understanding Common Reasons for Remote Calculator Malfunctions

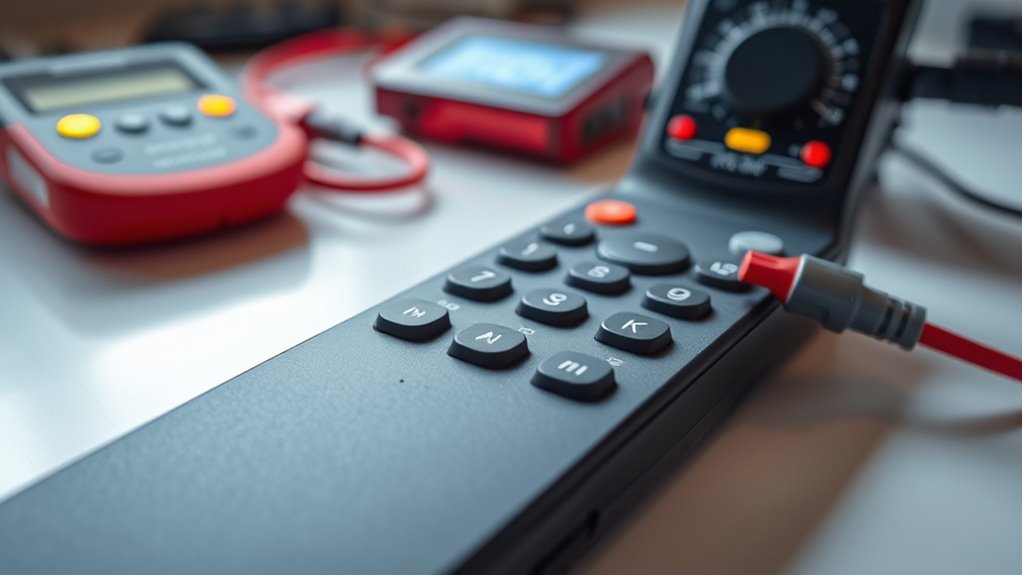
Remote calculator malfunctions can happen for various reasons, and understanding these common causes is key to troubleshooting effectively. One frequent issue is unresponsive remote control buttons, which can result from dirt, debris, or worn-out buttons that no longer make proper contact. Another common problem is signal range; if you’re too far from the calculator or obstacles block the signal, the remote won’t work. Additionally, interference from other electronic devices can disrupt the communication between the remote and the calculator. Sometimes, the remote’s infrared sensor may be misaligned or damaged, preventing proper signal transmission. Recognizing these issues helps you pinpoint the root cause quickly, so you can take the appropriate steps to restore functionality and get your calculator responding again. Regular maintenance and gentle cleaning can also help prevent sensor issues from occurring.

HCDZ Replacement Remote Control for iLife V3s Pro, A4s, V5s Pro, Robotic Vacuum Cleaner
IR replacement remote control as shown
As an affiliate, we earn on qualifying purchases.
As an affiliate, we earn on qualifying purchases.
Checking the Power Source and Battery Condition
First, make sure the calculator is plugged into a working power outlet. Next, check the battery’s health to see if it needs replacing. Addressing these basics can often resolve the remote’s unresponsiveness quickly. Ensuring your workspace is organized and free of clutter can also help maintain productivity levels and prevent issues caused by distractions.
Verify Power Outlet
Before troubleshooting your remote’s non-responsiveness, verifying the power source is essential. Start by checking the power outlet, ensuring it’s working properly. Sometimes, the issue isn’t with the remote but with the power supply to your device. Understanding your remote control design helps; most rely on a stable power source to function correctly. The remote control history shows that early models depended heavily on direct wired connections, but modern remotes often use batteries and wireless signals. If your remote isn’t responding, confirm the outlet supplies power by plugging in another device. If the outlet works, proceed to test the remote’s power connection—whether it’s batteries or an external power source—before moving on to more detailed troubleshooting. Additionally, being aware of power consumption patterns can help identify if your remote or device is experiencing power issues.
Inspect Battery Health
Have you checked whether your batteries are still providing enough power? If your remote isn’t responding, it could be due to diminished battery lifespan or reduced charging efficiency. Remove the batteries and inspect them for any signs of corrosion or leaks. Test the batteries with a tester or simply replace them with fresh, high-quality ones to rule out power issues. Keep in mind that over time, batteries lose their ability to hold a charge, affecting overall performance. Ensuring your batteries are in good condition can notably improve your remote’s responsiveness. Regularly replacing batteries before they become completely drained helps maintain peak charging efficiency. Proper maintenance of batteries can help extend their lifespan and improve device performance. By inspecting and maintaining healthy batteries, you’ll keep your remote functioning smoothly and avoid unnecessary troubleshooting.

Universal Ceiling Fan Remote Control Kit, Compatible with 53T HD5 UC7030T Remote, Fan Remote Control with 3 Speed and Light Dimmer for Harbor Breeze Hampton Bay Hunter Litex (53T Kit)
Universal Compatibility & Easy Replacement : This 53T ceiling fan remote control kit is designed as a direct…
As an affiliate, we earn on qualifying purchases.
As an affiliate, we earn on qualifying purchases.
Ensuring Proper Button Functionality and Cleanliness
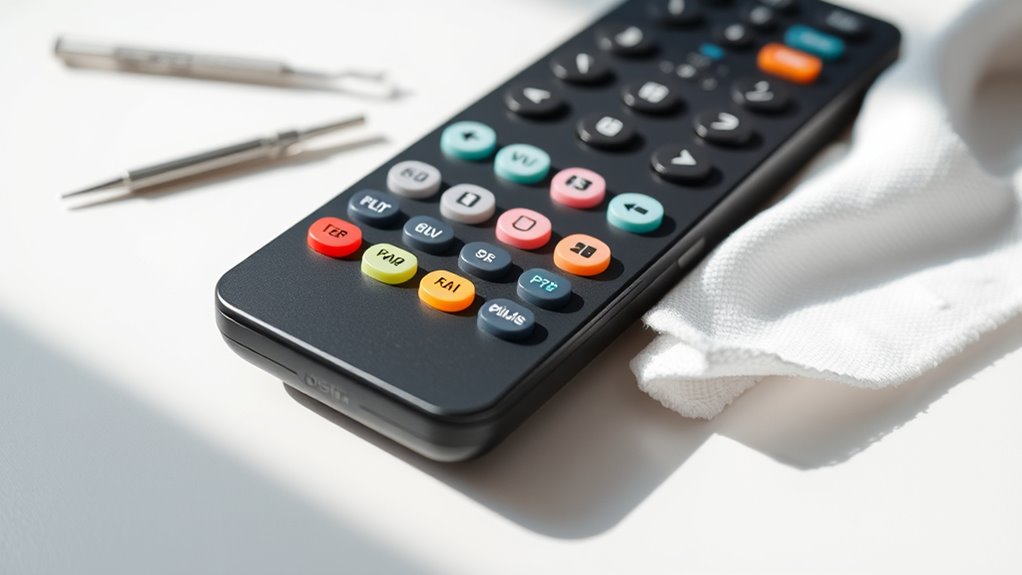
Ensuring proper button functionality and cleanliness is essential for maintaining your calculator’s responsiveness and accuracy. Regular button maintenance prevents dirt, dust, and grime from building up, which can cause unresponsive or sticky buttons. Use a soft, slightly damp cloth to clean the remote’s surface and avoid harsh chemicals that might damage the buttons. Pay close attention to the gaps around each button, gently removing debris with a soft brush or compressed air. Maintaining remote cleanliness not only improves button performance but also prolongs your device’s lifespan. Keep your remote in a safe, dust-free environment when not in use. Additionally, understanding Air Purifier Maintenance Dos and Don’ts can help you keep cleaning tools and environments optimal for device longevity. By consistently caring for your remote’s buttons, you guarantee smooth operation and reliable responses during critical calculations.
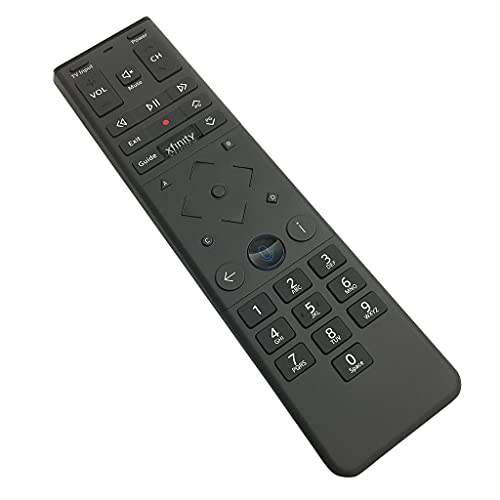
XFinity Comcast XR15 Voice Control Remote for X1 Xi6 Xi5 XG2 (Backlight)
Brand new unopened in plastic bag Xfinity XR15 Remote with voice Control for Xi6, Xi5, XG2 and X1…
As an affiliate, we earn on qualifying purchases.
As an affiliate, we earn on qualifying purchases.
Resetting and Rebooting Your Remote Device
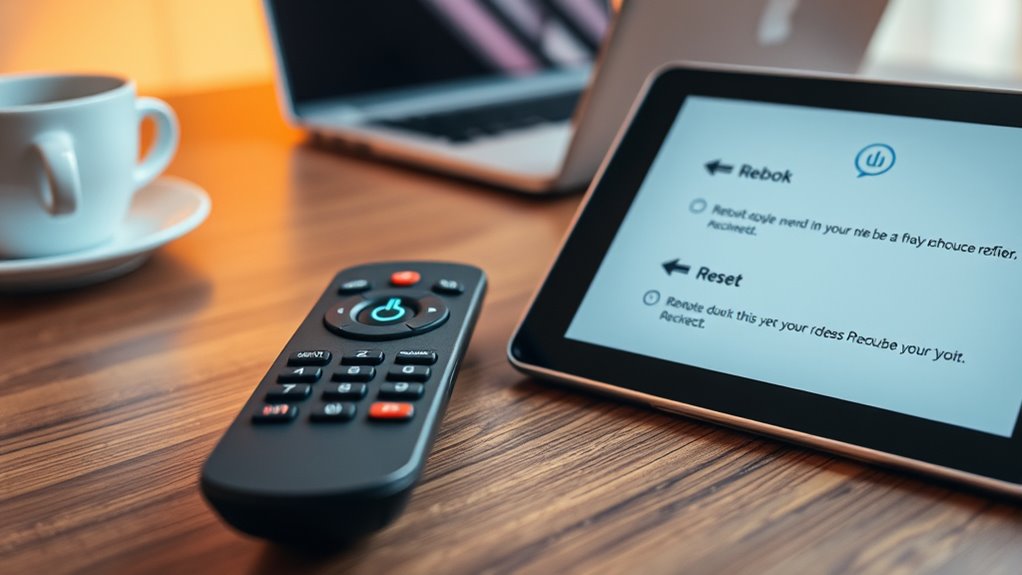
To get your remote working again, start by power cycling the device—turn it off, unplug it, and wait a few seconds before turning it back on. If that doesn’t help, remove the batteries, wait a moment, then reinstall them to reset the remote. These simple steps often resolve unresponsiveness quickly. Additionally, ensuring your remote’s buttons are not damaged or stuck can help prevent issues related to malfunctioning components.
Power Cycle Device
When your remote device stops responding, performing a power cycle is often the simplest solution. This resets the device and clears minor glitches. Here’s what you should do:
- Turn off your remote control, considering its design—whether it’s sleek or bulky—to ensure a firm grip.
- Unplug any power source, if applicable, to cut off all power.
- Wait for about 30 seconds to let residual power drain completely.
- Turn the device back on, paying attention to the remote control aesthetics that might influence how easily you handle or see reset buttons.
- Regularly checking the performance and maintenance of your remote can help prevent issues and ensure consistent operation.
Power cycling helps restore functionality without altering the remote control’s design. It’s a quick fix that keeps your remote looking and functioning like new.
Remove and Reinstall Batteries
If your remote still isn’t responding after a power cycle, removing and reinstalling the batteries can often do the trick. Start by taking out the batteries, then check for any corrosion or dirt inside the compartment—this is where remote cleaning helps. Clean the contacts gently with a soft cloth or a cotton swab dipped in a bit of rubbing alcohol. Once cleaned, replace the batteries with fresh ones to ensure proper battery replacement. Make sure they’re inserted correctly, matching the positive and negative terminals. Reinstall the batteries and test your remote. This process resets the remote’s connection and can fix minor glitches. Regular battery replacement and remote cleaning prevent future issues and keep your device functioning smoothly. Additionally, verifying the battery contacts for corrosion or dirt can improve connectivity and ensure your remote responds properly.
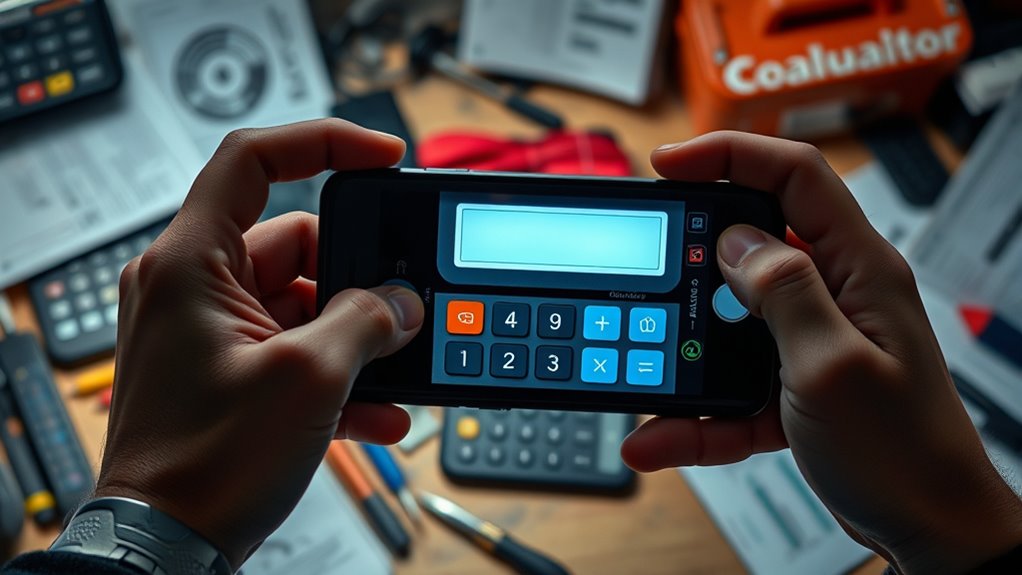
Verifying Signal Transmission and Pairing Issues

Have you checked whether your remote’s signal is reaching the device properly? Signal verification is key in pairing troubleshooting. Start by:
- Ensuring there are no obstructions between the remote and device.
- Testing the remote’s infrared (IR) LED with a phone camera; if you see a flashing light, the remote transmits signals.
- Moving closer to the device to rule out range issues.
- Repeating the pairing process, making sure both devices are in pairing mode.
- Remember that signal transmission can be affected by interference from other electronic devices, so consider reducing nearby electronic activity during testing.
If signals aren’t detected, re-pair the remote and device. Confirm that the remote is functioning correctly and that no interference blocks the signal. These steps help diagnose whether the problem lies with signal transmission or pairing, guiding you toward an effective fix.
Updating Firmware or Software for Compatibility
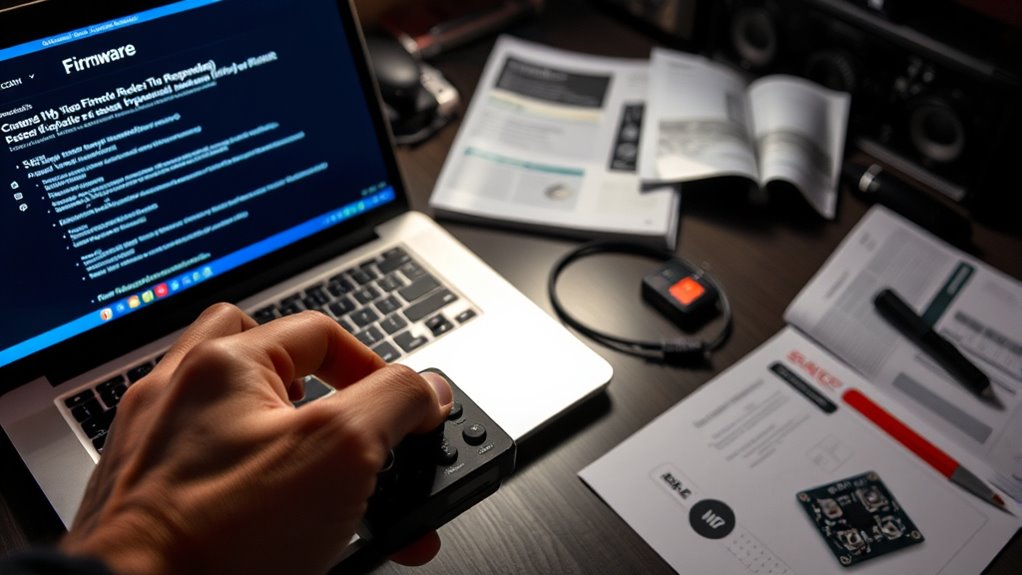
Updating your remote’s firmware or the device’s software can resolve compatibility issues that prevent proper functioning. Software updates often include fixes for bugs and improve firmware compatibility with your device, ensuring smoother operation. To start, visit the manufacturer’s website or app, and check for the latest updates specific to your remote or device. Follow the instructions carefully to install the new firmware or software. Keep in mind that outdated firmware may cause your remote to miscommunicate with the device, leading to unresponsiveness. Regularly updating ensures your remote remains compatible with new device features and software changes. Additionally, AI integration in modern devices can enhance troubleshooting and update processes, making maintenance more efficient. By maintaining updated firmware, you reduce the chances of encountering unresponsive behavior caused by compatibility issues, making your remote easier to use and more reliable.
Troubleshooting External Interference and Connectivity Problems

External interference and connectivity issues are common causes of a remote becoming unresponsive. Wireless interference from other devices or obstacles can disrupt your signal, leading to unresponsiveness. To troubleshoot, try these steps:
- Move closer to your device to strengthen the signal and reduce signal disruption.
- Remove or turn off nearby electronics like microwaves or cordless phones that could cause wireless interference.
- Check for physical obstructions like walls or furniture blocking the remote’s line of sight.
- Reset your remote’s connection by re-pairing or reconnecting to the device, ensuring the signal isn’t disrupted by interference.
Addressing wireless interference and signal disruption can often restore responsiveness quickly and efficiently.
Performing a Factory Reset to Restore Default Settings
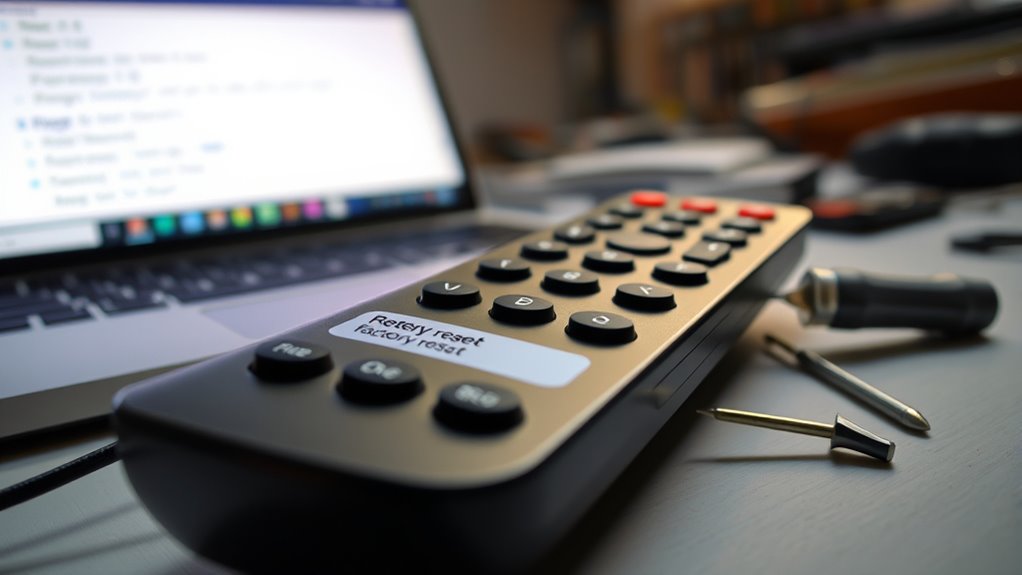
When troubleshooting remote responsiveness, resetting it to factory settings can often resolve lingering issues. This step restores default settings, eliminating glitches caused by remote customization. To do this, consult your user manual for specific instructions, as reset procedures vary. Typically, you’ll press a combination of buttons or locate a reset hole. Keep in mind, a factory reset erases personalized configurations, so note any custom settings beforehand. Use the table below to visualize the process:
| Step | Action | Result |
|---|---|---|
| Locate reset option | Check user manual for reset method | Know how to initiate reset |
| Perform reset | Follow instructions, press buttons | Reset to default settings |
| Confirm reset | Power off/on or check display | Settings restored |
This quick reset can help your remote respond properly again.
When to Seek Professional Repair or Replacement
Sometimes, despite your troubleshooting efforts, remote controls may still malfunction or become unresponsive. Knowing when to seek professional repair or consider replacement options is essential. Consider these signs:
- The remote doesn’t respond after multiple resets and battery changes.
- Buttons are physically damaged or stuck, affecting performance.
- The remote works intermittently, with inconsistent responses.
- Troubleshooting and DIY fixes haven’t resolved the issue.
If you encounter any of these, it’s time to consult a professional repair service. They can diagnose internal issues or suggest suitable replacement options. Sometimes, repairs are cost-effective; other times, replacing the remote might be the best choice for reliability. Recognizing when DIY isn’t enough helps you save time and frustration in the long run.
Frequently Asked Questions
Can Software Updates Cause Remote Calculator Malfunctions?
Yes, software updates can cause remote calculator malfunctions if there’s a compatibility issue. Sometimes, new updates aren’t fully compatible with your system, leading to errors or unresponsiveness. If this happens, you can perform an update rollback to restore the previous version. Always check software compatibility before updating, and keep a backup so you can easily revert if needed, ensuring your remote calculator remains functional.
How Long Should a Remote Battery Typically Last?
Your remote’s battery typically lasts between six months to a year, depending on usage and battery quality. To optimize battery lifespan, practice good power management by turning off the remote when not in use and replacing batteries promptly when they weaken. Regularly check the battery indicator if available. Proper power management helps ensure your remote stays responsive, saving you time and avoiding unexpected malfunctions.
Are There Specific Environmental Factors Affecting Signal Transmission?
Think of your remote as a messenger trying to deliver a secret note; environmental factors can be like thick fog or sturdy walls blocking its path. Remote interference from other electronic devices and signal obstruction caused by furniture or walls can disrupt transmission, making your remote seem deaf to commands. Keep the line clear, reduce interference, and position your remote and receiver in open spaces for a smoother, more responsive connection.
What Are Common Signs Indicating a Hardware Failure?
If your device shows poor battery life, frequent crashes, or unresponsive behavior, it might be hardware failure. You should run hardware diagnostics to identify issues, especially if problems persist despite software updates. Signs like overheating, unusual noises, or physical damage also point to hardware problems. Address these signs promptly to prevent further damage and guarantee your device functions properly. Regular maintenance helps catch hardware issues early.
Is It Safe to Perform DIY Repairs on My Remote Device?
Think of your remote like a delicate puzzle waiting to be solved. DIY safety is essential—if you’re not confident, you risk causing more damage. When it comes to remote repair, you should proceed with caution, ensuring you’ve unplugged devices and used proper tools. If you’re unsure or the repair involves intricate components, it’s safer to consult a professional. Your safety and device longevity depend on careful, informed actions.
Conclusion
Think of your remote as the heartbeat of your device—when it stumbles, everything else pauses. By following these steps, you’re rewiring its pulse, restoring harmony. Sometimes, a simple reset is like giving it a gentle nudge back to life; other times, it’s a sign to seek expert care. Keep patience as your guide, and soon your remote will be singing in tune again, ready to keep your world connected.