Many people make common mistakes when designing a feature wall. You might choose the wrong materials, underestimate how complex installation can be, or think it needs to cover the whole wall. Skipping proper surface prep or ignoring lighting can also ruin the look. Plus, you may follow generic design rules instead of considering your room’s unique style. If you want to avoid these pitfalls, understanding these points will guide you toward a stunning, cohesive feature wall.
Key Takeaways
- Overcovering entire walls can overwhelm the space; smaller, well-placed features often create better focal points.
- Poor wall preparation leads to uneven surfaces and peeling, undermining the feature wall’s durability and appearance.
- Ignoring lighting effects can diminish texture visibility and reduce the wall’s visual impact.
- Mismatched colors, patterns, or styles disrupt harmony, making the feature wall look out of place.
- Assuming DIY skills are sufficient for complex materials and installation risks poor results and additional costs.

WADILE Grasscloth Peel and Stick Wallpaper 15.7in x 78.7in, Textured Contact Paper for Cabinets, Faux Linen Wall Paper Pull and Stick, Fabric Vinyl Wallpaper Self Adhesive Light Gray
【Size & High Quality Material】Size: 15.7" x 78.7"=1.31ft x 6.56ft (covers 8.61 sq.ft). Made of durable vinyl, the…
As an affiliate, we earn on qualifying purchases.
As an affiliate, we earn on qualifying purchases.
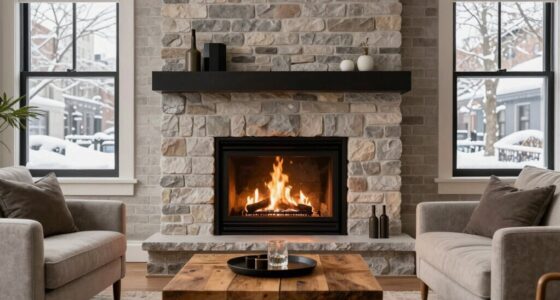
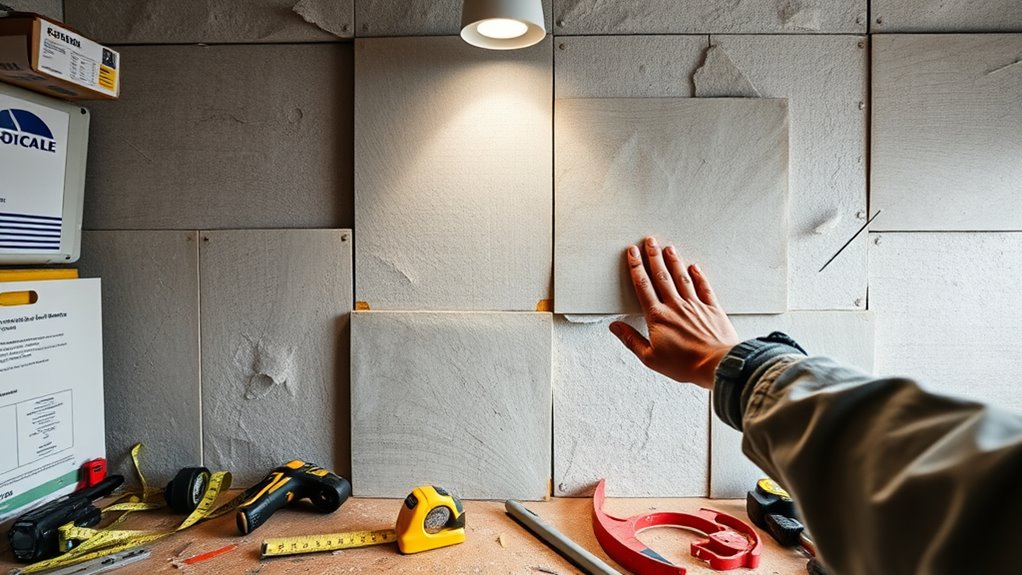
Choosing the Wrong Materials for Your Wall
Choosing the wrong materials for your wall can lead to costly mistakes and frustration. Material durability is vital; you want surfaces that withstand daily wear without deteriorating quickly. Opting for fragile or low-quality materials means you’ll face frequent repairs or replacements, increasing costs over time. Additionally, considering texture variety helps create visual interest and depth. A wall with only one flat finish can feel dull and uninspiring, but incorporating diverse textures like wood, stone, or textured wallpaper adds character. Be mindful of how materials will age and maintain their appearance. Selecting durable, textured materials ensures your feature wall remains attractive and functional for years to come, saving you time, effort, and money in the long run. Understanding ice cream ingredients and their effects can also help you choose materials that resist moisture and temperature changes, preventing damage over time.

Wood Panels for Wall – Oak Acoustic Wall Panels – 4PK Wall Wood Panels – 94.49” x 12 – Soundproof Wood Wall Panels for Decor – Acoustic Slat Wood Wall Panels for Interior Decoration of Walls (Oak)
Adds Warmth, Texture & Character** – Instantly elevate your space with sleek slatted panels that bring depth and…
As an affiliate, we earn on qualifying purchases.
As an affiliate, we earn on qualifying purchases.
Overestimating the Ease of Installation
You might think installing a feature wall is simple, but the complexity of materials can guarantee you. Overestimating your DIY skills can lead to mistakes or damage, especially with tricky surfaces. Sometimes, bringing in a professional saves time and ensures a polished look.
Underestimating Material Complexity
Many homeowners underestimate how complex certain materials can be when installing a feature wall, assuming that the process will be straightforward and quick. The truth is, material variety and surface treatments add layers of complexity. For example, you need to contemplate:
- Different installation techniques depending on the material type (e.g., wood panels vs. tiles).
- Surface preparation, which varies based on surface treatments like paint, wallpaper, or textured finishes.
- The need for specialized tools or adhesives to handle specific materials properly.
- The design style you aim to achieve, which can influence the choice of materials and installation methods.
Ignoring these factors can lead to mistakes, damage, or an uneven finish. Recognizing that each material has its own requirements helps you plan better and avoid surprises during installation. This awareness ensures a professional-looking feature wall that stands the test of time.
Overlooking Professional Help
While it might seem tempting to tackle a feature wall project on your own, underestimating how difficult the installation can be often leads to mistakes. Without professional guidance, you might misjudge measurements, use improper tools, or apply materials unevenly. This can result in an uneven finish or damage to your wall. Proper planning and measurement are crucial steps often overlooked by DIY enthusiasts. Engaging an expert consultation ensures you understand the intricacies of the process and get advice tailored to your space. Professionals bring experience that helps avoid common pitfalls, making the installation smoother and more precise. Don’t overlook the value of expert help—investing in professional guidance can save you frustration and ensure your feature wall looks polished and professional.

Fledomx Plastic Putty Knife Set – 2" 4" 6" Spackle Knives & Paint Scrapers
3 Sizes for All Projects: The plastic putty knives Set Includes 2", 4", and 6" scrapers for precise…
As an affiliate, we earn on qualifying purchases.
As an affiliate, we earn on qualifying purchases.
Believing a Feature Wall Has to Cover the Entire Wall
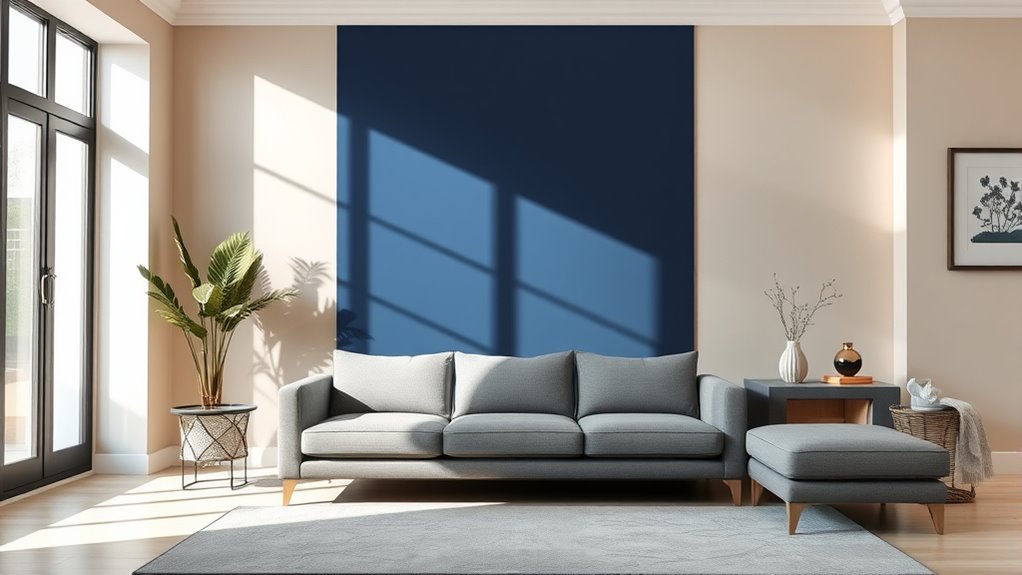
It’s a common misconception that a feature wall must span the entire length of a wall to make an impact. This belief fuels wall coverage misconceptions and design scope myths that limit creativity. In reality, you can create a striking feature without full coverage. Consider these options:
- Use a bold paint or wallpaper on a smaller section to draw attention.
- Install a decorative panel or artwork that occupies part of the wall.
- Highlight a specific area, like behind a bed or sofa, instead of covering the whole wall.
- Understanding zodiac compatibility can inspire themed or personalized design choices that reflect your interests and personality.
These approaches emphasize that you don’t need to commit to full wall coverage for a feature wall to be effective. Narrowing your focus allows for more unique, personalized design choices that stand out without overwhelming the space.

Roman PRO-880 Wallpaper Adhesive, Ultra Clear Strippable – 1-Gallon
VERSATILE – Ideal for hanging most types and weights of wallcoverings including vinyl, solid-vinyl, non-woven, paste-the-wall, paste-the-paper, and…
As an affiliate, we earn on qualifying purchases.
As an affiliate, we earn on qualifying purchases.
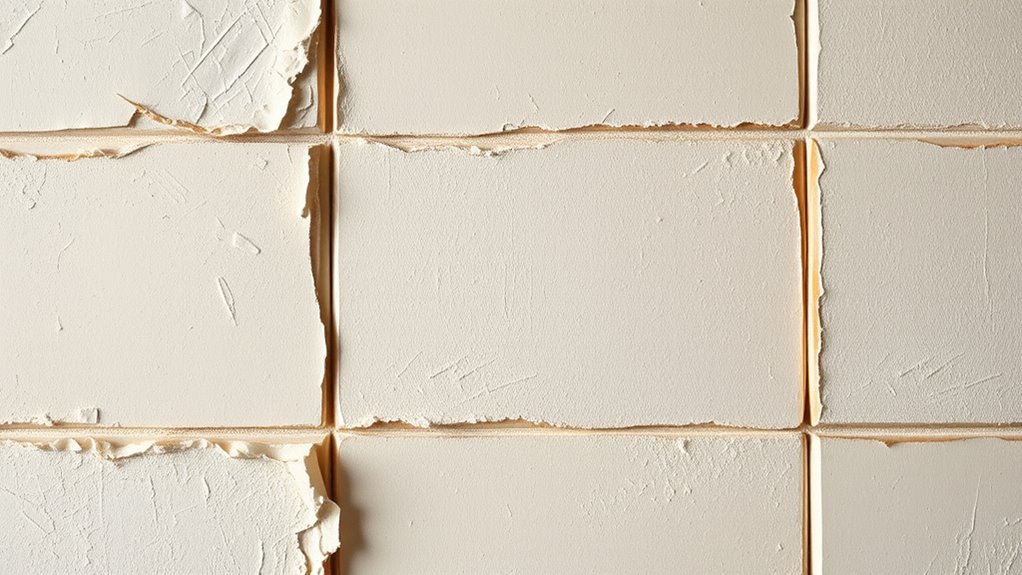
Ignoring the Importance of Wall Preparation
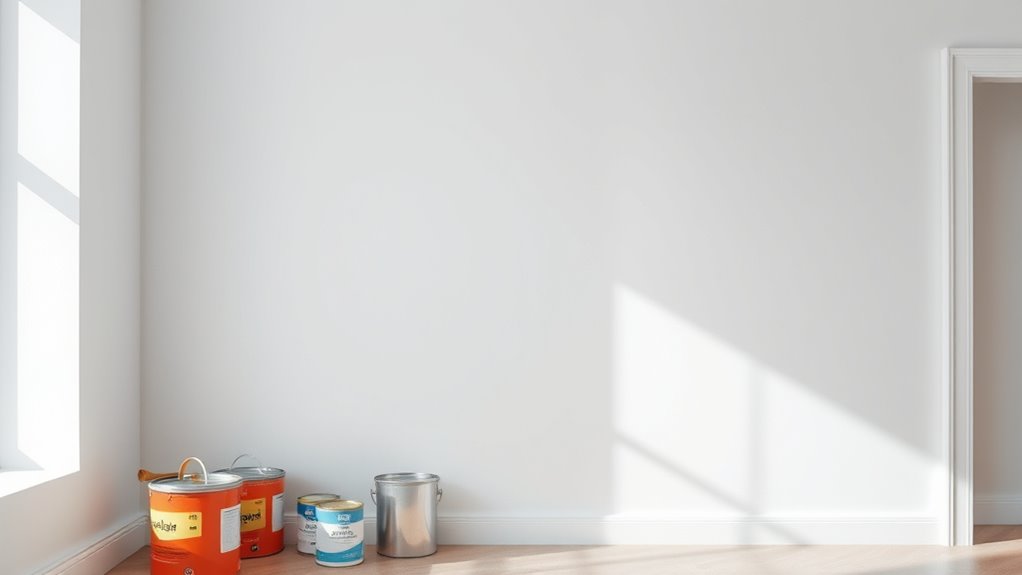
Neglecting proper wall preparation can sabotage your entire feature wall project. Before you start, you need to focus on wall cleaning to remove dust, grease, or any previous paint residues. A clean surface guarantees better paint adhesion and a smoother finish. Skipping this step can cause peeling or uneven coating down the line. Additionally, proper paint preparation is vital—this includes sanding rough patches, filling holes, and priming if necessary. These steps create an ideal surface, preventing imperfections that can ruin the final look. Rushing through wall preparation might save time initially, but it often results in a less professional appearance and the need for touch-ups later. Investing in surface preparation techniques ensures a durable and flawless finish that enhances your feature wall’s visual impact.
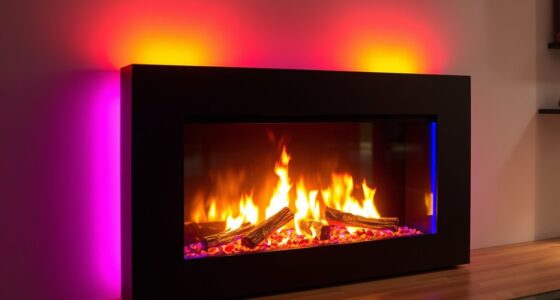
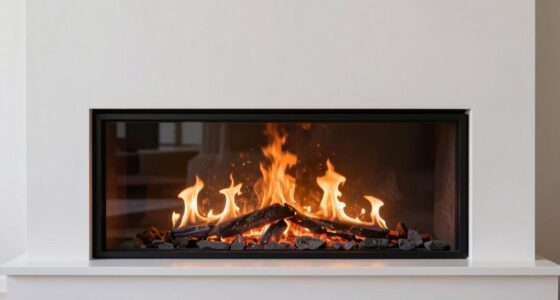
Underestimating the Impact of Lighting

Lighting plays a crucial role in how your feature wall looks and feels, yet many people underestimate its impact. Proper lighting can enhance the ambient glow and highlight textures, making your wall stand out. Without it, your design might fall flat or appear dull. To optimize lighting, consider:
Effective lighting enhances your feature wall’s texture and ambiance, making your space truly stand out.
- Using layered lighting to combine ambient, task, and accent sources.
- Incorporating fixtures that enhance natural illumination during the day.
- Positioning lights to create shadows that add depth and dimension.
These steps ensure your feature wall benefits from the right ambiance and clarity. Remember, lighting influences mood and perception, so don’t overlook its power in your design. Effective lighting strategies can dramatically transform your space, emphasizing the wall’s textures and colors. A well-lit feature wall transforms a simple space into a captivating focal point, making your efforts truly shine.
Assuming One-Size-Fits-All Design Rules
While universal design rules can serve as helpful starting points, relying on them without considering your unique space and personal style can lead to mismatched or uninspired results. Each room has its own vibe, so what works in one might not work in another. Focusing solely on texture patterns and color coordination without tailoring them to your space can make your feature wall feel out of place. Instead, experiment with different textures and hues that reflect your personality and complement existing decor. Remember, there’s no single rule for perfection—trust your instincts. Here’s a quick guide to avoid the trap of one-size-fits-all rules:
| Texture Patterns | Color Coordination | Room Style |
|---|---|---|
| Varied textures | Bold vs. subtle | Modern or vintage |
| Natural finishes | Complementary tones | Cozy or sleek |
| Contrasting elements | Monochrome schemes | Eclectic or minimal |
Additionally, understanding design principles can help you create a balanced and visually appealing feature wall that suits your specific space.
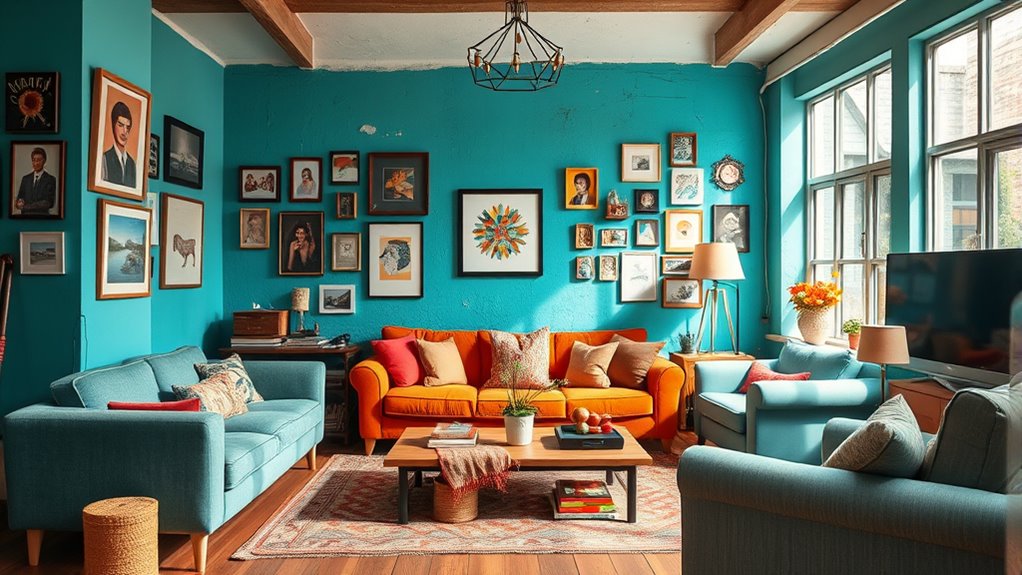
Forgetting to Consider the Room’s Overall Style
Choosing textures and colors that reflect your personality is a great start, but overlooking the room’s overall style can lead to a feature wall that clashes with the space. To maintain room harmony and style consistency, consider these points:
- Match the wall’s design with existing furniture and decor to create a cohesive look.
- Use color palettes that complement the room’s primary tones instead of clashing or overly contrasting hues.
- Incorporate patterns or textures that align with the room’s overall aesthetic, whether modern, rustic, or eclectic.
- Be mindful of design coherence to ensure your feature wall enhances the room rather than disrupting it.
Disregarding the room’s style can make your feature wall feel out of place, disrupting the visual flow. Always step back and evaluate how the new design fits into the existing environment to ensure a balanced, harmonious space.
Frequently Asked Questions
How Do I Choose the Best Paint Color for My Feature Wall?
To choose the best paint color for your feature wall, start by considering your existing color palette and the mood you want to set. Pick shades that complement your furniture and decor, creating harmony. Test a few colors in different lighting to see how they change throughout the day. Trust your instincts, and don’t be afraid to go bold—your feature wall should reflect your personality and style.
What Tools Are Essential for a DIY Feature Wall Installation?
Imagine a blank wall as your canvas—your tools are the brushes and palette. You’ll need essential painting supplies like brushes, rollers, painter’s tape, and drop cloths. Measuring tools such as a tape measure and level are vital to guarantee straight lines and perfect placement. These tools help you avoid mistakes, making your DIY feature wall project smooth and professional-looking. Gather them first, and you’re ready to transform your space with confidence.
Can a Feature Wall Work in Small Spaces?
Yes, a feature wall can work in small spaces by optimizing space and creating a visual impact. Use lighter colors or reflective surfaces to make the room feel bigger, and choose a bold, eye-catching design to draw attention without overwhelming the space. Keep the rest of the decor simple to enhance the feature wall’s effect. This approach boosts visual interest while maintaining a sense of openness and balance in your small room.
How Do I Maintain and Clean Different Wall Materials?
Think of your wall as a treasured painting—worthy of careful care. To maintain and clean different wall materials, use appropriate cleaning techniques for each surface; for example, gentle dusting for painted walls and mild soap solutions for tiles. Always protect your wall with wall protection, like pads or sealants, to prevent damage. Regularly inspect and clean to keep your feature wall looking fresh, vibrant, and a true reflection of your style.
What Are Common Mistakes When Matching a Feature Wall to Furniture?
You often make mistakes matching a feature wall to furniture by neglecting color coordination and furniture balance. If your wall’s bold, don’t choose overly busy furniture or similar shades that clash. Instead, opt for complementary colors and balanced pieces that enhance both the wall and the room’s overall harmony. Keep the design cohesive by considering how your furniture’s style and color interact with the wall, creating a unified, inviting space.
Conclusion
Remember, designing a feature wall isn’t a one-size-fits-all recipe. It’s like painting a picture—you need the right colors, proper prep, and thoughtful lighting to make it shine. Don’t get caught up in misconceptions or rush the process. By avoiding these common pitfalls, you’ll turn your wall into a stunning centerpiece that truly reflects your style. So, take your time and let your creativity be the brush that brings your space to life.