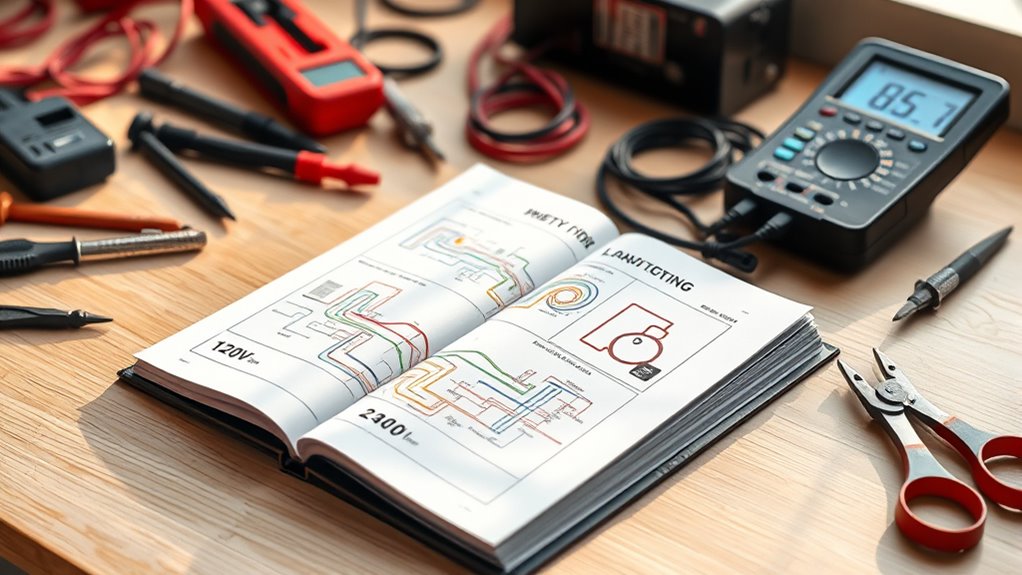

To troubleshoot 120V and 240V heating systems effectively, you need to understand their wiring differences, common symptoms, safety precautions, and step-by-step testing procedures. You’ll learn how to identify power issues, check components, and determine when to replace parts or call a professional. Careful safety measures are vital. If you want to master each step and guarantee safe, efficient repairs, this thorough guide covers everything you should know.
Key Takeaways
- Understand the fundamental voltage system differences between 120V and 240V heating units for proper troubleshooting.
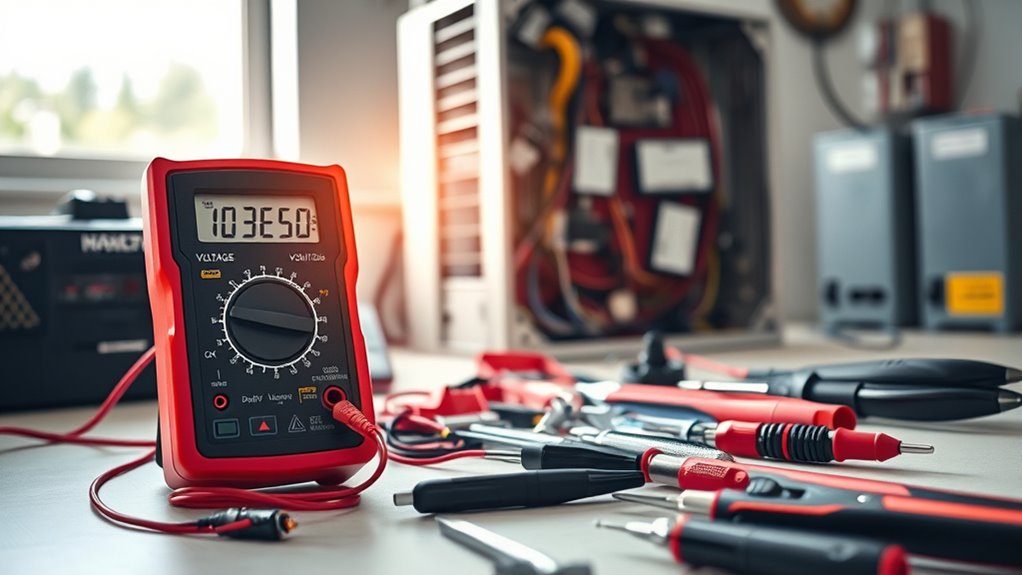
- Perform initial voltage checks with a multimeter to confirm power supply before inspecting components.
- Follow safety precautions by disconnecting power and using protective gear before troubleshooting or repairs.
- Diagnose common symptoms like no heat or flickering to identify wiring, thermostat, or component faults.
- Conduct systematic testing of thermostats, heating elements, and wiring to accurately locate and resolve issues.
Understanding the Differences Between 120V and 240V Heating Systems
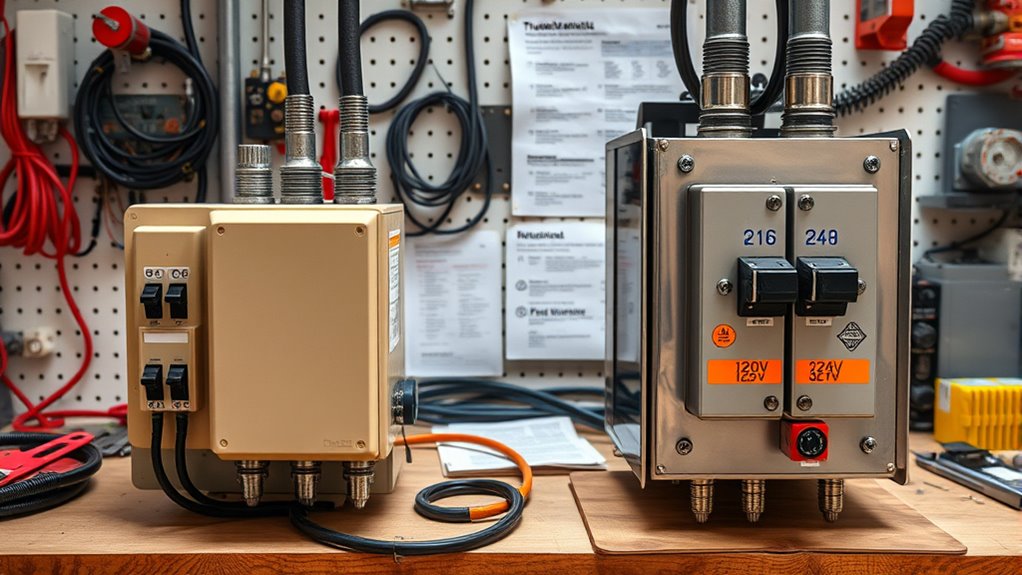
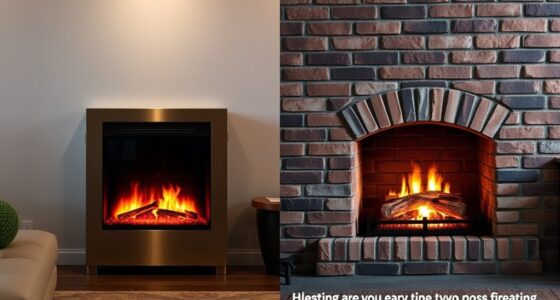
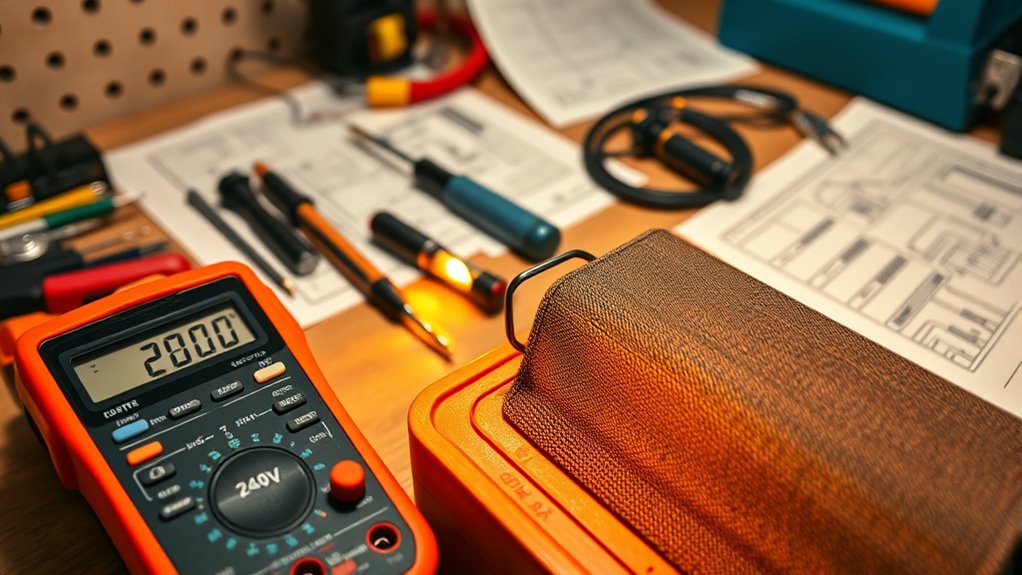
Understanding the differences between 120V and 240V heating systems is essential for proper troubleshooting and safe operation. Voltage compatibility is critical; using the wrong voltage can damage your heater or create safety hazards. 120V systems typically operate on standard household outlets and have simpler wiring configurations, often involving a single hot wire, a neutral, and a ground. In contrast, 240V systems require two hot wires, a neutral or ground, and more complex wiring setups. Knowing your system’s voltage helps you identify the appropriate wiring configuration and avoid wiring mistakes. Always verify your heater’s voltage requirements before attempting repairs or installation. Proper comprehension of these differences ensures safe operation and prevents potential damage or electrical hazards. Additionally, understanding the voltage requirements of your system can help you select compatible components and prevent costly errors.
Common Symptoms and Their Possible Causes
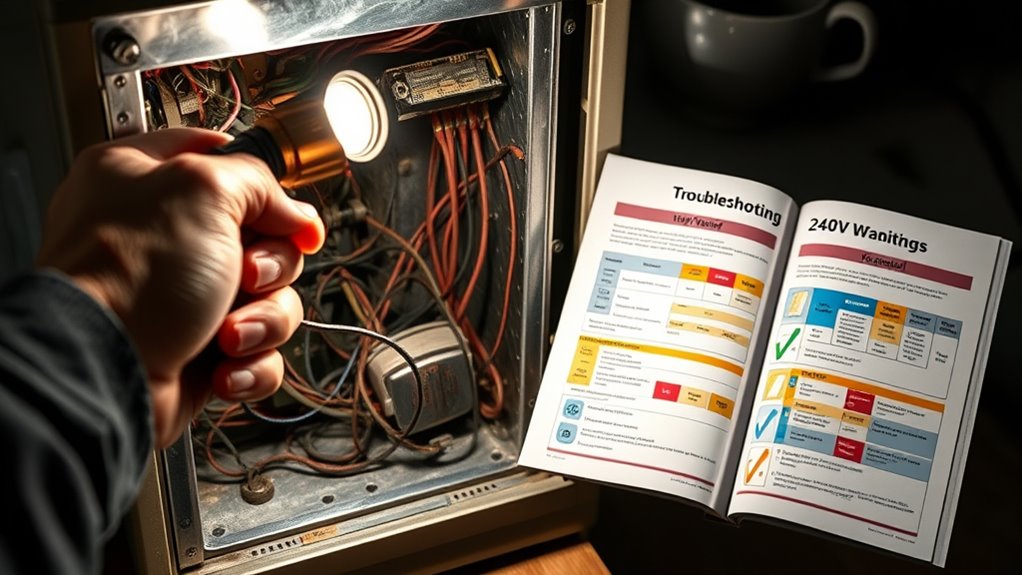
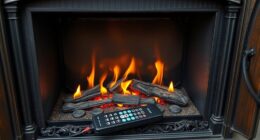
When your heater isn’t working properly, certain symptoms can help you identify the underlying issue. If your heater fails to turn on or cycles on and off frequently, thermostat issues might be to blame. A faulty thermostat can send incorrect signals, causing inconsistent heating. You might also notice no heat at all, which could point to wiring faults, such as loose or damaged connections disrupting power flow. Flickering or intermittent operation could indicate a wiring problem or a malfunctioning thermostat. In some cases, you might hear unusual noises or see tripped circuit breakers, both of which suggest wiring faults or electrical issues. Recognizing these symptoms early helps narrow down potential causes and guides you toward the right troubleshooting steps before more serious problems develop. Additionally, understanding signs of spoilage in related components, such as corrosion or burnt smells, can further aid in diagnosing electrical faults.
Safety Precautions Before Troubleshooting
Before you start troubleshooting, make sure to turn off the power to the equipment to prevent shocks. Always wear protective gear like gloves and safety glasses to keep yourself safe. Taking these precautions helps avoid accidents and guarantees you work safely. Additionally, understanding the cost of somatic therapy can highlight the importance of investing in proper training and safety measures for effective troubleshooting.
Power Off Equipment
To guarantee your safety and prevent electrical shock or equipment damage, always turn off the power supply before troubleshooting your heating system. This step helps protect you from potential hazards caused by circuit overloads, which can create unexpected power surges, or voltage fluctuations that may damage components. Cutting the power ensures that no current is flowing through the system while you work on it. Never bypass safety measures or work on live equipment, as this increases the risk of electrical shock. Confirm the power is off by checking the circuit breaker or disconnect switch. Additionally, understanding symptoms of electrical issues can help identify potential problems before beginning repairs. Taking this precaution minimizes the chance of injury and prevents further damage to your heating system during troubleshooting.
Wear Protective Gear
Wearing protective gear is a crucial step in ensuring your safety during troubleshooting. Proper protective gear minimizes risks and keeps you safe from electrical hazards. Always wear insulated gloves, safety goggles, and a grounding strap when working with electrical components. This gear helps prevent electric shocks and injuries. Before starting, double-check your gear for damage or wear. Remember, electrical safety isn’t optional—it’s essential. Use the table below to ensure you have the right protective gear for each step:
| Gear Type | Purpose | When to Use |
|---|---|---|
| Insulated Gloves | Protect against shocks | Handling live wires |
| Safety Goggles | Shield eyes from sparks | Working near sparks or arcs |
| Grounding Strap | Prevent static buildup | During wiring adjustments |
| Insulated Shoes | Reduce shock risk | Standing on conductive surfaces |
| Protective Clothing | Cover skin from sparks | During high-voltage work |
Additionally, understanding different headphone types and their connection methods can be crucial when troubleshooting audio issues in various devices.
Step-by-Step Diagnostic Procedures for 120V Units
To troubleshoot your 120V heating unit, start by checking the power supply to verify it’s delivering the correct voltage. Next, inspect the heating element for any signs of damage or wear. These steps help you identify common issues before moving on to more detailed tests.
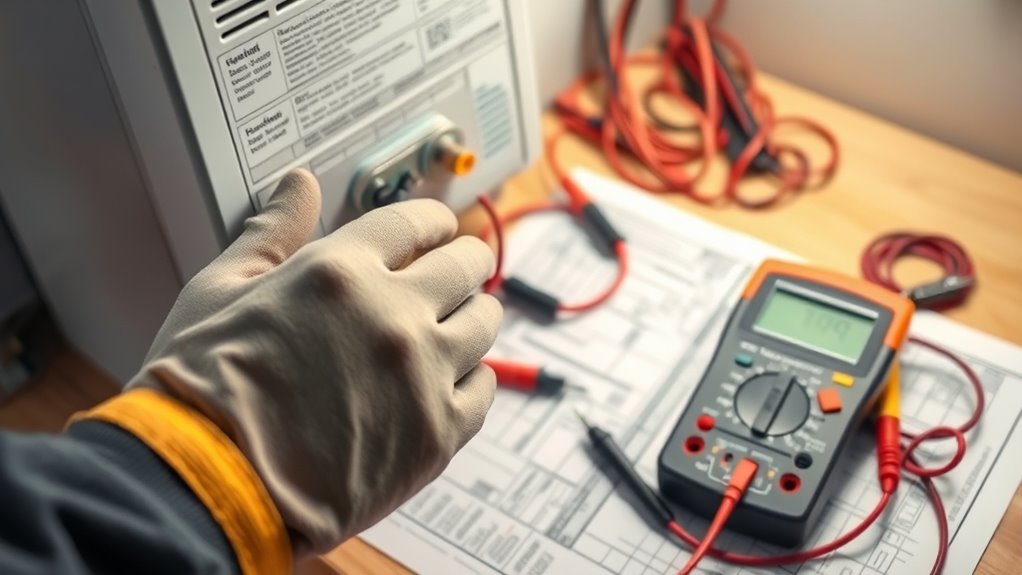
Check Power Supply
When troubleshooting a 120V heating unit, ensuring the power supply is functioning correctly is the first critical step. Check for voltage fluctuation or power surges that could disrupt operation. Use a multimeter to measure voltage at the outlet, confirming it remains steady within the proper range. If fluctuations are present, consider installing a surge protector or contacting an electrician. Here’s a quick guide:
| Issue | Cause | Solution |
|---|---|---|
| No power | Tripped circuit breaker | Reset breaker or replace fuse |
| Fluctuating voltage | Power surges | Install surge protection |
| Low voltage | Wiring issues | Inspect wiring connections |
| Consistent voltage | Normal operation | Proceed with further checks |
Maintaining a stable power supply is essential for optimal operation and for preventing damage to your heating unit. Additionally, understanding voltage stability can help you identify underlying electrical issues that may affect performance.
Inspect Heating Element
Before replacing the heating element, you should visually inspect it for obvious signs of damage, such as cracks, corrosion, or burn marks. These issues can result from thermal expansion over time, causing the metal to weaken or crack. Next, perform resistance testing with a multimeter to check if the element is functioning correctly. A reading that’s too high or shows infinite resistance indicates a broken or burned-out element. Conversely, a very low reading suggests a short circuit. Make sure the element is cool before testing. If the resistance is within the manufacturer’s specifications, the element likely isn’t the problem. If not, replacing it should restore proper operation. Always confirm the element’s condition before proceeding to more complex troubleshooting steps. Proper testing procedures are essential to accurately diagnose heating element issues and ensure safety.
Step-by-Step Diagnostic Procedures for 240V Units
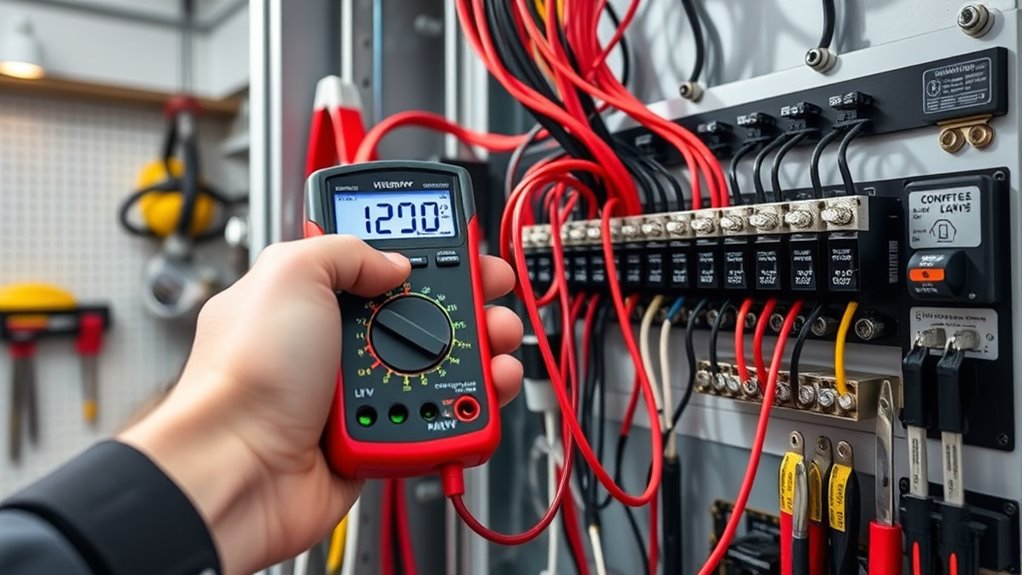
Diagnosing 240V heating units requires a systematic approach to identify issues efficiently. Start by verifying the thermostat calibration to ensure it’s set correctly and responding properly. Next, check the wiring configuration, making sure all connections are secure and correctly wired according to the manufacturer’s diagram. Use a multimeter to test for voltage at the unit; you should see around 240V when the system is active. If voltage is present but the heater isn’t functioning, inspect the wiring for damage or loose connections. Confirm the thermostat signals the system to turn on. This step-by-step process helps eliminate common issues early, narrowing down potential problems before moving to component testing or professional assistance. Additionally, electrical safety should always be a priority when working with high-voltage systems to prevent accidents or injury.
When and How to Replace Components or Seek Professional Help
Recognizing when to replace components or seek professional help is essential for safety and effective repair. If you notice persistent issues despite troubleshooting or if the problem involves damaged wiring, burned smells, or visible wear, it’s time for component replacement or professional assistance. Attempting repairs beyond your skill level can be dangerous, especially with electrical components. Proper troubleshooting and understanding airless paint sprayer features can help identify when professional help is necessary. Consider these indicators: – Repeated blown fuses or tripped breakers – Non-responsive heating elements after testing – Visible damage or corrosion on parts In these cases, professionally trained technicians can safely perform component replacement and ensure your system operates correctly. Don’t hesitate to seek professional assistance when in doubt—it’s the safest way to resolve complex issues and avoid further damage.
Preventative Maintenance Tips to Avoid Future Issues
Regular maintenance is key to preventing future electrical and heating issues. By performing preventative maintenance regularly, you can catch potential problems early and guarantee your system stays efficient. Start by inspecting connections, wiring, and terminals for signs of wear or corrosion. Clean or replace filters and vents to improve airflow and prevent overheating. Check circuit breakers and fuses to ensure they’re functioning correctly. Keeping components in good condition helps extend system longevity and reduces the risk of breakdowns. Schedule professional inspections annually to identify hidden issues before they escalate. Regularly monitoring air quality considerations can also help detect early signs of system inefficiency. Keeping components in good condition helps extend system longevity and reduces the risk of breakdowns. Schedule professional inspections annually to identify hidden issues before they escalate. Consistent upkeep not only saves you money in repairs but also assures safe, reliable operation of your heating system for years to come. Preventative maintenance is a simple, effective way to keep your system running smoothly.
Frequently Asked Questions
Can I Convert a 120V Heater to 240V?
You can’t simply convert a 120V heater to 240V because of voltage conversion and heater compatibility issues. Most heaters are designed specifically for their voltage ratings, and trying to change this can damage the unit or cause safety hazards. Instead, check if your heater is compatible with 240V or consider purchasing a model designed for that voltage. Always consult an electrician before attempting any electrical modifications.
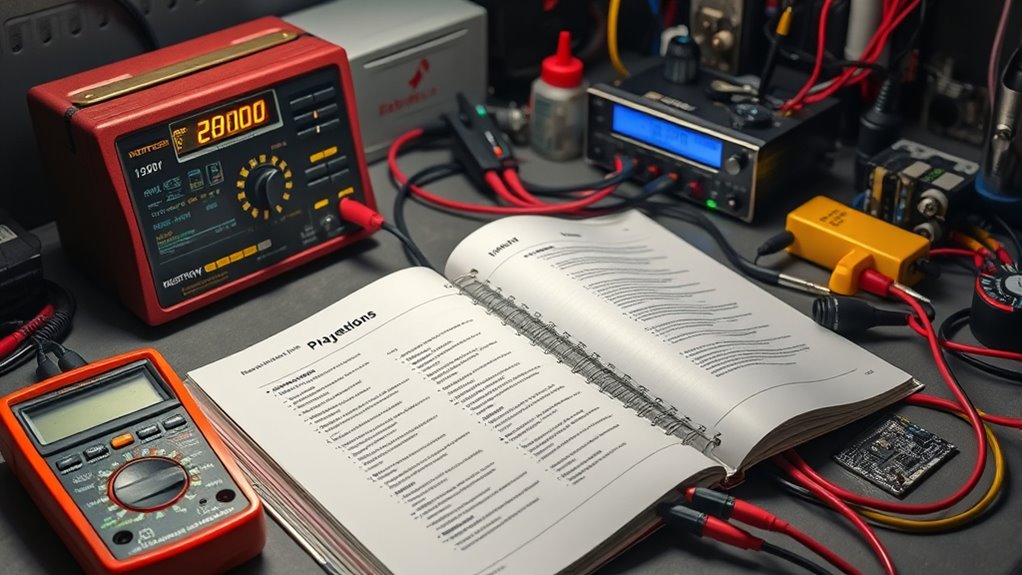
What Tools Are Essential for Troubleshooting Heating Systems?
You might be surprised to learn how essential a multimeter is for troubleshooting heating systems. It allows you to perform accurate testing of electrical components and guarantees proper wiring inspection. With these tools, you can quickly identify faults, verify voltage levels, and confirm continuity. Having a multimeter and a good wiring inspection kit on hand makes diagnosing issues more efficient, saving you time and preventing costly repairs.
How Long Should a Heating Element Last Before Replacement?
Your heating element typically lasts between 3 to 5 years, depending on usage and water quality. Keep an eye on its performance; if you notice inconsistent heating or frequent failures, it’s time for replacement. The key to ideal heating lifespan is regular maintenance. Plan for replacement when you see signs of wear or reduced efficiency, usually around the 4-year mark, to avoid unexpected system failures.
Are There Differences in Warranty Coverage Between 120V and 240V Units?
Warranty policies often differ between 120V and 240V heating units, with coverage variations based on manufacturer and model. Generally, 240V units may have longer warranties due to their higher power capacity, but you should always verify the specific coverage details. Pay attention to the warranty period, what’s included, and any exclusions. Comparing these coverage differences helps you choose the right unit and ensures you’re protected against potential issues.
What Signs Indicate a Need for Professional Repair Immediately?
Like a digital watch, you should seek professional repair immediately if you notice urgent safety issues, such as sparks, burning smells, or tripped circuit breakers. Early warning signs include inconsistent heating, strange noises, or visible damage. Ignoring these signals can lead to severe hazards. Trust a professional to diagnose and fix the problem safely, preventing further damage or potential injury. Never delay when safety is at stake.
Conclusion
By mastering these troubleshooting steps, you’ll become a powerhouse of heating repair knowledge—more unstoppable than a blazing wildfire. Whether you’re tackling a 120V or 240V system, understanding the signs and proper procedures keeps your home safe and warm. Remember, don’t let a small issue turn into a disaster. Stay vigilant, follow safety tips, and when in doubt, call in a pro. Your comfort and safety depend on it—so stay prepared and confident!