To master thermostats and remotes in a weekend, start by understanding the different types and their features, and gather the essential tools. Carefully review manufacturer guides to learn installation, programming, and troubleshooting steps. Practice pairing remotes and fine-tuning settings for ideal comfort and efficiency. Don’t forget to test and troubleshoot issues early. If you keep exploring these steps, you’ll gain confidence and become proficient in managing your system quickly.
Key Takeaways
- Familiarize yourself with thermostat types, features, and compatibility to understand system options and installation needs.
- Read the user manual thoroughly to grasp wiring, placement, and programming instructions.
- Practice pairing and testing remote devices, ensuring proper connection and responsiveness.
- Calibrate sensors, replace batteries, and troubleshoot issues for optimal remote control performance.
- Explore smart features, app integrations, and maintenance routines to master ongoing management of your system.

Honeywell Home RTH9585WF1004 Wi-Fi Smart Color Thermostat, 7 Day Programmable, Touch Screen, Energy Star, Alexa Ready, Gray
COMFORT COMES IN YOUR COLOR. Personalize your Wi-Fi Smart Color Programmable Thermostat to fit your décor.
As an affiliate, we earn on qualifying purchases.
As an affiliate, we earn on qualifying purchases.
Understanding Different Types of Thermostats and Remotes
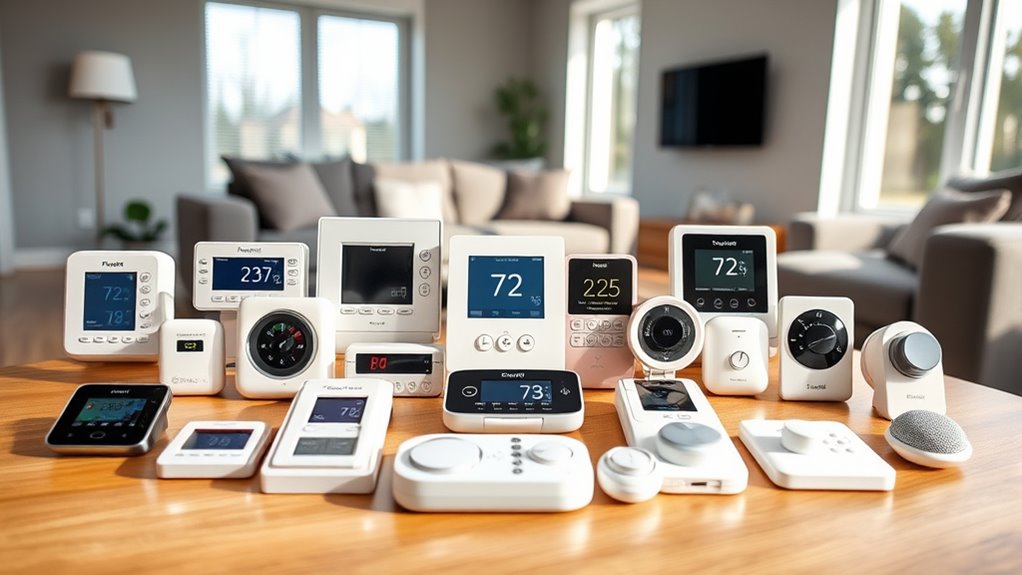
Have you ever wondered how the different types of thermostats and remotes can impact your comfort and energy savings? Understanding the variety available helps you choose the right setup for your needs. Wireless compatibility is key—some thermostats connect seamlessly via Wi-Fi or Bluetooth, giving you remote control through smartphones or tablets. This flexibility allows you to adjust your home’s temperature from anywhere, increasing convenience. Many modern thermostats also feature energy-saving options like adaptive schedules, learning algorithms, or eco modes that automatically optimize settings to reduce energy consumption. By selecting a thermostat with these features, you can improve comfort while lowering utility bills. Understanding the integration of automation technologies can further enhance your system’s efficiency and user experience. Knowing the differences helps you make smarter choices and get the most out of your heating and cooling system.

GENERIC Mini Split Universal Remote Control,10000 Codes, Controls 99.9% AC
Universal Compatibility: Features 10000 codes in one control, compatible with most air conditioner brands
As an affiliate, we earn on qualifying purchases.
As an affiliate, we earn on qualifying purchases.
Gathering Necessary Tools and Resources
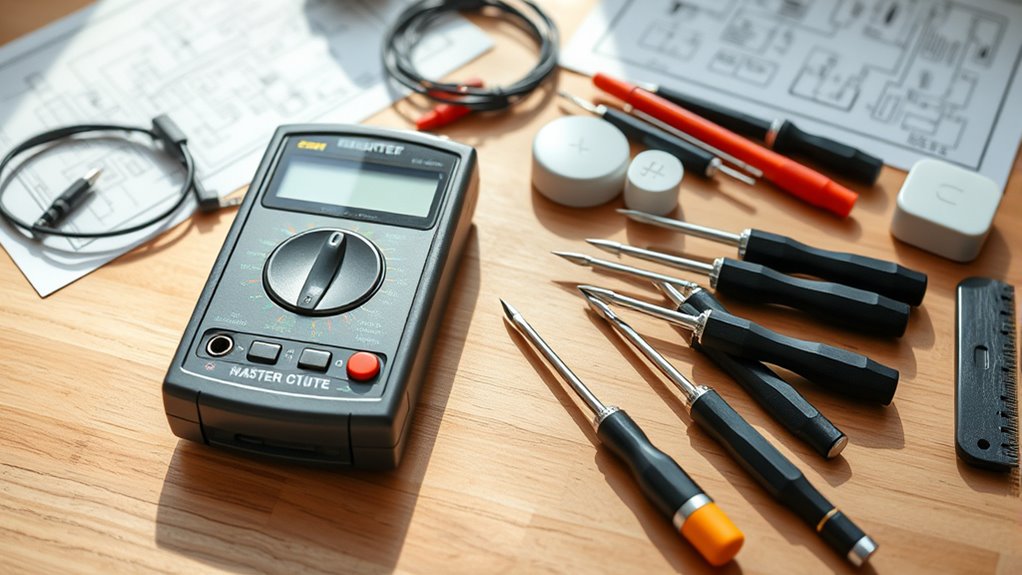
Are you prepared to upgrade or install your thermostat and remote system? Before diving in, gather all necessary tools and resources. You’ll need basic items like a screwdriver, wire strippers, and a voltage tester. Consider decorative covers to enhance your setup’s look. Use the table below to organize your supplies:
| Tool/Resource | Purpose | Notes |
|---|---|---|
| Screwdriver | Remove and install covers | Phillips or flat-head |
| Wire strippers | Prepare wiring connections | Ensure proper gauge |
| Voltage tester | Check power safety | Confirm system off |
| Decorative covers | Improve aesthetics | Match decor |
| Energy saving tips guides | Optimize system performance | Save on bills |
Having these ready keeps your project efficient and safe. Additionally, understanding vetted products and safety precautions ensures a successful upgrade.

Resideo YTH6320R1001
EQUIPMENT INTERFACE MODULE(EIM): All HVAC equipment is wired to the module. Module receives communication from the wireless devices
As an affiliate, we earn on qualifying purchases.
As an affiliate, we earn on qualifying purchases.
Reading User Manuals and Manufacturer Guides
When you start reading user manuals and manufacturer guides, focus on understanding the layout and key sections. Don’t get stuck on technical jargon; look for explanations or glossaries that clarify unfamiliar terms. This approach helps guarantee you can follow instructions accurately and troubleshoot effectively, especially when considering filter replacement and maintenance procedures.
Navigating Manual Contents
Getting through manual contents can seem intimidating at first, but understanding how to read user manuals and manufacturer guides is essential for proper thermostat and remote operation. Start by familiarizing yourself with the table of contents, which outlines key sections like setup, operation, and troubleshooting tips. Focus on the manual instructions for initial setup and daily use, paying attention to diagrams and step-by-step guidance. When issues arise, consult troubleshooting tips to identify common problems and solutions quickly. Don’t skip over safety notices or specific manufacturer recommendations, as they can prevent damage and ensure proper function. By systematically navigating the manual, you’ll gain confidence in managing your thermostat and remote, making future adjustments easier and more efficient. Additionally, recognizing the significance of manual accuracy can help prevent errors and improve device performance.
Understanding Technical Jargon
After familiarizing yourself with the manual’s layout, you’ll encounter technical jargon that can seem confusing at first. To decode this effectively, focus on understanding key terms related to technical specifications. Here are four tips for jargon decoding:
- Look up unfamiliar terms in the glossary or online.
- Focus on context clues within the manual to infer meanings.
- Break complex phrases into simpler parts to grasp their function.
- Keep a list of common terms for quick reference during setup.
- Recognize specific tuning-related terminology, such as performance enhancements, to better understand the adjustments being discussed.
AstroAI Digital Multimeter Tester 2000 Counts with DC AC Voltmeter and Ohm Volt Amp Meter; Measures Voltage, Current, Resistance, Continuity and Diode, Blue
Additional Tips – The following incorrect operations may cause the multimeter not to show results: Firstly, the plugs…
As an affiliate, we earn on qualifying purchases.
As an affiliate, we earn on qualifying purchases.
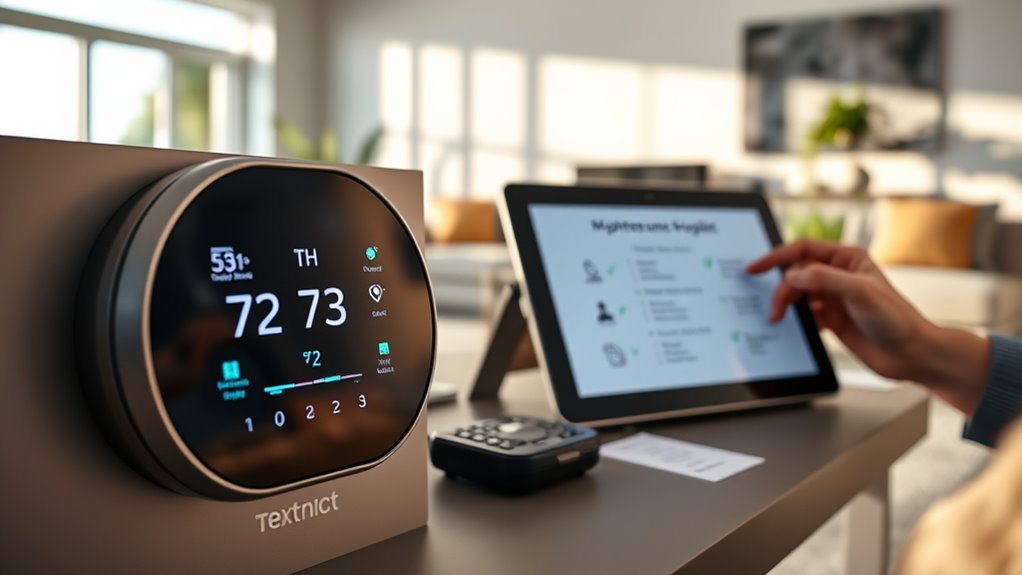
Setting Up Your Thermostat: Step-by-Step
Are you ready to set up your thermostat for ideal comfort? Follow these simple steps to optimize energy efficiency and user comfort. First, install the thermostat in a central, shaded location away from drafts, direct sunlight, or heat sources. Turn off your HVAC system before starting. Connect the thermostat wiring according to the manual, ensuring correct placement of each wire. Use the table below to help identify key components:
| Component | Function |
|---|---|
| Power supply | Provides energy to the thermostat |
| Temperature sensor | Detects room temperature |
| Display screen | Shows current settings and info |
| Control buttons | Adjust temperature and modes |
| Wiring terminals | Connects to HVAC system |
Once installed, power on and follow the setup prompts for ideal operation. Proper placement of the thermostat can also maximize efficiency and ensure accurate temperature readings.
Programming Your Thermostat for Optimal Comfort and Efficiency
Once your thermostat is installed and powered on, programming it correctly guarantees you enjoy comfort while saving energy. Start by exploring the user interface design to set your preferred temperature schedules. Use these energy saving tips to optimize performance:
- Set lower temperatures during winter nights and higher in summer days.
- Utilize the programming feature to create automatic temperature adjustments.
- Avoid constant manual changes, which waste energy.
- Review your schedule regularly for improvements.
- Be aware of energy efficiency principles to maximize savings and comfort.
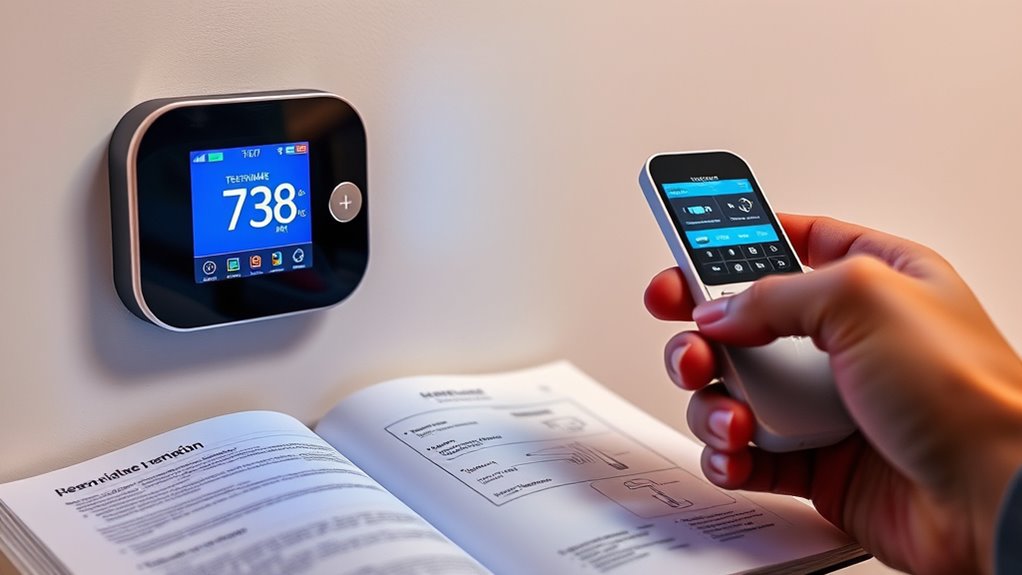
Connecting and Configuring Remote Controls
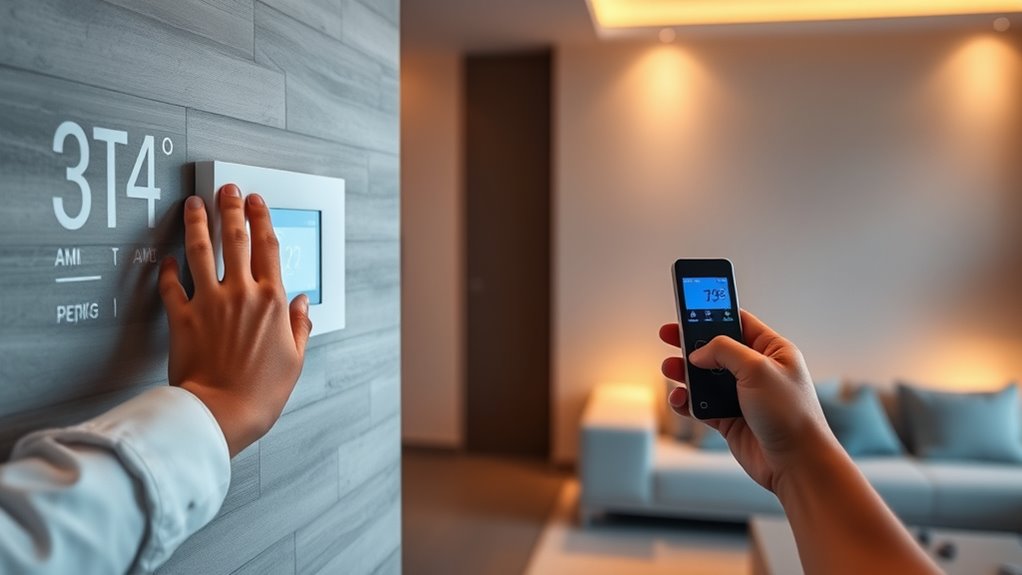
To get your remote working smoothly, you’ll need to pair your device and adjust the connection settings. Once connected, it’s important to test the remote to guarantee everything functions correctly. This quick setup helps you control your thermostat easily and reliably. Additionally, ensuring your remote’s compatibility with the device can prevent potential issues and streamline your setup process.
Pairing Remote Devices
Pairing remote devices is a straightforward process that guarantees your remote controls work seamlessly with your thermostat or smart device. To ensure smooth device synchronization, follow these steps:
- Turn on the remote and put it into pairing mode, usually by pressing and holding a specific button.
- Access your thermostat’s or smart device’s pairing menu.
- Select “Add Device” or “Remote Pairing” option.
- Wait for the devices to recognize each other and confirm the connection.
- Ensure your remote has sufficient battery life, as low batteries can hinder the pairing process. Battery level This process ensures proper device synchronization, making your remote ready to control your thermostat effectively. Remember, each device might have slight variations, but following these core steps will simplify remote pairing, saving you time and frustration.
Adjusting Connection Settings
After successfully pairing your remote device, the next step is to fine-tune its connection settings to guarantee peak performance. Begin by calibrating the sensor if necessary; this guarantees accurate temperature readings and reliable operation. If your remote isn’t responding properly, check the battery level and replace the batteries if they’re low or dead, as weak batteries can disrupt signal quality. Adjust the connection parameters, such as signal frequency or pairing mode, according to your thermostat’s instructions. Confirm that the remote maintains a stable connection by moving closer or removing obstacles that might interfere. Regular sensor calibration and timely battery replacement help keep your remote functioning smoothly, reducing connection issues and ensuring your thermostat responds accurately to your commands. Being aware of AI vulnerabilities can also help you troubleshoot unexpected issues with smart devices.
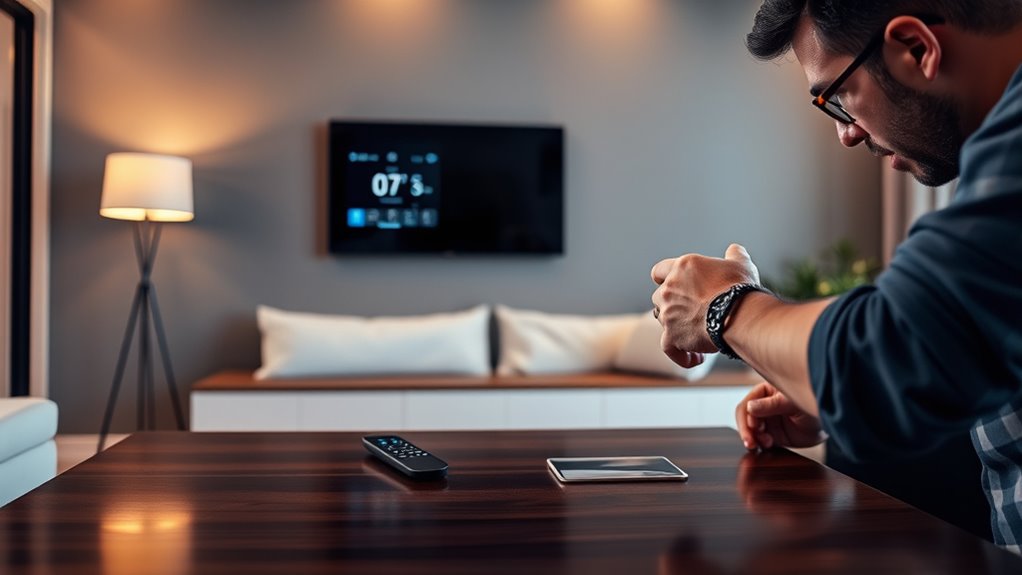
Testing Remote Functionality
Once your remote device is connected, it’s essential to test its functionality to verify it communicates correctly with your thermostat. Start by checking the signal strength; a strong signal ensures reliable operation. Next, press various buttons to confirm the remote responds promptly and accurately. Pay attention to battery life—weak batteries can cause inconsistent signals or delays. Finally, test the remote from different distances and angles to ensure consistent performance. Here’s a quick checklist:
- Verify signal strength indicator (if available)
- Test responsiveness from multiple distances
- Replace batteries if response is sluggish
- Confirm all buttons function correctly
Troubleshooting Common Issues With Thermostats and Remotes

Troubleshooting common issues with thermostats and remotes can help you quickly resolve problems that disrupt your comfort. One common troubleshooting step is checking for remote interference, which can prevent signals from reaching the thermostat. Make certain there are no obstructions or electronic devices that might interfere with the remote’s signal. If your remote isn’t working, replace the batteries and re-sync it with the thermostat. Verify that the thermostat is powered and set to the correct mode. Sometimes, simple resets can fix glitches. For persistent issues, consult the user manual for specific troubleshooting tips. Remember, understanding the basics of common troubleshooting can save you time and avoid unnecessary service calls, keeping your home comfortable without hassle.
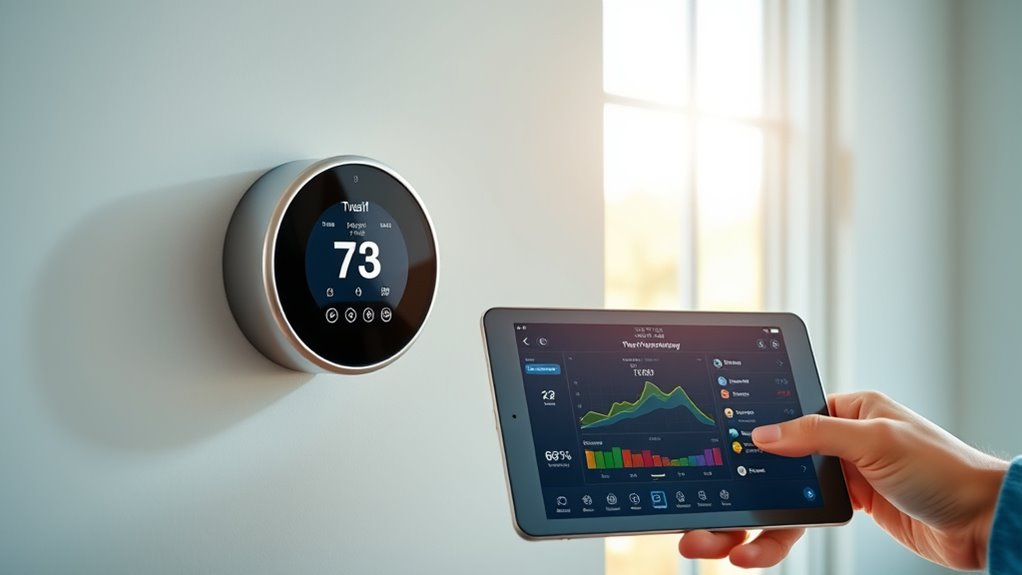
Integrating Smart Features and Mobile Apps
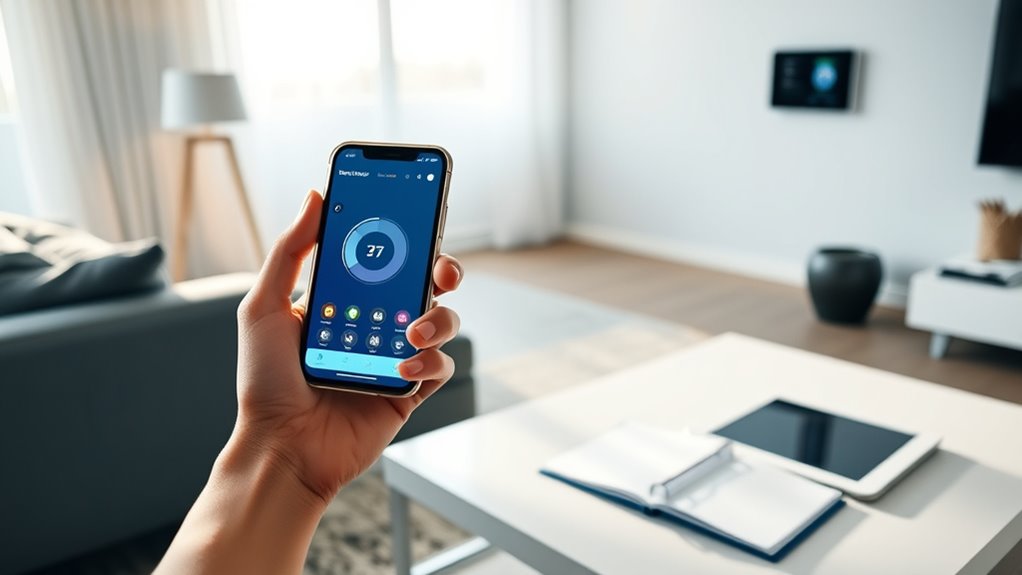
Integrating smart features and mobile apps allows you to control your thermostat remotely and customize settings for ideal comfort. With voice control, you can adjust temperatures hands-free, making it effortless to respond to changing needs. Mobile apps also enable real-time energy monitoring, helping you track usage and identify savings opportunities. To maximize these features, consider:
- Setting up voice assistants for seamless control.
- Using energy monitoring tools to analyze consumption patterns.
- Creating custom schedules directly through the app.
- Enabling notifications for maintenance or unusual activity.
These integrations make your thermostat smarter, more efficient, and easier to manage from anywhere, giving you better control over your home environment and energy costs.
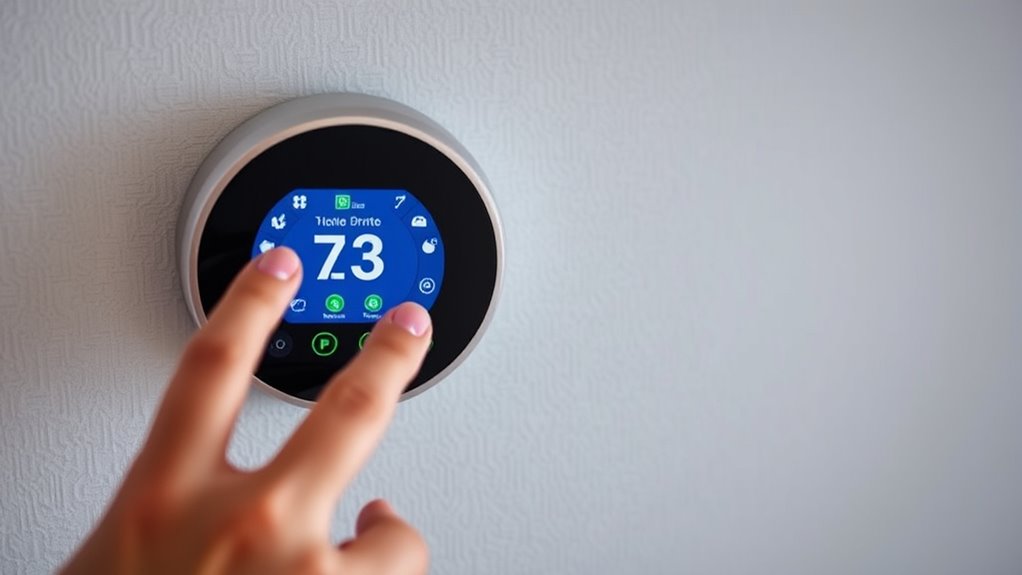
Testing Your Setup and Fine-Tuning Settings
Now that you’ve set up your system, it’s important to test everything works correctly. You should verify that the temperature readings are accurate, adjust response times if needed, and guarantee your remote connects reliably. These steps will help you fine-tune your setup for ideal comfort and performance.
Verify Temperature Accuracy
Before relying on your thermostat or remote, it’s vital to verify that it accurately measures and responds to temperature changes. Start by checking the sensor calibration to guarantee your temperature sensors are correct. Here’s how:
- Place a reliable thermometer near your thermostat or remote for comparison.
- Set your device to a specific temperature, then wait for it to stabilize.
- Compare the readings from your device and the thermometer.
- Adjust the sensor calibration settings if there’s a discrepancy, assuring your temperature sensors provide accurate data.
This process helps confirm your thermostat or remote responds correctly to real temperature changes. Proper calibration ensures your setup maintains the desired comfort level and saves energy by avoiding false readings.
Adjust Response Times
Once you’ve confirmed your thermostat or remote responds accurately to temperature changes, it’s time to fine-tune how quickly it reacts. Start by adjusting the response times in the user interface, ensuring the device doesn’t cycle too often or lag behind. Proper sensor calibration is essential here; if your sensor isn’t calibrated correctly, response times can be misleading. Use the thermostat’s calibration settings to fine-tune sensor accuracy, which directly impacts reaction speed. Check that the response feels natural—neither sluggish nor overly sensitive. If needed, tweak the settings gradually, testing after each adjustment. This process ensures your system maintains comfort without unnecessary cycling, optimizing energy use. Precise sensor calibration and intuitive interface controls are key to achieving responsive, reliable performance.
Test Remote Connectivity
To guarantee your remote is properly connected and functioning as intended, start by testing its communication with the thermostat. First, check the remote signal strength; if it’s weak, you might need to move closer or remove obstructions. Next, press a command button and see if the thermostat responds promptly. If not, consider replacing the batteries, as low power can affect connectivity. Additionally, verify the remote’s indicator lights—if they’re dim or absent, a battery replacement is likely needed. Finally, ensure there are no interference sources nearby, like other electronics. To summarize:
- Test remote signal strength and proximity
- Send commands and observe responses
- Replace batteries if signals are weak
- Remove interference sources
This guarantees your remote works reliably and maintains ideal connectivity.
Establishing a Maintenance and Update Routine
Establishing a regular maintenance and update routine is essential to guarantee your thermostats and remotes function efficiently and stay secure. Start by checking sensor calibration periodically to ensure accurate temperature readings, which improves system performance. Keep firmware updates current; manufacturers often release improvements that address security vulnerabilities and enhance features. Schedule routine inspections to verify that all components are functioning correctly, and address any issues promptly. Regularly updating firmware can prevent glitches and compatibility problems, saving you time and hassle. Additionally, clean sensors and remote controls to maintain responsiveness. By establishing these habits, you ensure your system remains reliable, secure, and optimized for comfort, giving you peace of mind and control over your climate management.
Frequently Asked Questions
Can I Upgrade My Existing Thermostat to a Smart Model Easily?
Yes, upgrading your thermostat to a smart model is usually straightforward. Start with compatibility checks to guarantee your existing wiring and HVAC system work with the new device. Follow installation tips like turning off power, removing the old thermostat carefully, and connecting wires correctly. Many smart thermostats come with detailed instructions, making the process easier. If you’re unsure, consulting a professional can ensure a smooth upgrade.
What Security Measures Should I Consider for Connected Remote Controls?
You should prioritize remote security by enabling strong, unique passwords and regularly updating your firmware. Use encryption protocols like WPA2 or WPA3 for your Wi-Fi network to protect data transmissions. Avoid connecting remote controls to unsecured networks, and consider two-factor authentication if available. These measures help prevent unauthorized access, ensuring your smart thermostat remains secure and your connected devices stay protected from potential cyber threats.
How Do Different Climate Conditions Affect Thermostat Programming?
Different climate conditions require you to adapt your thermostat programming strategies. In colder weather, set your thermostat lower to save energy but guarantee your home stays warm enough. During hot climates, program your thermostat to cool during peak heat hours and save energy overnight. Climate adaptation involves adjusting your settings seasonally and considering remote control features to optimize comfort and efficiency based on outdoor conditions.
Are There Energy-Saving Tips Specific to Particular Thermostat Types?
Think of your thermostat as a wise guardian of energy efficiency. For smart thermostats, program schedules to match your routine, saving energy when you’re away. For manual models, regularly check and calibrate to guarantee accurate readings, reducing unnecessary heating or cooling. Proper thermostat maintenance keeps devices running smoothly, maximizing energy savings. Tailoring tips to your thermostat type helps you cut costs and stay comfortable, all while protecting the environment.
How Often Should I Update or Replace My Thermostat’s Firmware?
You should update your thermostat’s firmware whenever updates are available, typically every few months. Regular firmware updates improve functionality, security, and energy efficiency, which can extend your thermostat’s longevity. Check your device’s settings or app regularly for updates, and install them promptly. Keeping your firmware up-to-date guarantees your thermostat runs smoothly, stays compatible with new features, and helps you maximize energy savings over time.
Conclusion
Mastering your thermostats and remotes is like tending a garden—you plant the seeds with understanding, nurture them through setup and programming, and keep them healthy with regular maintenance. With patience and practice, you’ll create a comfortable, efficient environment that blossoms year-round. Think of each step as watering your garden: consistent care leads to a thriving, harmonious space where comfort and technology grow together seamlessly.