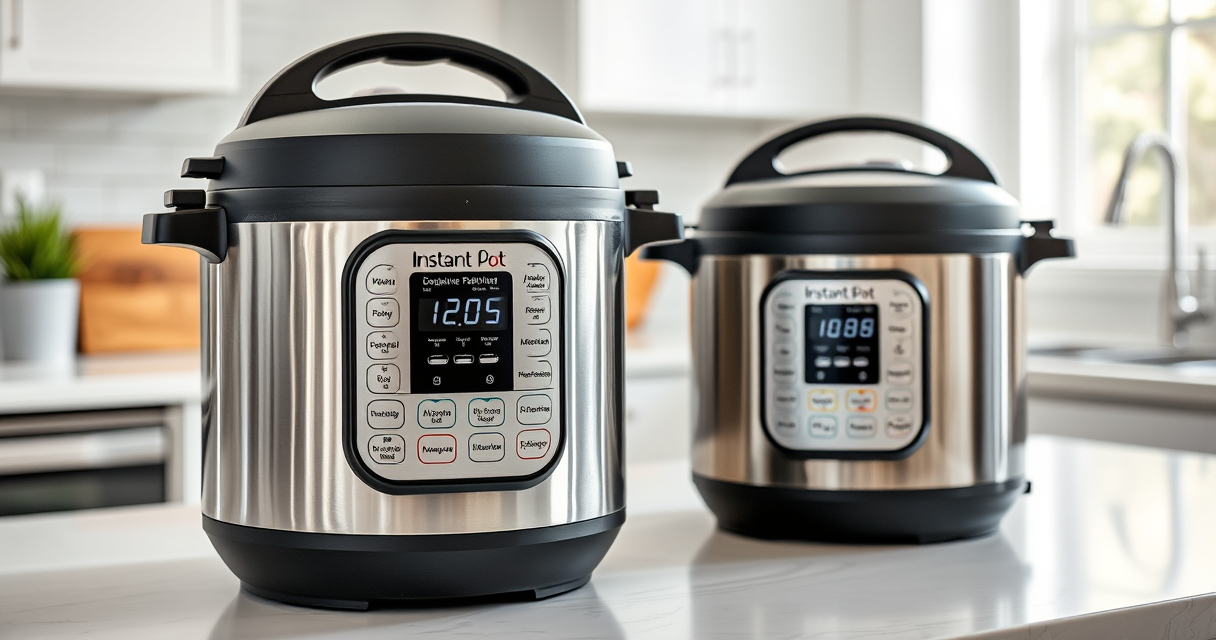

Keeping your Instant Pot Duo clean is essential for maintaining its performance and ensuring safe, delicious meals every time. Regular cleaning prevents buildup of food residue, odors, and potential bacteria.
This guide provides a clear, step-by-step process to clean your Instant Pot Duo safely and effectively, including tips and troubleshooting advice to handle common issues.
Gather Necessary Supplies
- Soft sponge or cloth
- Dish soap
- White vinegar or lemon juice
- Non-abrasive scrub brush
- Paper towels or microfiber cloth
- Replacement sealing ring (optional, for odor removal)

AOZITA Steamer Basket for Instant Pot Accessories 6 qt or 8 quart - 2 Tier Stackable 18/8 Stainless Steel Mesh - Silicone Handle - Vegetable Steamer Insert, Egg Basket, Pasta Strainer,Silver
2-TIER STACKABLE BASKET – Make the best out of your instant pot with our steel mesh steamer pot...
As an affiliate, we earn on qualifying purchases.
Disassemble and Prepare
- Unplug the Instant Pot and allow it to cool completely.
- Remove the inner pot, sealing ring, lid, and accessories such as the steam rack or basket.
- Inspect the sealing ring for cracks or odors. Replace if necessary.
Clean the Inner Pot and Accessories
- Wash the inner pot with warm, soapy water using a soft sponge. For stubborn stains, soak with a mixture of water and vinegar.
- Rinse thoroughly and dry with a clean towel.
- Clean accessories like the steam basket (recommended: AOZITA Steamer Basket for versatile cooking).
Clean the Lid and Gasket
- Wash the lid with warm, soapy water. Pay special attention to the sealing ring groove and vent.
- Remove the sealing ring and wash separately; replace if it has persistent odors or damage.
- Dry all parts thoroughly before reassembling.
Clean the Main Body and Exterior
- Wipe the exterior with a damp cloth. Avoid harsh chemicals that may damage the surface.
- Use a soft brush or toothpick to clear any food debris from the vent and steam release valve.
- Ensure all components are dry before storage or next use.
Troubleshooting & Tips
- If your Instant Pot emits odors, replace the sealing ring or soak it in vinegar solution.
- For hard water stains, use a mixture of baking soda and water to scrub the inner pot.
- Always check for cracks or damage before reassembling.
Products That Help
AOZITA Steamer Basket

A solid, widely-recommended pick for keeping your machine in top shape.
Pros:
Cons:
Best for:
Not ideal for:
Bottom line:
Frequently Asked Questions
How often should I clean my Instant Pot?
It’s best to clean the inner pot, lid, and accessories after every use to prevent odors and buildup.
Can I use bleach or harsh chemicals to clean my Instant Pot?
No, avoid harsh chemicals. Use mild dish soap, vinegar, or baking soda for safe cleaning.
How do I remove stubborn stains from the inner pot?
Soak the inner pot in a mixture of water and vinegar or baking soda, then scrub gently with a non-abrasive sponge.
What should I do if the sealing ring smells bad?
Remove the ring and soak it in a vinegar solution or replace it with a new one if odors persist.
Affiliate disclosure: As an Amazon Associate we earn from qualifying purchases. Prices and availability are accurate as of the time of publishing.