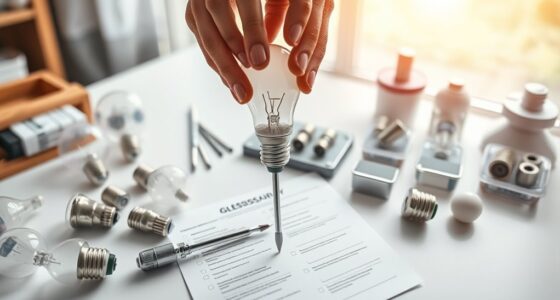
To replace bulbs and LEDs correctly, start by turning off the power and checking that the fixture is cool. Confirm compatibility by matching the base type, size, and wattage or lumens. Handle bulbs carefully, using gloves if needed, and avoid forcing fittings. Make certain the dimmer supports LEDs if applicable. By following these steps, you’ll prevent issues like flickering or damage—keep going to discover more tips for safe and effective lighting upgrades.
Key Takeaways
- Verify fixture compatibility, including base type, size, and wattage, before purchasing or replacing bulbs or LEDs.
- Check for labels or manuals to ensure bulbs match fixture specifications and dimmer support.
- Handle bulbs carefully, using gloves or a cloth, and avoid oil transfer or excessive force during installation and removal.
- Turn off power and allow fixtures to cool before replacing bulbs to prevent electrical shocks and damage.
- Regularly inspect, clean, and verify compatibility to maintain safety, efficiency, and extend lighting system lifespan.
Choosing the Right Replacement Bulb or LED

When selecting a replacement bulb or LED, it’s vital to take into account compatibility with your fixture and the lighting needs of your space. Focus on the color temperature to create the right ambiance—warm tones for cozy rooms, cool tones for task areas. Choosing the appropriate color temperature directly impacts how comfortable and functional your space feels. Additionally, prioritize energy efficiency; LED bulbs generally use less power and last longer than traditional bulbs, saving you money over time. Check the fixture’s specifications to verify the bulb’s base type and wattage match. Incorporating advanced lighting technology can further optimize your lighting setup for better performance and energy savings. By considering both color temperature and energy efficiency, you’ll select a bulb that not only fits your fixture but also enhances your space’s atmosphere while reducing energy costs.
Understanding Wattage and Lumens for Better Brightness
Choosing the right bulb involves more than just color temperature; understanding wattage and lumens helps you select the brightness level you need. Wattage indicates how much energy a bulb consumes, but it doesn’t directly measure brightness. Instead, look at lumens, which show how much light a bulb produces. Higher lumens mean brighter light. When considering energy efficiency, compare lumens per watt to find bulbs that give you the most brightness for less power. Color temperature affects the light’s tone, but it doesn’t impact brightness directly. Additionally, Kia Tuning options can influence your vehicle’s lighting performance for better visibility. By understanding these factors, you can choose bulbs that meet your needs without wasting energy. This approach ensures your space is well-lit, while keeping your electricity bills and environmental impact in check.
Identifying the Correct Base Type and Size
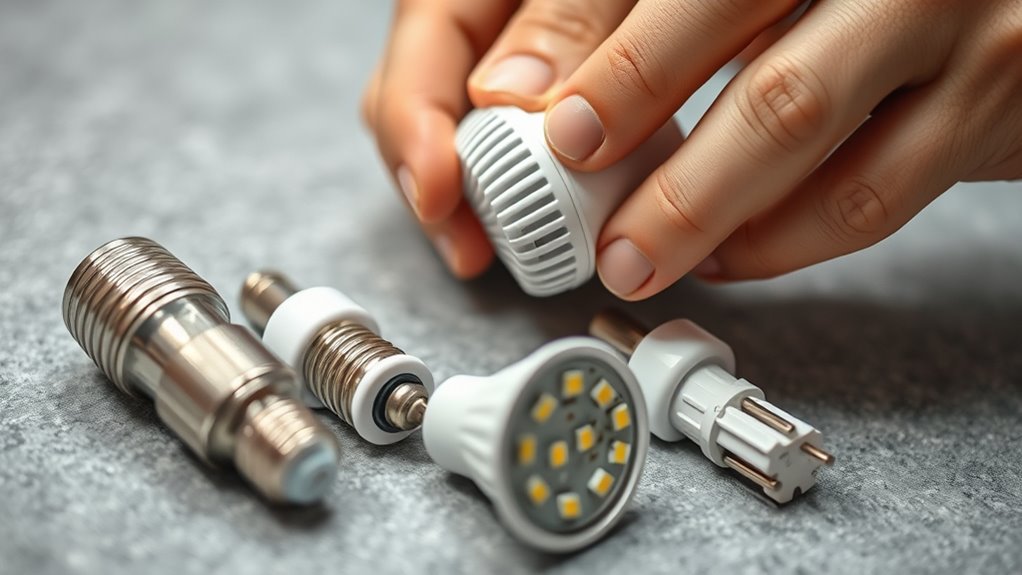
To guarantee your new bulb fits correctly and functions properly, you need to identify the correct base type and size. Base identification assures compatibility, preventing fitting issues or malfunction. Size matching is equally important to ensure the bulb fits securely in the socket. Use the bulb’s markings or consult your vehicle or fixture manual for specifics. Additionally, understanding home theatre projector compatibility can help you choose the right replacement, especially for specialized lighting setups.
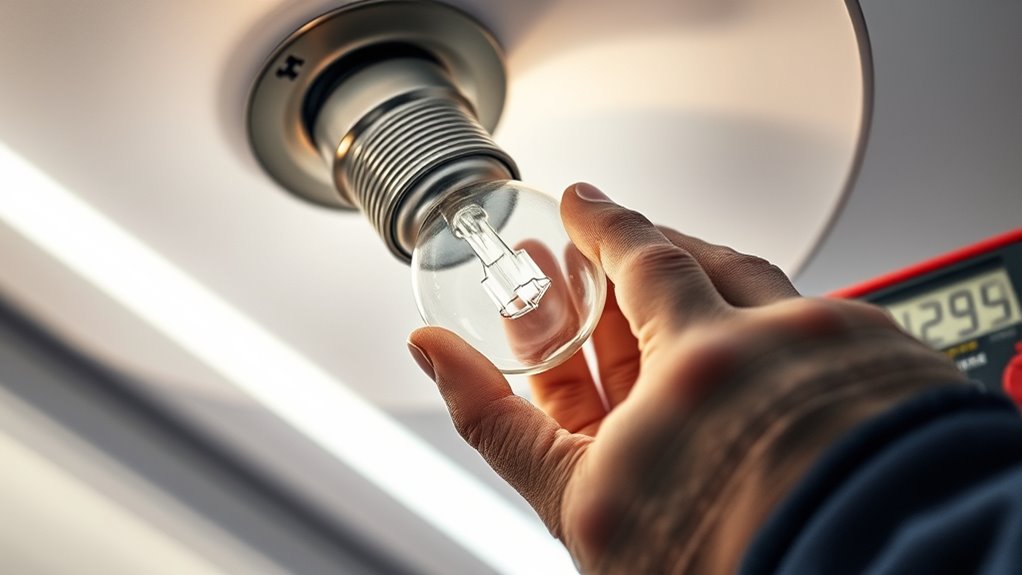
Turning Off Power Before Replacing
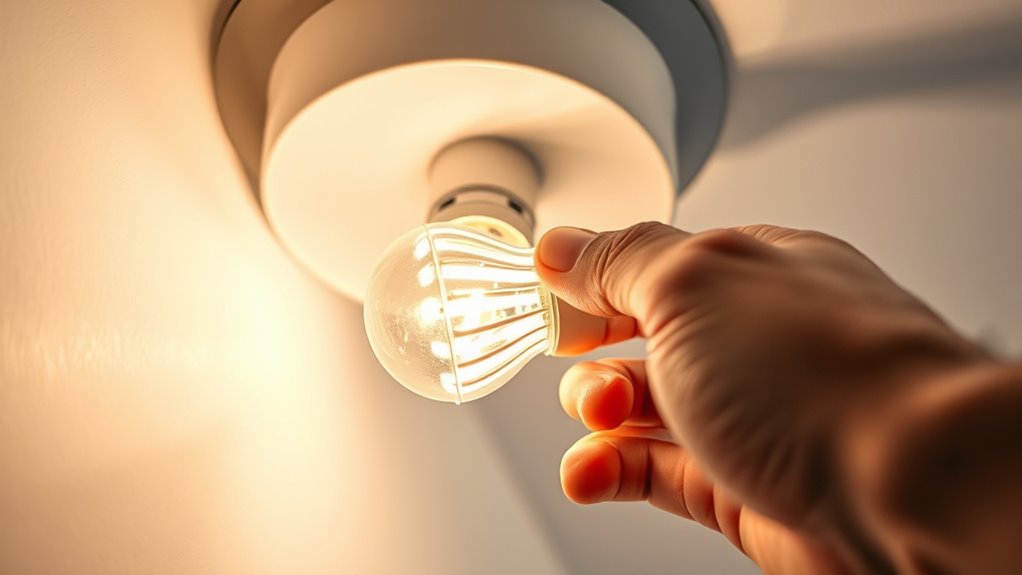
Before you start replacing a bulb, make sure the power supply is turned off. Electrical safety is essential to prevent shocks or injuries. Turn off the switch or circuit breaker that controls the power sources feeding the fixture. Confirm that the power is fully disconnected by testing the socket with a voltage tester if needed. Never assume the power is off; always double-check, especially if multiple switches control the same fixture. Ignoring this step increases the risk of electrical shock. Properly turning off the power ensures a safe environment for replacing bulbs or LEDs. Remember, safety should always come first—working with live electrical components can be dangerous. Taking this simple step protects you and helps avoid costly accidents. Electrical safety is a fundamental aspect of home maintenance that should never be overlooked.
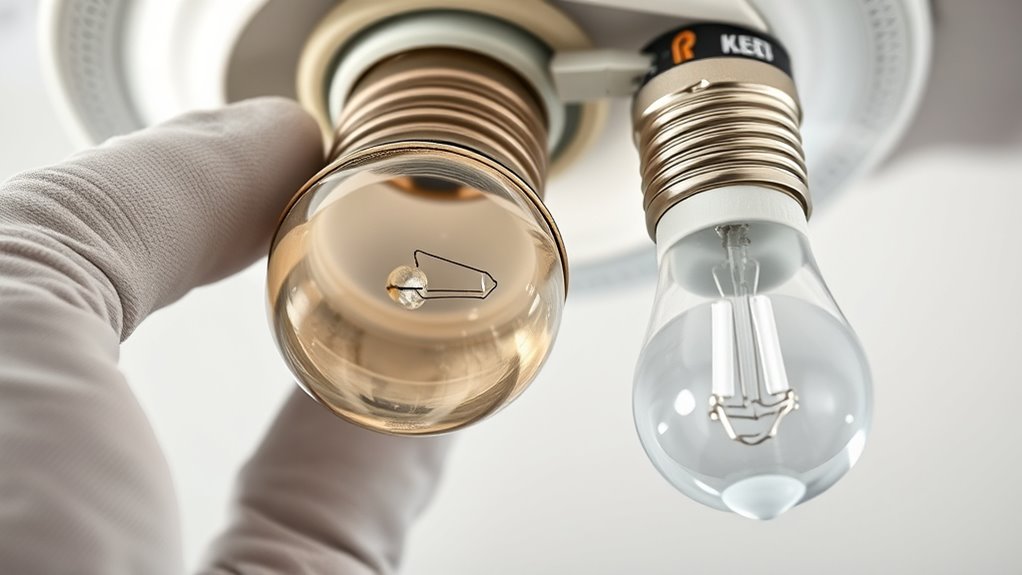
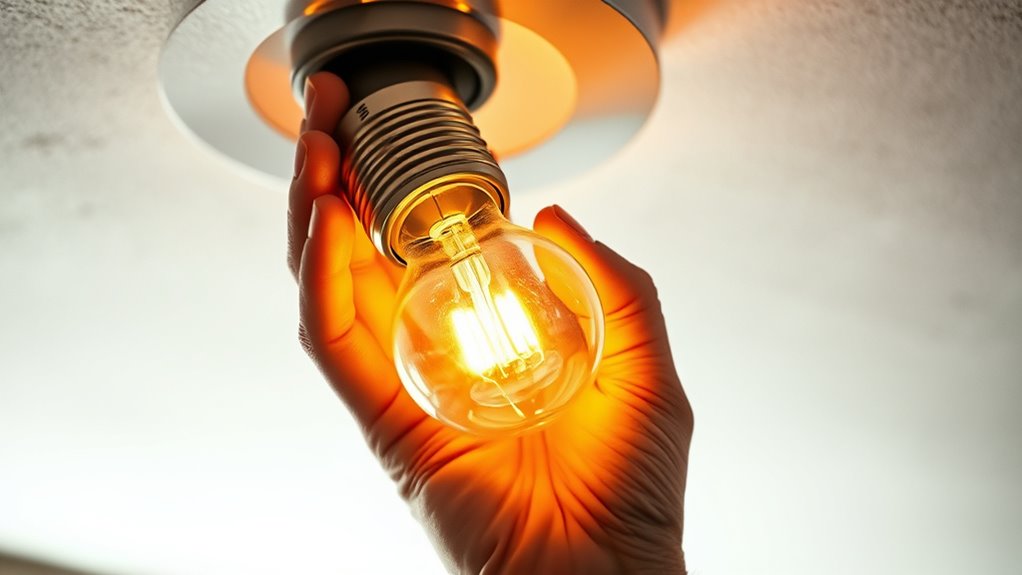
Handling Bulbs and LEDs Safely and Properly

Handling bulbs and LEDs safely starts with inspecting them carefully before installation or removal. Check for any cracks, chips, or damage that could cause injury or malfunction. Always wear gloves or use a cloth to handle bulbs, preventing oils from your skin from shortening their lifespan. Follow safety precautions by turning off power and ensuring fixtures are cool to avoid burns. When disposing of old bulbs or LEDs, adhere to disposal guidelines to prevent environmental harm—many contain hazardous materials like mercury. Store replacement bulbs in a safe, dry place, away from children and pets. Proper handling not only protects you but also prolongs the lifespan of your bulbs and LEDs, ensuring safe, effective lighting. Additionally, understanding vetted products can help you select the safest and most reliable lighting options for your needs.
Properly Removing Old Bulbs and LEDs
When removing old bulbs and LEDs, guarantee the power is completely turned off and the fixture has cooled down to prevent burns or electrical shocks. Carefully unscrew bulbs or detach LEDs, avoiding excessive force that could cause breakage. If a bulb breaks, wear gloves and dispose of debris safely to prevent injury. For bulbs, follow proper bulb disposal guidelines—wrap broken pieces in newspaper and place them in a sealed bag before discarding. For LEDs, check local recycling programs for LED recycling options, as they contain materials that need special handling. Always handle old lighting components with care, and never toss them in regular trash. Proper removal and disposal help protect the environment and ensure safety for everyone involved. Additionally, ensuring proper refrigerant management during disposal prevents environmental risks associated with hazardous materials.
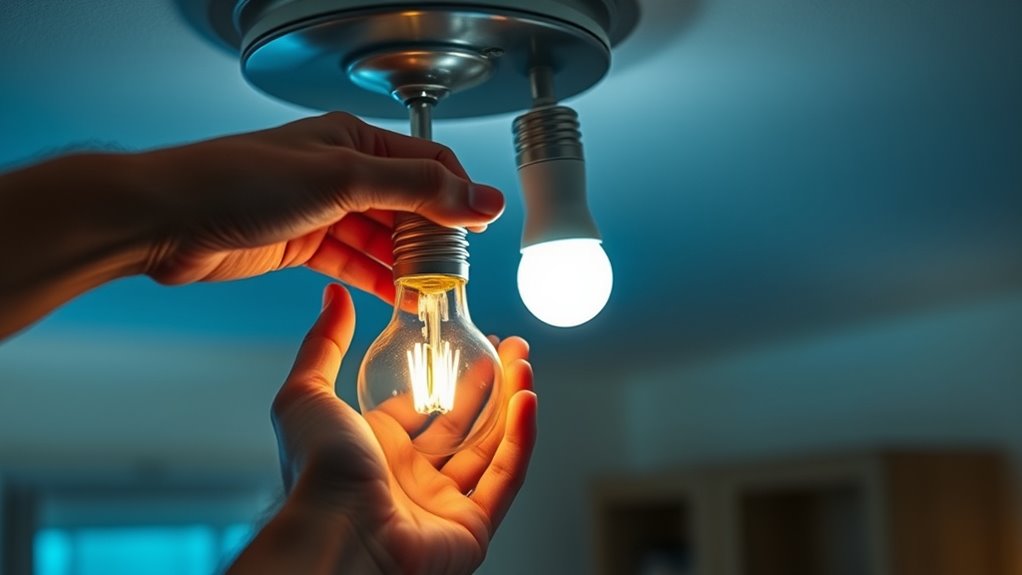
Installing New Bulbs and LEDs Correctly
When installing new bulbs or LEDs, handling them carefully prevents damage and guarantees they work properly. Make sure the new components are compatible with your fixture and fit snugly without forcing. Proper handling and compatibility checks will save you time and avoid future issues. Additionally, staying informed about AI safety measures can help ensure your smart lighting systems operate securely and effectively.
Proper Handling Techniques
To guarantee your bulbs and LEDs function safely and effectively, it’s essential to install them with proper handling techniques. Start by carefully selecting the right fixture placement to ensure even light distribution and avoid shadows or glare. When handling bulbs, always hold them by the base to prevent oil transfer from your skin, which can cause hot spots and reduce lifespan. For LEDs, check the recommended color temperature to match your space’s ambiance—warm tones for cozy areas, cooler tones for task lighting. Avoid forcing bulbs into sockets or twisting them too tightly, as this can damage the fixture or bulb. Proper handling minimizes damage and ensures ideal performance, giving you consistent, safe illumination while extending the lifespan of your lighting investments. Additionally, understanding Gold IRA rules and regulations can help you make informed choices when diversifying your investment portfolio.
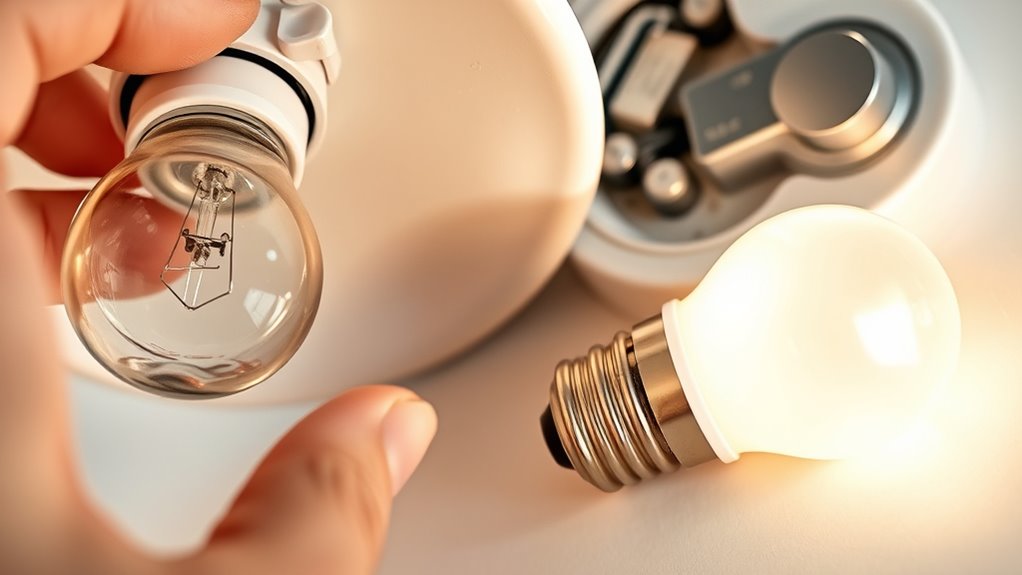
Compatibility and Fit
Ensuring your new bulbs and LEDs fit properly is essential for safe and reliable operation. First, verify fixture compatibility by checking the bulb’s base type and size against your fixture’s specifications. Fit verification involves physically inspecting the socket to confirm it matches the bulb’s connector. If the bulb isn’t compatible, it may not turn on or could cause damage. Always refer to the manufacturer’s guidelines to guarantee the replacement is suitable for your fixture. Avoid forcing incompatible bulbs, as this can lead to broken parts or electrical issues. Proper fitment guarantees ideal performance and safety. Taking a moment to verify compatibility and ensuring a proper fit prevents future problems and extends the lifespan of your lighting system. Regular maintenance and correct installation also help maintain overall lighting safety and efficiency.
Checking Compatibility With Fixtures and Dimmers
Before replacing bulbs or LEDs, it’s essential to verify that they’re compatible with your existing fixtures and dimmers. Check the fixture compatibility to ensure the new bulb fits and functions properly without causing issues. Not all LEDs work with every fixture, especially those with enclosed or covered designs. Equally important is confirming the dimmer match; some LED bulbs are incompatible with traditional dimmers and may flicker or buzz. Look for labels or packaging that specify compatibility with dimmer switches and fixtures. If your fixture or dimmer isn’t compatible, even the best bulb won’t perform correctly. Taking these steps prevents frustration, ensures smooth operation, and extends the lifespan of your lighting. Always double-check specifications before making a purchase. Additionally, understanding fixture compatibility can help prevent electrical issues and ensure safety during installation.
Troubleshooting Common Replacement Issues
Even with careful preparation, you might encounter common issues when replacing bulbs and LEDs. One problem is incorrect fixture placement, causing flickering or poor light distribution. Second, mismatched color temperature can result in an unbalanced or harsh environment. Third, sometimes LEDs don’t turn on because of loose connections or incompatible dimmers. Fourth, incompatible bulbs may cause buzzing or reduced lifespan. To troubleshoot, check fixture placement to verify proper fit and secure connections. Confirm that the color temperature matches your desired ambiance and is compatible with your fixture. Inspect wiring for loose or damaged connections. Ultimately, verify that your dimmer switch supports LEDs if dimming is involved. Addressing these issues helps you avoid guesswork and ensures your lighting performs just right.
Maintaining Your Lighting for Longevity

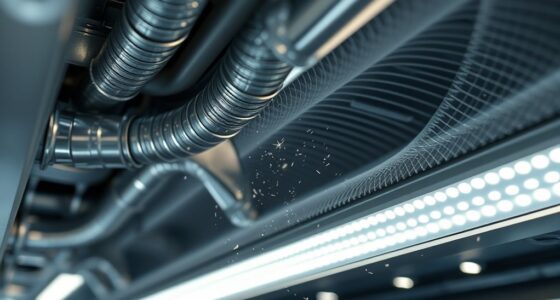
Regularly maintaining your lighting fixtures helps extend their lifespan and guarantees consistent performance. Clean fixtures and bulbs to remove dust and dirt, which can reduce energy efficiency and dim the light. Check wiring connections periodically to prevent flickering or failures that can compromise both aesthetic appeal and safety. Replace worn-out bulbs promptly to maintain perfect brightness and avoid strain on your lighting system. Proper maintenance ensures your lights operate efficiently, saving you money on energy costs. Additionally, well-kept fixtures enhance the overall look of your space, boosting aesthetic appeal. By staying proactive, you minimize the risk of sudden failures and keep your lighting system running smoothly for years to come. Consistent care is the key to maximizing both longevity and performance.
Frequently Asked Questions
Can I Use LED Bulbs in Fixtures Designed for Incandescent Bulbs?
Yes, you can use LED bulbs in fixtures designed for incandescent bulbs, but you need to check fixture compatibility and wattage considerations. Make sure the LED’s wattage is lower than or equal to the fixture’s maximum wattage rating to prevent overheating. Also, verify that the LED bulb fits your fixture’s socket type. This way, you get energy savings without risking damage or safety issues.
How Do I Dispose of Old Bulbs and LEDS Safely?
You should recycle your old bulbs and LEDs through local recycling programs, as they often handle hazardous waste properly. Incandescent bulbs can typically be disposed of in regular trash, but LEDs contain materials that may be harmful if not disposed of correctly. Check your community’s hazardous waste collection events or recycling centers to verify safe disposal, preventing environmental harm and complying with local regulations.
Are Smart Bulbs Compatible With Regular Dimmer Switches?
Smart bulbs generally aren’t compatible with regular dimmer switches because of their dimming compatibility. Using a standard dimmer can cause flickering or damage your smart bulb. To achieve dimming with smart bulbs, you should install smart dimmer switches designed for smart bulb integration. These switches allow you to control brightness through apps or voice commands, ensuring your smart bulbs work smoothly and safely without any flickering or compatibility issues.
What Are the Signs of a Faulty LED Driver?
If your LED lights flicker, buzz, or won’t turn on, you’re likely facing LED driver issues. These are common signs of faulty LED drivers, which often require electrical troubleshooting. Don’t ignore these symptoms—they can lead to more extensive damage. You might notice inconsistent brightness or overheating too. Addressing LED driver problems promptly helps maintain safe, reliable lighting and prevents unnecessary replacements. Always check connections and consider replacing the driver if issues persist.
How Often Should I Replace My Lighting Bulbs for Optimal Performance?
You should replace your lighting bulbs based on their bulb lifespan and recommended replacement schedule. Generally, LED bulbs last about 25,000 to 50,000 hours, so replace them when they start flickering, dimming, or showing signs of failure. For peak performance, check your bulbs annually and replace them every 3-5 years, even if they still work, to ensure bright, efficient lighting and avoid unexpected outages.
Conclusion
Replacing bulbs and LEDs doesn’t have to be a guessing game. Think of it like tuning a guitar—you need the right strings and tuning to get the perfect sound. When you choose the correct wattage, handle everything safely, and install properly, your lighting will shine bright and last longer. Just remember, taking a little time now guarantees your space stays well-lit and cozy for years to come.