
To diagnose fan noise, start by identifying if it’s physical (like dirt or debris) or mechanical (like bearing issues). Check for obstructions, monitor system temperatures, and listen carefully to locate the source of the noise. Look for signs of failure, such as grinding or rattling, and inspect mountings and bearings. Adjust fan speeds safely and consider environmental factors that could influence noise. If you follow these steps, you’ll uncover more hidden tips for quiet, reliable operation.
Key Takeaways
- Identify the noise source by listening at different angles and feeling for vibrations or airflow disruptions.
- Differentiate between physical blade issues and motor or bearing problems based on sound characteristics.
- Use proper tools like sound level meters and stethoscopes for objective diagnosis and precise troubleshooting.
- Regularly inspect and clean fan blades, mounts, and bearings to prevent dust buildup and mechanical noise.
- Monitor system temperatures and loads to determine if high fan speeds are causing noise or indicating airflow issues.
Kentsky 74" WiFi Electric Fireplace Inserts, Recessed and Wall Mounted Fireplace Heater W/Adjustable Flame Color & Brightness, Thermostat, 9H Timer, App and Remote Control, Low Noise, 750/1500W
Overall Dimension: 74"L X 5.5"D X 17.7"H. The electric fireplace inserts dimension: 72.7"L X 5.3"D X 16.7"H. Wall-mounted...
As an affiliate, we earn on qualifying purchases.
Understand the Types of Fan Noises
To effectively diagnose fan noise issues, it’s important to first understand the different types of noises fans can produce. One common sound is fan blade noise, which often results from imbalanced or dirty blades, causing vibrations or whirring sounds. If the noise seems rhythmic or fluctuates with fan speed, it might be related to the fan blades themselves. On the other hand, motor noise tends to be a steady, humming sound coming from the motor housing. This noise can indicate worn bearings or motor issues. Recognizing the difference helps pinpoint where the problem originates. Fan blade noise typically involves physical factors, while motor noise points to mechanical or electrical problems within the motor. Understanding these distinctions is key to effective troubleshooting. Additionally, contrast ratio plays a significant role in overall image quality, affecting how well details are rendered in dark scenes.

EUHOMY 50 Inch Electric Fireplace Wall Recessed and Wall Mounted with Adjustable Flame Color, Fireplace Heater with Remote Control, Linear Fireplace with Timer, Touch Screen, Log & Crystal, 750/1500W
Package Inclusions & 2-Year Technical Support: : The EUHOMY electric fireplace is equipped with 1* carbon log, 1*...
As an affiliate, we earn on qualifying purchases.
Check for Physical Obstructions and Debris

Physical obstructions and debris are common causes of fan noise issues. Over time, dust buildup inside your system can cause fans to work harder, resulting in louder operation. Check the vents, fan blades, and heatsinks for any physical blockages, such as accumulated dust or debris. Debris can cause imbalance, leading to vibrations and noise. Carefully inspect the fan blades for dirt or obstructions that might interfere with smooth movement. If you notice dust buildup, use compressed air or a soft brush to clean the components gently. Removing physical blockages helps restore normal fan operation and reduces noise. Regular maintenance prevents dust from accumulating and keeps your system running quietly and efficiently. Additionally, understanding the fan system and how it functions can help you identify potential issues early.
R.W.FLAME 60" Recessed and Wall Mounted Electric Fireplace, Low Noise, Fit for 2 x 6 Stud, Remote Control with Timer, Touch Screen, Adjustable Flame Color and Speed, 750-1500W
Attractive and Practical Design: 3.86"D x 60"W x 18.11"H,The thickness of the new style is only 3.86 inches...
As an affiliate, we earn on qualifying purchases.
Monitor System Temperatures and Load

Monitoring your system’s temperatures and load levels is essential for diagnosing fan noise issues. When your system runs hot or under heavy load, fans spin faster to cool components, increasing noise. Use monitoring tools to track CPU and GPU temperatures, as well as overall system load. If temperatures are high even during light tasks, it indicates airflow problems that hinder fan noise reduction. Ensuring proper airflow enhancement helps keep components cooler, reducing the need for fans to work at higher speeds. Regularly checking these metrics allows you to catch overheating early, which can prevent unnecessary fan noise. Keep your system well-ventilated, and adjust fan curves if possible, to maintain suitable temperatures and minimize noise while maintaining performance. Understanding AI-driven diagnostics can further assist in identifying underlying issues affecting system cooling.
Amazon Product B0GJTWNY44
As an affiliate, we earn on qualifying purchases.
Identify the Source of the Noise

To identify the source of the noise, start by pinpointing where it’s coming from. Listen carefully and note the sound’s characteristics—whether it’s high-pitched, grinding, or rattling. This will help you determine which part of the fan or system needs closer inspection. Paying attention to work environment factors can also influence noise levels and help in diagnosing issues more effectively.
Pinpoint Noise Location
Ever wonder how to accurately locate the source of fan noise? It’s about analyzing airflow patterns and noise frequency. Start by listening carefully at different angles and distances. Notice if the noise shifts with airflow changes—this hints at the source. Use your hand or a tool to feel for vibrations or airflow disruptions. To visualize, consider this table:
| Location | Airflow Pattern | Noise Frequency |
|---|---|---|
| Fan blades | Turbulent air | High pitch |
| Motor | Steady flow | Low rumble |
| Shroud | Restricted flow | Variable |
Additionally, understanding airflow dynamics can further improve your ability to pinpoint noise sources accurately.
Recognize Sound Characteristics
Recognizing sound characteristics is essential for accurately identifying the noise source. Pay attention to the sound’s sound frequency and noise amplitude, as these clues reveal its origin. A high-pitched whine often indicates electrical issues, while a deeper, rumbling noise suggests bearing or motor problems. To analyze effectively, consider these points:
- Identify sound frequency—note whether the pitch is high, medium, or low to distinguish between components.
- Assess noise amplitude—determine if the sound is loud or soft, indicating the severity of the issue.
- Compare patterns—listen for consistent or intermittent sounds, which help pinpoint moving parts or electrical faults.
- Incorporate rustic decor elements to better understand how different textures and finishes can influence sound absorption and echo within a space.
Recognize the Signs of a Failing Fan
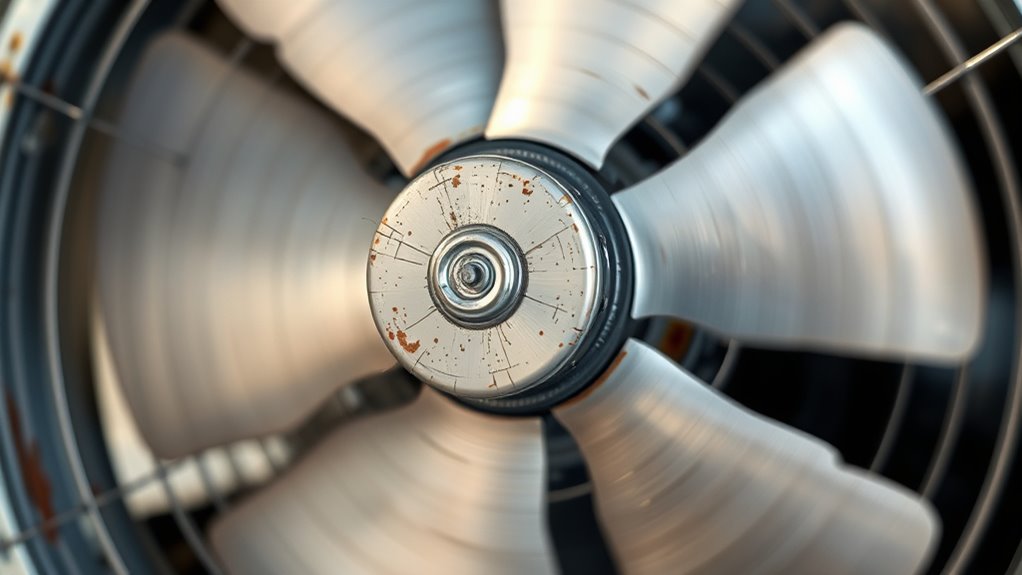
You’ll notice when a fan is failing if it produces unusual noise patterns or starts making grinding or rattling sounds. Vibration and looseness in the fan also signal potential problems that need your attention. Recognizing these signs early can help prevent further damage and costly repairs. Being aware of industry trends can also provide insight into common issues and effective troubleshooting methods.
Unusual Noise Patterns
Unusual noise patterns are often the first signs that a fan is failing. You might notice squealing, grinding, or rattling sounds that weren’t there before. These noises often indicate issues like a damaged fan blade or airflow disruption, which can cause irregular vibrations and sound anomalies. To better understand these signs, consider these key points: 1. Squealing or high-pitched noises suggest worn bearings or a loose fan blade. 2. Rattling sounds may point to debris or loose components affecting airflow. 3. Grinding noises often indicate bearing failure or misaligned blades, leading to airflow disruption. Recognizing signs of a failing fan can help prevent further damage and ensure proper functioning.
Vibration and Looseness
Vibration and looseness are clear indicators that a fan is failing. If you notice excessive movement or shaking, check the fan blades for damage or imbalance. A warped or chipped fan blade can cause uneven rotation, leading to increased vibration. Additionally, mounting vibration—where the fan feels loose or wobbles—suggests a mounting issue or loose fasteners. Over time, bolts and brackets may loosen, amplifying vibrations and risking further damage. You might also hear rattling sounds or observe the fan shifting during operation. Addressing these signs early can prevent more severe failures. Tighten loose mounting hardware, replace damaged blades, and ensure the fan is securely mounted. Recognizing vibration and looseness helps you catch problems before they escalate. Regular inspections can help identify early warning signs of mechanical issues before they become costly repairs.
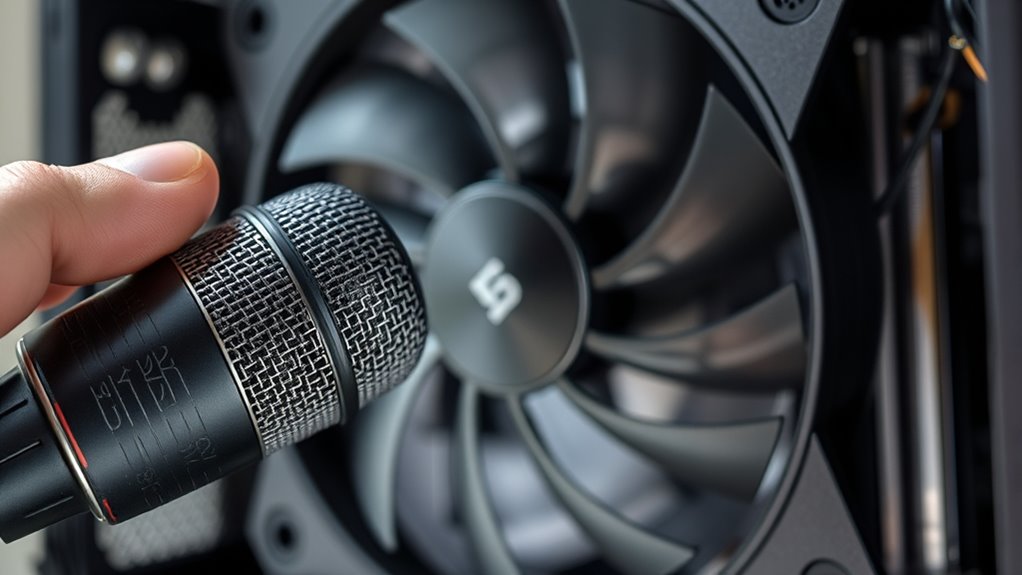
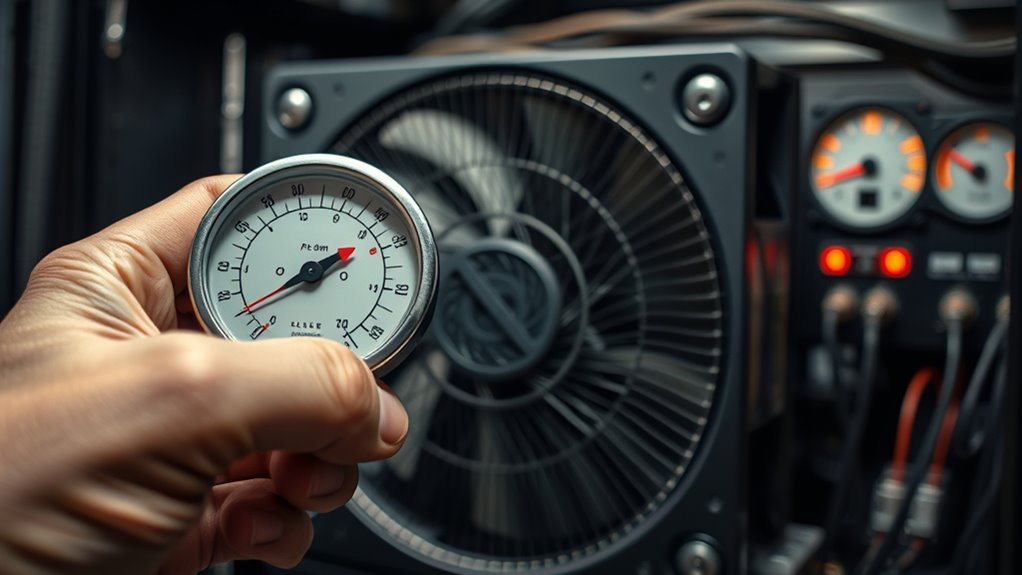
Use Proper Tools for Diagnosis
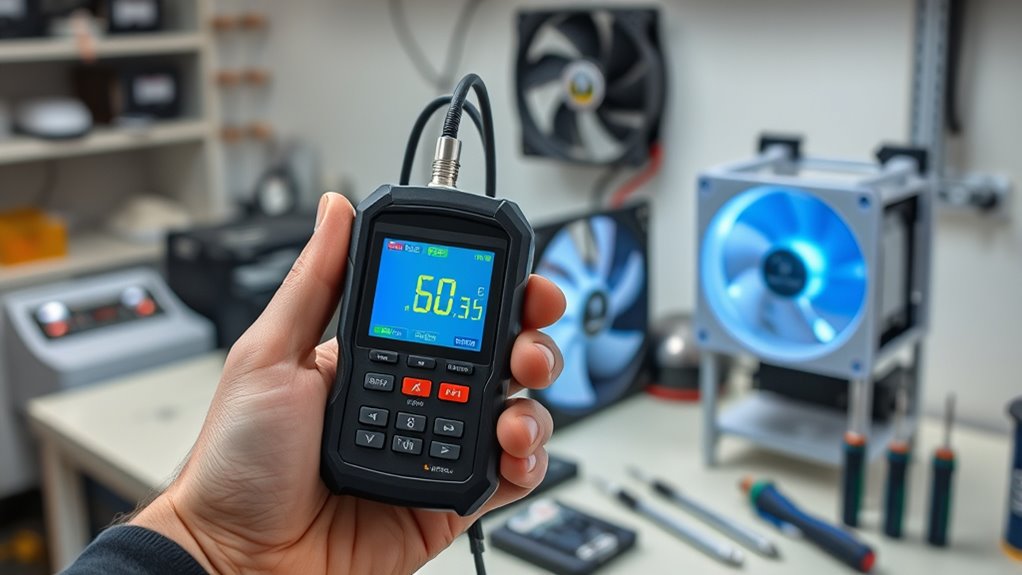
Using the right tools is essential for accurately diagnosing fan noise issues. Proper equipment helps you identify if the noise stems from a faulty fan blade or unusual noise frequency patterns. To get precise readings, consider these tools:
- Sound Level Meter – Measures noise frequency and intensity, helping pinpoint if the sound aligns with specific fan blade defects.
- Stethoscope or Contact Microphone – Allows you to listen closely to the fan’s components without interference, detecting abnormal vibrations or sounds.
- Vibration Analyzer – Detects excessive vibrations that often correlate with noise issues, especially around fan mounts or blades.
- Headphones – Use headphones to isolate and analyze specific sounds more accurately, especially when working in noisy environments.
Using these tools ensures you gather objective data, making troubleshooting more accurate and efficient. Proper diagnosis prevents unnecessary repairs and keeps your fan operating quietly.
Inspect Fan Bearings and Mountings
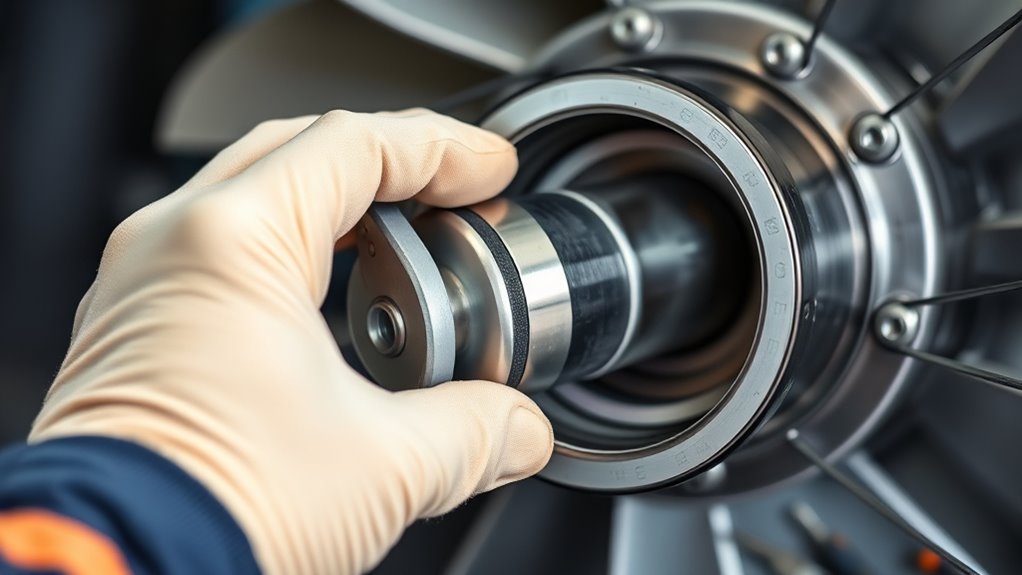
Inspecting fan bearings and mountings is a crucial step in diagnosing noise problems because loose or worn components often cause rattling or squeaking sounds. Start by checking the fan’s mounting points for looseness or vibrations. Next, examine the bearings for signs of bearing wear, such as excessive play or rough movement. If the bearings are accessible, remove the fan and listen for noise when spinning by hand; unusual grinding indicates wear. Additionally, inspect for proper lubrication; a lack of fan lubricant can cause increased friction, leading to noise and bearing wear. Regularly applying fresh lubricant helps reduce wear and prolongs bearing life. Tighten any loose fittings and replace worn bearings promptly to eliminate noise sources and guarantee smooth operation.
Adjust Fan Speeds Safely
When adjusting fan speeds, make certain you use the proper tools to avoid damage or injury. Keep an eye on temperature levels to prevent overheating, and change speeds gradually to monitor their impact. Always proceed carefully to ensure safe and effective adjustments.
Use Proper Tools
To adjust fan speeds safely, using the right tools designed for the job is vital. Proper tools ensure you can modify the fan without risking damage or injury. First, a non-contact anemometer helps measure airflow and verify changes in noise frequency caused by fan blade adjustments. Second, a digital multimeter allows you to monitor electrical parameters, guaranteeing safe voltage levels while adjusting speeds. Third, a sound level meter provides precise noise measurements, helping you identify if the fan’s noise is due to blade imbalance or other issues. These tools help you control fan blade speed and noise frequency accurately, minimizing risks. Always prioritize safety by using tools designed for electrical and mechanical work, guaranteeing your adjustments are effective and safe.
Monitor Temperature Levels
Are you effectively monitoring temperature levels to guarantee safe fan operation? Keeping an eye on temperature monitoring helps prevent overheating and unnecessary fan noise. Use reliable tools, like software or thermal sensors, to track your system’s temperature in real-time. When temperatures rise beyond safe thresholds, it’s a sign to adjust your fan speeds or investigate potential issues. Regular temperature checks ensure your fans operate efficiently without producing excessive noise or risking hardware damage. Remember, consistent temperature monitoring allows you to catch problems early, avoiding sudden fan noise changes or system shutdowns. By staying vigilant, you can maintain ideal cooling performance while keeping fan noise at acceptable levels. Proper temperature monitoring is essential for safe, quiet, and effective fan operation.
Adjust Gradually Carefully
Adjusting fan speeds requires a careful approach to prevent sudden noise spikes or hardware stress. Rapid changes can cause fluctuations in noise frequency, making it harder to diagnose issues accurately. To do this safely:
- Increase or decrease fan speed gradually, observing how the fan blade responds to avoid abrupt shifts.
- Listen for changes in noise frequency, ensuring the fan doesn’t produce irregular or excessive noise.
- Monitor for vibrations or unusual sounds that may indicate stress on the motor or blades due to sudden adjustments.
Taking these steps helps maintain a stable environment and prevents damage to the fan or system. Slow, deliberate adjustments allow you to better understand how the fan reacts, ensuring quieter operation and reliable performance.
Consider Environmental Factors
Environmental factors can substantially influence fan noise levels, so it’s essential to take them into account when diagnosing issues. Ambient interference, such as nearby electronics or other moving parts, can amplify noise and make it seem worse than it actually is. Additionally, airflow disruption caused by obstructions or improper placement can increase fan strain, leading to louder operation. To accurately assess fan noise, make certain the environment is clear of unnecessary objects that could interfere with airflow. Check for sources of ambient interference that might contribute to noise or vibration. By controlling and understanding these environmental factors, you can better identify whether the noise originates from the fan itself or external influences, leading to more precise troubleshooting.
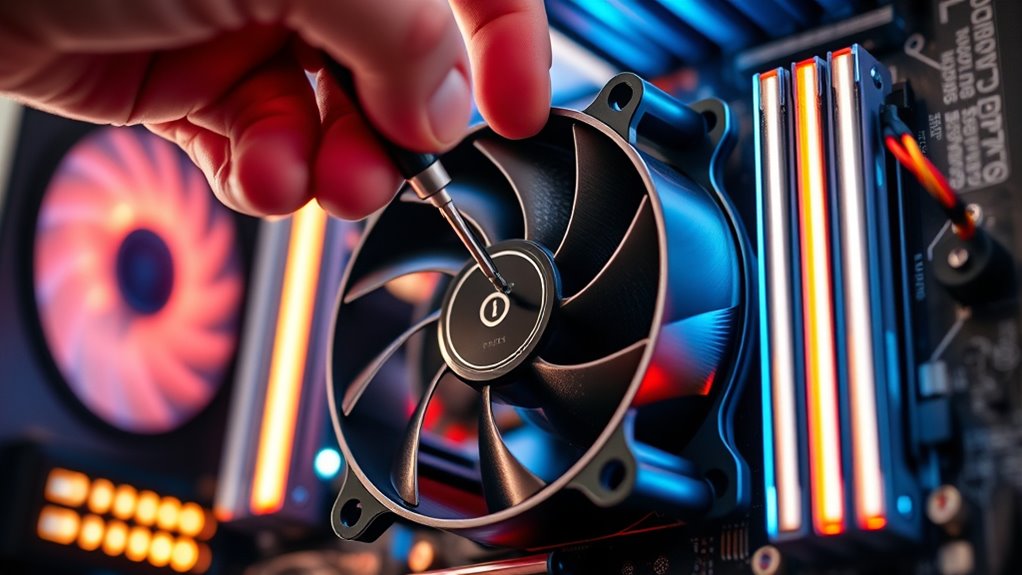
Know When to Replace or Upgrade Fans

When you’ve checked environmental factors and determined that external influences aren’t causing excessive noise, it’s time to contemplate the condition of your fan. Over time, wear and tear can lead to issues like damaged fan blades or airflow obstruction, which increase noise levels. Recognizing when to replace or upgrade your fan ensures peak performance and quieter operation. Consider these signs:
Check your fan for damage or obstruction to maintain quiet, efficient operation.
- The fan blade appears bent or chipped, affecting balance and noise.
- Airflow obstruction persists despite cleaning, indicating internal damage or buildup.
- The fan runs loudly or unevenly, suggesting motor issues or imbalance.
If these conditions persist after cleaning and adjustments, upgrading your fan might be the best option for quieter, more efficient operation. Knowing when to replace prevents further damage and restores proper airflow.
Frequently Asked Questions
How Can Ambient Temperature Affect Fan Noise Levels?
Ambient temperature substantially impacts fan noise levels because higher temperatures increase the temperature impact on the fan’s components. As the ambient influence rises, fans work harder to cool, causing them to spin faster and produce more noise. Conversely, cooler environments reduce the workload, leading to quieter operation. You’ll notice that temperature fluctuations directly affect the fan’s sound, making it essential to take ambient conditions into account when diagnosing noise issues.
Are There Specific Brands Known for Quieter Fans?
Yes, some brands are known for quieter fans, thanks to their strong reputation for quality and innovative design. Brands like Noctua and Be Quiet! consistently produce fans with advanced noise-reduction features and optimized fan sizes for minimal sound. You’ll find that choosing a larger fan size often results in quieter operation because it moves air more efficiently at lower RPMs, further reducing noise levels.
Can Software Adjustments Reduce Physical Fan Noise?
Yes, software tweaks and firmware updates can help reduce physical fan noise. By adjusting fan speed profiles or enabling quiet modes through your system’s settings or dedicated software, you can lower RPMs during low loads. Firmware updates often include improvements to fan control algorithms, making fans quieter without sacrificing cooling. Keep your BIOS or motherboard software up-to-date and explore fan control options to achieve a quieter experience.
What Safety Precautions Are Necessary During Fan Repairs?
Before you start repairing a fan, turn off the power supply and unplug it to avoid shocks. Check the fan blade alignment carefully—misaligned blades can cause dangerous vibrations. Always wear gloves and eye protection when handling moving parts. Lubricate the bearings properly to prevent overheating. Keep your workspace dry and free of clutter, and never bypass safety features. Staying cautious guarantees your safety during fan repairs.
How Often Should I Perform Fan Maintenance Checks?
You should perform fan maintenance checks every 3 to 6 months. During these checks, look for dust buildup that can cause noise and reduce efficiency. Also, inspect bearings for wear, as worn bearings can lead to increased noise and potential failure. Regular maintenance helps you catch issues early, ensuring your fan runs smoothly and quietly, preventing costly repairs down the line.
Conclusion
By mastering these fan noise diagnosis rules, you’ll become the detective of your system’s whispers and roars. Picture yourself gently listening to the hum, spotting a tiny obstruction like a speck of dust, or feeling the subtle shift in vibration when a bearing falters. With each step, you’ll tame the chaos of unwanted noise, turning your fans into silent guardians. Trust your instincts, and keep your system running smoothly and quietly like a calm, steady breeze.