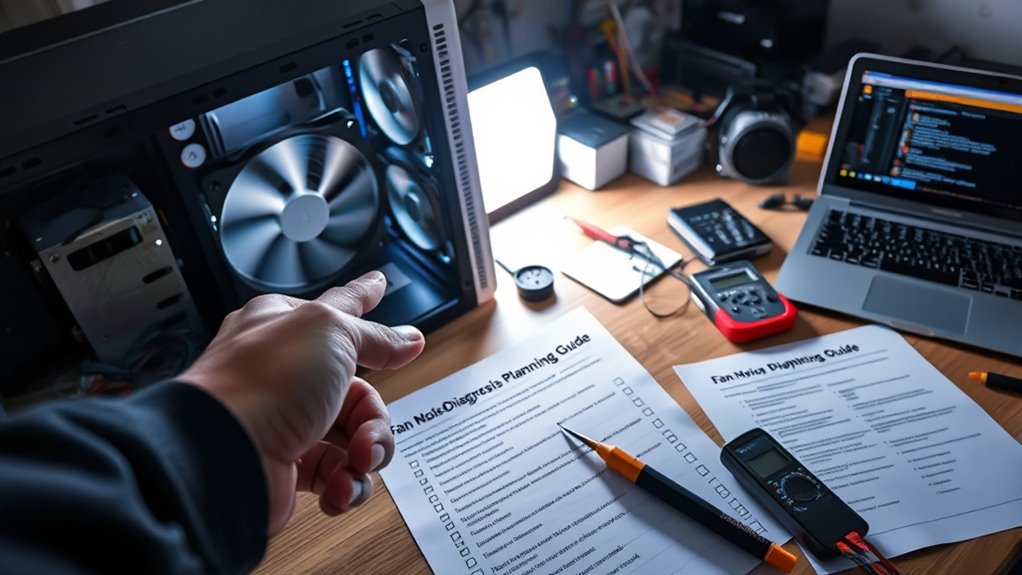

Before diagnosing fan noise, start with a checklist that covers hardware inspection, airflow analysis, and fan speed monitoring. Visually examine blades and mounting for damage or looseness, ensure vents and filters are clear, and verify airflow pathways aren’t obstructed. Measure fan RPM and temperatures to spot irregularities. Check for vibrations or loose components that could amplify noise. Following these steps helps identify issues systematically—continue exploring to learn specific troubleshooting techniques and solutions.
Key Takeaways
- Assess overall hardware condition for dust, damage, and looseness before detailed troubleshooting.
- Verify airflow pathways and clear obstructions to prevent airflow-related noise issues.
- Monitor fan RPM and temperature to identify irregularities and potential calibration needs.
- Check for vibrations or loose mounting components that may amplify noise levels.
- Document findings and plan targeted maintenance to ensure effective, systematic diagnosis.
Vitesse 72 Inch Ultra Thin Electric Fireplace-Narrow Bezel Linear Fireplace Heater Recessed Wall Mounted, Remote and Screen Control, 8H Sleep Timer, Low Noise, 750/1500W for Living Room, Bedroom
Multi Install Methods: This electric fireplace not only can be recessed or semi recessed in wall, but also...
As an affiliate, we earn on qualifying purchases.
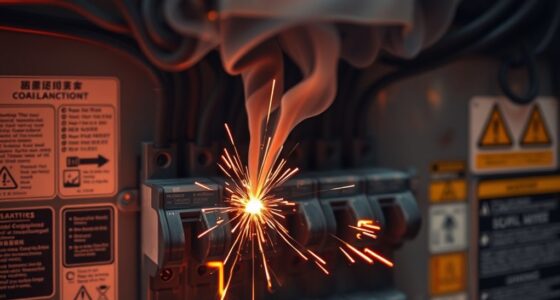
Pre-Troubleshooting Checklist for Fan Noise
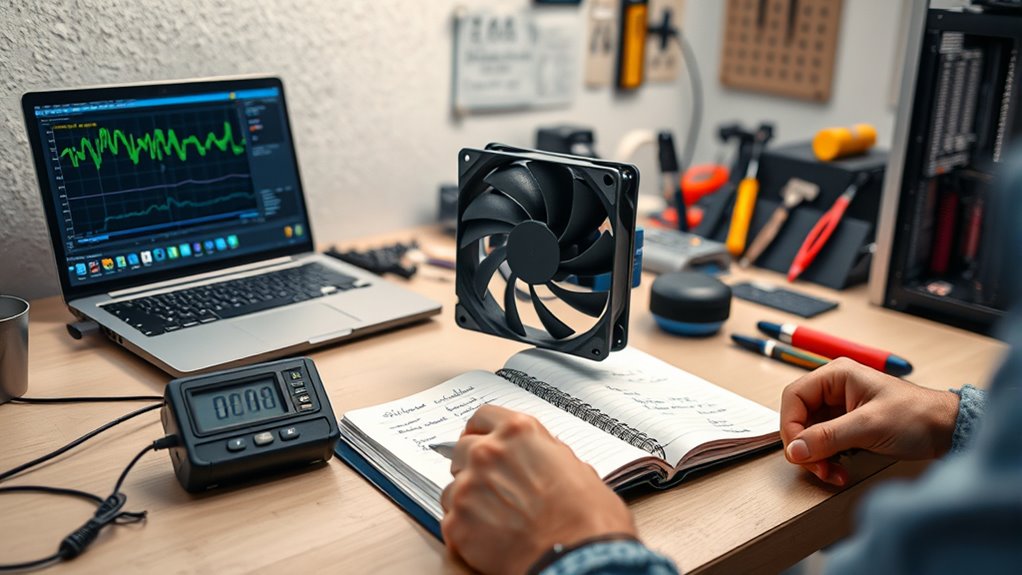
When your equipment starts making unusual fan noise, it can be a sign that something’s wrong, but pinpointing the cause requires a clear plan. Before jumping into troubleshooting, you should conduct a thorough hardware inspection. This means visually examining the fan blades, motor, and surrounding components for dust buildup, debris, or signs of wear. Look for loose screws, damaged blades, or anything that might be causing imbalance. A physical inspection helps you identify obvious issues that could be contributing to excessive noise. Once you’ve checked the hardware, move on to airflow analysis. Fans rely on proper airflow to operate quietly and efficiently. If airflow is obstructed or disrupted, the fan may work harder, leading to increased noise levels. Make sure vents, filters, and intake areas are clear of dust, dirt, or obstructions. Confirm that airflow pathways aren’t blocked by cables or other objects. Sometimes, poor airflow stems from design issues or improper placement, so consider whether the equipment’s environment is conducive to good ventilation. During this process, pay attention to any areas where airflow seems restricted or uneven. This step often reveals if the noise is caused by thermal buildup or if the fan is struggling to maintain ideal temperatures. You should also verify that fans are spinning at the correct speeds; if a fan is running too fast or too slow, it can produce abnormal noises. Use software tools or hardware monitoring systems to measure fan RPM and temperature readings. If you notice discrepancies, it might indicate a need for calibration or replacement. In addition, check for any vibrations or loose mounting points, as these can amplify noise. Tighten screws and brackets where necessary, since loose components can cause rattling sounds. Document your findings carefully—note areas of dust, any physical damage, airflow restrictions, and abnormal RPM readings. This record will guide your next steps and help you communicate issues if you need professional support. Remember, a systematic approach saves time and prevents unnecessary parts replacements. By conducting a detailed hardware inspection and airflow analysis upfront, you’re better prepared to identify the root cause of the fan noise. Proper fan blade maintenance can also significantly reduce noise and extend the lifespan of your equipment. This planning ensures your troubleshooting is targeted and effective, reducing downtime and protecting your equipment’s lifespan. Ultimately, a clear, organized plan makes the entire diagnosis process smoother, allowing you to restore quiet operation efficiently.

BOSSIN 72 inch Ultra-Thin Silence Linear Electric Fireplace, Recessed Wall Mounted Fireplace, Fit for 2 x 4 and 2 x 6 Stud, 12 Adjustable Flame Color & Speed,Touch Screen Remote Control with 8h Timer
Thin in thickness: Bossin electric fireplace features a thin, pratical and light design. At 3.85 inches thickness, black...
As an affiliate, we earn on qualifying purchases.
Frequently Asked Questions
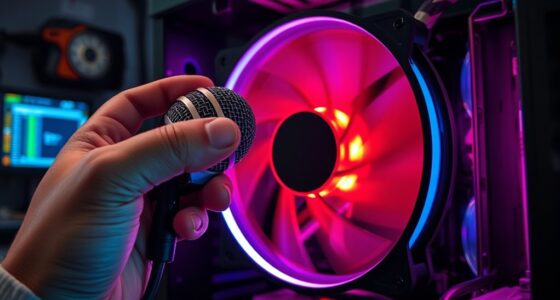
How Do I Identify Which Fan Is Causing the Noise?
To identify which fan is causing the noise, start by listening carefully to the noise patterns and vibrations. Turn off the system one fan at a time and note when the noise stops or changes. If vibrations are high or noise persists, that fan is likely the culprit. Pay close attention to unusual sounds, rattling, or wobbling, which can point to a faulty bearing or loose blades.
What Tools Are Needed for Effective Fan Noise Diagnosis?
You’ll need a stethoscope or a mechanic’s probe to pinpoint fan vibration and identify which fan causes the noise. A sound level meter helps measure noise frequency, revealing if the vibration or noise frequency matches the typical signature of a faulty fan. Additionally, a flashlight and a mirror assist in visually inspecting blades for damage or debris, ensuring you accurately diagnose the source of the fan noise.
Can Software Help Monitor Fan Performance and Noise?
Yes, software can definitely help monitor fan performance and noise. You can track fan speed in real-time and observe changes in noise patterns, which helps identify issues early. By analyzing data from the software, you’ll notice irregularities like inconsistent fan speed or unusual noise patterns that signal potential problems. This proactive approach allows you to maintain ideal cooling and prevent damage, saving time and money.
How Do Ambient Temperature Changes Affect Fan Noise?
Did you know that temperature fluctuations can increase fan noise by up to 20%? Ambient temperature changes directly affect fan noise through noise amplification, as hotter air causes fans to work harder and spin faster. When temperatures rise, you might notice increased vibrations and louder operation. To keep noise levels low, confirm proper ventilation and consider adjusting fan speeds during temperature spikes to prevent unnecessary noise amplification.
What Safety Precautions Should I Take During Troubleshooting?
You should prioritize electrical safety and handling precautions during troubleshooting. Always disconnect the power before opening the fan housing to avoid shocks. Wear insulated gloves and eye protection, and use tools with insulated handles. Be cautious of sharp blades and moving parts, and make certain the fan is completely powered down before working. Following these safety steps helps prevent accidents and ensures a safer, more effective troubleshooting process.

TURBRO 72” Smart WiFi Infrared Electric Fireplace with Sound Crackling and Realistic Flame, 1500W Quartz Heater, Recessed or Wall Mounted, Adjustable Flame Effects, Remote Control and App, in Flames
🔥Smart App and Voice Control: Besides the remote control and touch panel, TURBRO In Flames INF72W-3D Smart electric...
As an affiliate, we earn on qualifying purchases.
Conclusion
Now that you’ve gone through the checklist, you’re closer than ever to resolving that pesky fan noise. But remember, sometimes the fix isn’t obvious, and what seems simple might hide a bigger issue. Are you ready to uncover the secret behind the noise? Keep your tools handy and stay alert—you never know when the next clue might reveal itself. The solution is within reach, but only if you stay prepared and curious.
Amazon Product B0FP553GTD
As an affiliate, we earn on qualifying purchases.