If your Keurig K-Mini Single Serve Coffee Maker isn’t brewing a full cup, it can be frustrating and impact your coffee experience. Several common issues can cause this problem, from mineral buildup to improper water reservoir placement. Fortunately, many of these issues are simple to diagnose and fix with minimal effort.
In this guide, you’ll learn practical steps to troubleshoot and resolve the problem, ensuring your Keurig brews full, flavorful cups every time.
Key Takeaways
| Check for mineral buildup | Descale your Keurig regularly to prevent clogs. |
| Inspect water reservoir | Ensure the water reservoir is properly seated and filled. |
| Clean the needle and brew area | Remove blockages that can restrict water flow. |
| Use the correct brew size | Select appropriate cup size for complete brewing. |

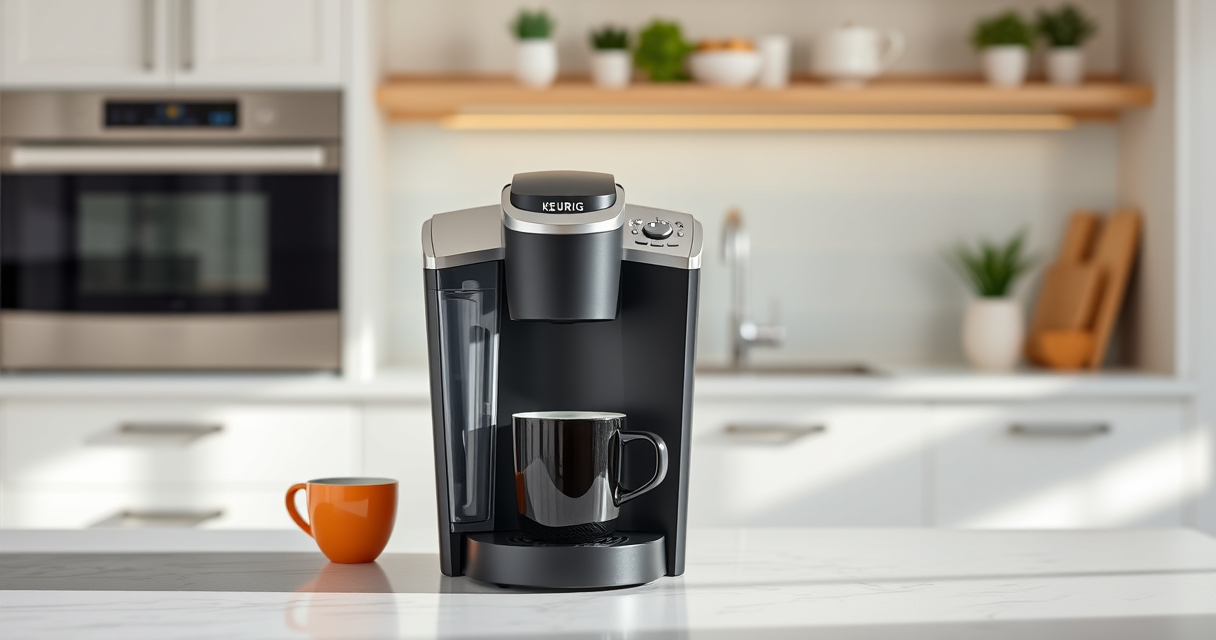
Keurig K-Mini Single Serve K-Cup Pod Coffee Maker, 6 to 12oz Brew size, with Cord Storage, Perfect for Small Spaces, Black
FITS ANYWHERE: Less than 5 inches wide, perfect for small spaces.
As an affiliate, we earn on qualifying purchases.
Step 1: Check the Water Reservoir
- Turn off and unplug your Keurig K-Mini for safety.
- Remove the water reservoir by gently lifting it from the machine.
- Inspect for any cracks or leaks, and fill it with fresh, clean water.
- Ensure it is correctly seated back into the machine, clicking into place.

My K-Cup® Reusable Coffee Filter
BREW WITH GROUND COFFEE: Brew a single cup using your own favorite ground coffee
As an affiliate, we earn on qualifying purchases.
Step 2: Clean the Needle and Brew Area
- Use a paperclip or Keurig tool to carefully clear any clogs in the needle that punctures the K-Cup.
- Remove any residual coffee grounds or debris from the brew chamber.
- Wipe the area with a clean, damp cloth to ensure no blockages remain.
Step 3: Descale Your Keurig
- Fill the water reservoir with a descaling solution or white vinegar mixed with water (according to the descaling kit instructions).
- Run a brew cycle without a K-Cup to flush out mineral deposits.
- Repeat with fresh water to rinse thoroughly.
Step 4: Verify Brew Size and Settings
Make sure you select a brew size between 6-12oz, depending on your preference. Confirm that the machine is set to the correct size and that no settings are limiting water flow.
Additional Tips and Warnings
- Use filtered or bottled water to reduce mineral buildup.
- Avoid overfilling the water reservoir, which can cause leaks or incomplete brewing.
- Perform regular cleaning and descaling every 3-6 months for optimal performance.
- Never force the machine open or insert objects into the brew area to prevent damage.
The Products in This Guide
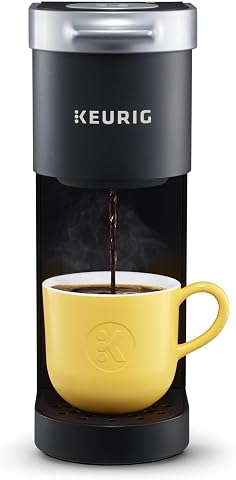
Keurig K-Mini Single Serve K-Cup Pod Coffee Maker
- ✔ Width: Less than 5 inches
- ✔ Brew range: 6-12 oz
- ✔ Mug compatibility: Travel mug friendly
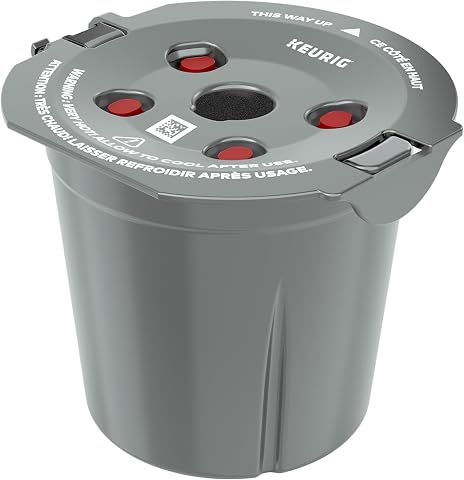
My K-Cup® Reusable Coffee Filter
- ✔ Material: BPA-free plastic
- ✔ Capacity: Single cup
- ✔ Compatibility: Multiple Keurig models
Keurig K-Mini Single Serve K-Cup Pod Coffee Maker
The Keurig K-Mini is a versatile and space-saving coffee maker, perfect for small spaces and travel. Regular cleaning and descaling are essential to keep it brewing full cups consistently.
Pros:
- Compact size fits small spaces
- Brews 6-12oz cups easily
- Removable drip tray for travel mugs
- Energy-efficient auto-off
Cons:
- Limited to single serve brewing
- Requires frequent descaling
- May clog if not maintained
Best for: Small kitchens, dorms, offices, travel
Not ideal for: High-volume brewing or multi-cup needs
Bottom line: A compact, reliable coffee maker best maintained with regular cleaning.
My K-Cup® Reusable Coffee Filter
The My K-Cup® Reusable Coffee Filter allows you to brew your favorite ground coffee with your Keurig, reducing waste and expanding flavor choices.
Pros:
- Brew with ground coffee
- Reusable and eco-friendly
- Compatible with multiple Keurig models
- Cost-effective over time
Cons:
- Requires pre-measuring coffee
- Cleaning needed after each use
- Not suitable for very fine grounds
Best for: Custom coffee blends, reducing waste
Not ideal for: Infrequent users or those preferring K-Cups
Bottom line: A versatile reusable filter for ground coffee enthusiasts.
Frequently Asked Questions
Why is my Keurig not brewing a full cup?
Common causes include mineral buildup, a clogged needle, improper water reservoir placement, or incorrect brew size settings. Regular cleaning and descaling can help resolve these issues.
How often should I descale my Keurig?
It’s recommended to descale every 3-6 months, depending on water hardness and usage, to prevent mineral buildup affecting brew quality.
Can I use ground coffee with my Keurig?
Yes, with a reusable filter like the My K-Cup®, you can brew ground coffee instead of using K-Cups, providing more flavor options and reducing waste.
What safety precautions should I follow during cleaning?
Always unplug the machine before cleaning, avoid using abrasive cleaners, and handle the needle carefully to prevent injury.
Ensure Your Keurig Brews Perfect Cups Every Time
Maintaining your Keurig K-Mini with regular cleaning, descaling, and proper setup can prevent issues like partial brewing. Follow these troubleshooting steps to enjoy fresh, full cups of coffee effortlessly. Proper care not only extends the lifespan of your machine but also guarantees a consistently satisfying brew experience.
Affiliate disclosure: As an Amazon Associate we earn from qualifying purchases. Prices and availability are accurate as of the time of publishing.