
To troubleshoot no heat but flames issues over a weekend, start by checking your pilot light and thermocouple; guarantee the pilot hits the thermocouple tip properly. Next, examine the gas supply for leaks or blockages, and clear any debris from vents and filters. Verify the thermostat settings and inspect electrical connections and safety switches. Regular maintenance like cleaning filters and inspecting blowers can prevent future problems. Keep investigating these components, and you’ll find solutions to restore heat efficiently.
Key Takeaways
- Check and clean the thermocouple and pilot flame to ensure proper gas ignition and heat transfer.
- Inspect and clear the airflow pathway, including filters, vents, and combustion chamber obstructions.
- Verify gas supply, pressure, and regulator function to ensure proper combustion conditions.
- Test electrical components, including thermostat, wiring, safety switches, and circuit breakers for proper operation.
- Perform routine maintenance like cleaning components, inspecting for damage, and resetting safety devices to prevent future issues.
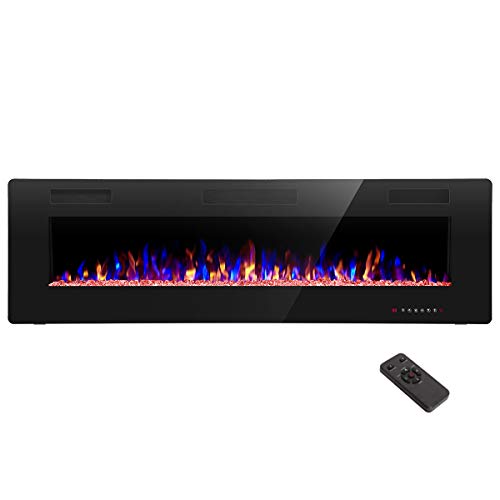
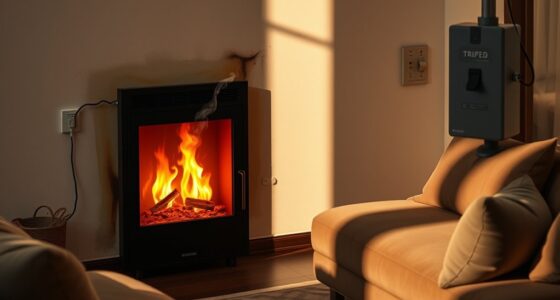
R.W.FLAME 60" Recessed and Wall Mounted Electric Fireplace, Low Noise, Fit for 2 x 6 Stud, Remote Control with Timer, Touch Screen, Adjustable Flame Color and Speed, 750-1500W
Attractive and Practical Design: 3.86"D x 60"W x 18.11"H,The thickness of the new style is only 3.86 inches...
As an affiliate, we earn on qualifying purchases.
Understanding the Common Causes of No Heat Despite Flames
When your furnace’s flames are burning, but no heat is coming through the vents, it’s often due to a problem with airflow or heat transfer. A common cause is an issue with the ignition system, which ignites the gas in the combustion chamber. If the ignition system fails, the flames may burn briefly or not at all, preventing heat from being generated. Additionally, a blocked or dirty combustion chamber can disrupt the transfer of heat to the air circulating through your home. Sometimes, the flames may appear normal, but if the combustion chamber isn’t functioning properly, heat won’t transfer efficiently, leading to no warm air coming out of the vents. Identifying issues with the ignition system and combustion chamber is vital for troubleshooting this problem effectively. Proper maintenance of the flame quality can help ensure your furnace operates efficiently and produces heat as expected.

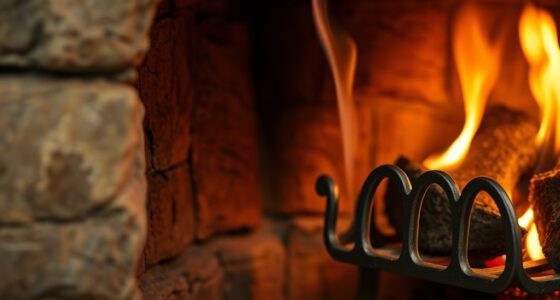
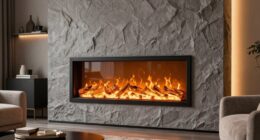
44 Inch Electric Fireplace with Mantel, Carved Pilasters Tall Fire Place Heater Freestanding, Realistic Stacked Stone Surround with Remote Control Timer LED Flame for Living Room, Bedroom
【Dimensions】The electric fireplace with mantel dimension: 13.6''D x 43.5''W x 36.5''H. The fireplace insert dimension: 5‘’D x 23''W...
As an affiliate, we earn on qualifying purchases.
Verifying the Thermocouple and Pilot Light Functionality

If your furnace’s flames are burning but no heat reaches your home, it’s important to verify that the thermocouple and pilot light are functioning properly. First, check the pilot light; it should be steady and blue, with a small, consistent flame. If it’s out or flickering, reignite it following your manufacturer’s instructions. Next, inspect the thermocouple, which detects the pilot flame. If it’s dirty, bent, or damaged, it won’t signal the gas valve to stay open. Clean the thermocouple gently with steel wool or replace it if necessary. Make certain the pilot light is hitting the thermocouple’s tip directly. Proper operation of both components is essential for safe and efficient furnace performance, ensuring heat reaches your home when needed. Vetted – Grobal World

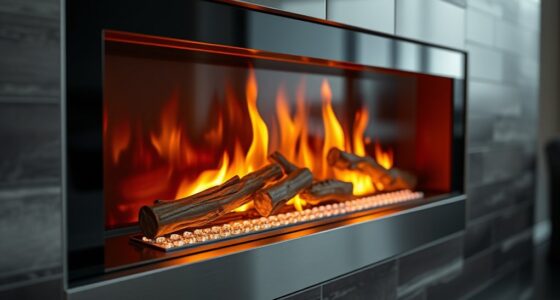
LegendFlame® Damon 39" W Electric Fireplace Insert with Glass Door and Mesh Screen (EF265B), Fireplace Heater 750/1500W, Fire Crackling Sound, Remote Control…
EF265B: Width: 38.7" x Height: 26.1" x Depth: 11.6"
As an affiliate, we earn on qualifying purchases.
Inspecting and Clearing Gas Supply and Flow Blockages

Start by inspecting your gas line for any visible leaks, kinks, or damage that might restrict flow. If everything looks clear, check for flow obstructions by shutting off the gas supply and removing any debris or blockages in the line. Clearing these obstructions can restore proper gas flow and help your heater function correctly. Additionally, verifying the gas pressure levels ensures the system operates within optimal parameters.
Gas Line Inspection Techniques
To guarantee your gas appliance receives a steady flow of fuel, you need to thoroughly inspect the gas line for any blockages or leaks. Start with gas leak detection by applying a soap solution along the pipe connections; bubbles indicate leaks. Carefully check for signs of pipe corrosion, such as rust or discoloration, which can restrict flow or cause leaks. Use a flashlight to examine the entire length of the gas line, especially joints and fittings. If you notice corrosion or suspect leaks, avoid using open flames and turn off the gas supply immediately. Tighten loose fittings and replace severely corroded sections. Proper inspection assures safe operation and prevents flow obstructions, keeping your appliance functioning correctly. Additionally, inspecting and maintaining Honda Tuning components like fuel systems or performance parts can help ensure optimal flow and operation.
Clearing Flow Obstructions
After inspecting the gas line for leaks and corrosion, focus on clearing any flow obstructions that might be blocking the fuel from reaching your appliance. Check the air filter; a clogged filter can restrict airflow and cause flow issues. Also, examine the vent for blockages, such as debris or bird nests, which can prevent proper ventilation and gas flow. Remove any debris or obstructions from the vent and ensure it’s unobstructed. If your appliance has a flow control valve or regulator, verify it’s functioning properly and not stuck. Clear any dirt, dust, or debris from the gas line and connections. Ensuring unobstructed flow helps the gas reach the burners efficiently, restoring proper flame and heat. Regular maintenance of filters and vents prevents future flow blockages. Additionally, understanding the importance of proper ventilation can prevent dangerous gas buildup and ensure safe operation.

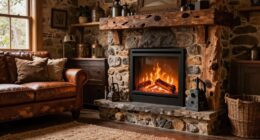
PuraFlame Western Electric Fireplace Insert with Fire Crackling Sound, Remote Control, 750/1500W, Black, 33 1/16 Inches Wide, 25 9/16 Inches High
Overall dimensions: 35 1/16" W x 26 31/32" H x 8 25/32" D. Firebox dimensions: 32 1/8" W...
As an affiliate, we earn on qualifying purchases.
Checking the Thermostat and Control Settings

When your furnace isn’t producing heat despite the flames burning, checking the thermostat and control settings is a crucial first step. Start by verifying the temperature calibration; confirm it’s set higher than the current room temperature. If the thermostat is programmable, review the control panel settings to match your desired comfort level. Sometimes, the thermostat might be off or set to a different mode, like “cool” or “auto,” which can prevent heating. Adjust the temperature and reset the control panel if needed. Also, check for any loose or disconnected wires on the thermostat or control panel. Proper calibration and correct settings ensure your furnace responds correctly to temperature demands, helping restore heat efficiently. Additionally, inspecting the control system can help identify underlying issues that may be affecting operation.
Examining the Furnace Blower and Air Circulation Components
If your furnace has flames but no heat, the blower and air circulation components might be preventing warm air from reaching your living spaces. Start by inspecting the air filter; a clogged or dirty filter can restrict airflow, causing the blower to work inefficiently. Replace or clean it if necessary. Next, examine the ventilation system for obstructions or debris that could block airflow. Make sure the blower motor is running smoothly and that the fan belt isn’t loose or broken. If the blower isn’t operating correctly, warm air won’t circulate properly. Ensuring these components are clean, functional, and unobstructed helps improve air circulation. Proper airflow is essential for delivering heat throughout your home, especially when flames are present but heat isn’t.
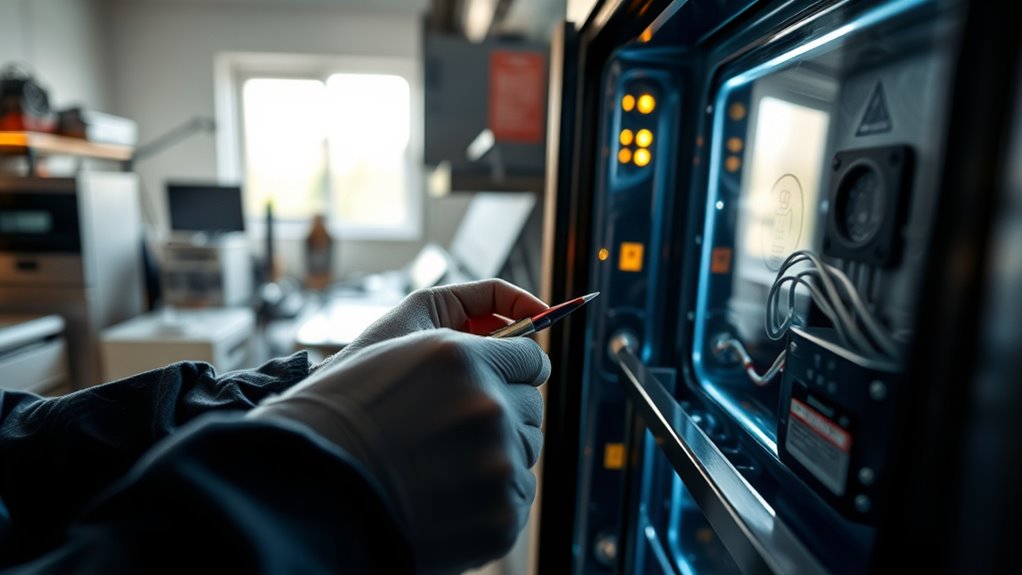
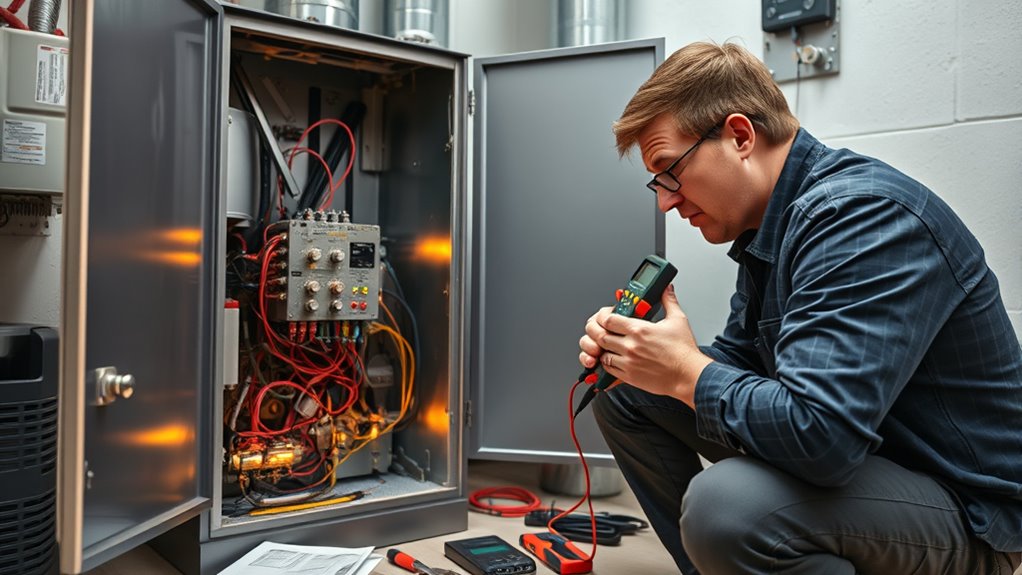
Testing Electrical Connections and Safety Switches
Start by inspecting your power supply cords to make sure they’re securely connected and undamaged. Then, check your circuit breakers to see if any have tripped and need resetting. Finally, test your safety switches to confirm they’re functioning properly before moving on with further troubleshooting. Additionally, understanding industry trends can help you identify common electrical issues that may be causing the problem.
Inspect Power Supply Cords
To guarantee your appliance receives power, begin by inspecting the power supply cords for any signs of damage or wear. Check for cuts, frays, or burns that could compromise power cord integrity. If you notice any issues, consider cord replacement techniques like cutting and reconnecting wires or replacing the entire cord. Use the table below to identify common problems and solutions:
| Issue | Solution |
|---|---|
| Frayed or cracked cord | Replace the entire power cord |
| Loose connections | Secure or reattach connectors |
| Burn marks or melting | Replace cord immediately |
| Power not reaching appliance | Test with a multimeter for continuity |
| Damaged safety switches | Replace switches or cords as needed |
Ensuring proper inspection helps prevent electrical hazards and keeps your appliance functioning safely. Regular maintenance of electrical components is also recommended to ensure long-term safety and performance.
Check Circuit Breakers
After inspecting the power supply cords, the next step is to verify that your circuit breakers are functioning correctly. Head to your fuse box and check the circuit breaker associated with your appliance. Sometimes, a breaker trips, cutting off power and preventing heat.
Look for a breaker that’s in the “off” position or appears visibly tripped. Reset it by flipping it fully off, then back on.
- Feel relief when you restore power and your appliance starts working again.
- Avoid dangerous electrical hazards by ensuring all breakers are properly reset.
- Prevent future issues by identifying faulty breakers before they cause more trouble.
- Regularly inspect electrical components to maintain safety and prevent unexpected failures.
Test Safety Switches
Have you checked that your safety switches are functioning properly? Safety switches are essential for preventing electrical hazards, especially when dealing with faulty electrical wiring or ventilation issues that could cause overheating. To test them, turn off the power and locate the switch, usually near the circuit panel or furnace. Press the test button to ensure it trips, cutting power to the system. If it doesn’t trip, the switch may be defective and need replacement. A malfunctioning safety switch can prevent proper operation, leading to no heat even with flames present. Regular testing helps confirm that your safety features work correctly, protecting you from electrical issues and ventilation problems that could cause unsafe conditions.
Performing Routine Maintenance and Preventive Checks

Regularly performing maintenance and preventive checks is essential to guarantee your heating system operates efficiently and avoids issues like no heat despite flames. Start by inspecting the ignition system to ensure it sparks properly, preventing unnecessary delays or failures. Check the vent pipe for blockages or buildup, as this can hinder airflow and cause safety shutoffs. To keep your system in top shape, remember: – Regularly clean or replace filters to improve airflow and efficiency – Inspect the vent pipe for obstructions or damage – Test the ignition system to ensure reliable ignition every time. Additionally, understanding the cycle of breakups can help you recognize early signs of system failure and address them before they escalate. These simple steps help prevent problems before they escalate, saving you time and money. Consistent maintenance keeps your heating system running smoothly, so you stay warm and comfortable all season long.
Frequently Asked Questions
Can a Dirty Filter Cause No Heat Despite Flames?
Yes, a dirty filter can cause no heat despite flames. When you inspect your air filter, a clogged filter restricts airflow, making your system overheat or shut down, preventing heat from producing. Also, check the flame sensor; if it’s dirty, it might not detect the flames properly, causing the system to stop heating. Regular air filter inspection and cleaning the flame sensor help keep your system running smoothly.
How Often Should I Perform Furnace Maintenance?
You should perform furnace maintenance at least once a year, ideally before the heating season begins. Regular maintenance helps extend your furnace’s lifespan and keeps it running efficiently. Check filters, clean burners, and inspect components during your maintenance schedule. Doing this annually guarantees your system stays reliable, reduces the risk of breakdowns, and keeps your home warm all winter. Regular upkeep is key to maximizing your furnace’s performance.
What Safety Precautions Should I Take Before Troubleshooting?
Before you plunge into troubleshooting, think of safety gear as your knight’s armor—protecting you from unforeseen dangers. Always wear gloves, safety goggles, and a dust mask. Prioritize electrical safety by turning off the furnace’s power supply and unplugging it. Confirm the system is de-energized before inspecting components. These precautions shield you from electrical shocks and hazards, letting you work confidently while keeping safety at the forefront of your repair quest.
Is It Safe to Relight the Pilot Light Myself?
It’s generally safe to relight the pilot light yourself if you follow proper pilot light safety and relighting procedures. First, turn off the gas supply and wait a few minutes to make sure any residual gas dissipates. Then, carefully follow the manufacturer’s instructions, using a long lighter or match. Always ensure proper ventilation and avoid any sparks. If you’re unsure, consult a professional to prevent any hazards.
When Should I Call a Professional HVAC Technician?
Ever wondered if your issue needs expert help? You should call a professional HVAC technician if you notice an emergency shutdown, a persistent gas leak, or if you’re unsure about handling safety risks. Don’t ignore strange smells, hissing sounds, or if the pilot light won’t stay lit. These signs indicate it’s time to get professional assistance, especially when safety concerns like gas leaks are involved. Your safety comes first—don’t delay.
Conclusion
By following these troubleshooting steps, you’ll turn a cold surprise into warm comfort in no time. Remember, tackling issues like a detective uncovering clues isn’t just practical—it’s empowering. When you master diagnosing no heat but flames, you’re not just fixing a furnace; you’re taking control, like a captain steering through stormy seas to calm waters. So, roll up your sleeves—you’ve got the skills to turn up the heat and keep the chill at bay.