If your remote isn’t responding, start by checking the batteries and replacing them if needed. Make sure there are no objects blocking the line of sight between the remote and the device. Clean the buttons and sensors with a soft cloth or alcohol. Confirm the remote is properly paired or programmed, and test the IR signal with your phone’s camera. If issues persist, longer-term solutions are available below to help restore control.
Key Takeaways
- Check and replace batteries, ensuring correct placement and no corrosion.
- Clean remote buttons and sensors with soft cloths and rubbing alcohol to maintain responsiveness.
- Ensure a clear line of sight and remove obstructions between the remote and device.
- Test IR signals with a smartphone camera; reprogram or reset the remote if necessary.
- Replace the remote if it’s visibly damaged, worn out, or unresponsive after troubleshooting.
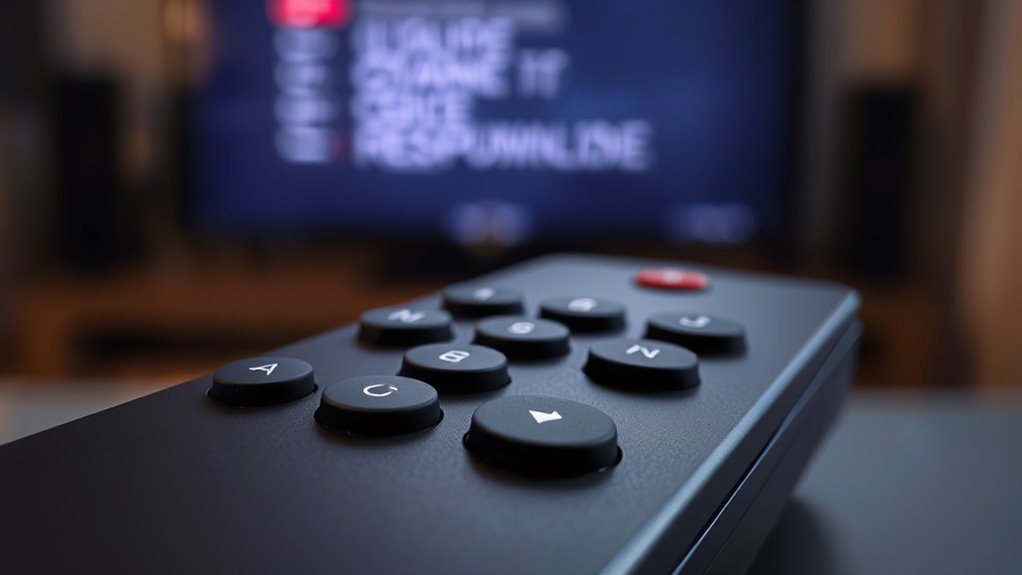
Common Reasons Why Remote Controls Stop Responding
Remote controls can stop responding for several reasons, and identifying the cause is the first step to fixing the problem. One common issue involves the remote control design, which may include buttons that wear out or become unresponsive over time. Sometimes, manufacturing flaws or damage from drops can also impair functionality, making troubleshooting more challenging. Manufacturer troubleshooting guides often highlight these design flaws or common faults, helping you pinpoint issues quickly. Additionally, dirt or grime accumulating around buttons can interfere with signals, even if the remote’s internal components are fine. Understanding these common reasons helps you determine whether the problem stems from the remote’s design or manufacturing defects, guiding you toward effective solutions. Passive voice detection tools can assist in identifying sentences that may need rewriting for clarity and directness.
How to Check and Replace Remote Batteries
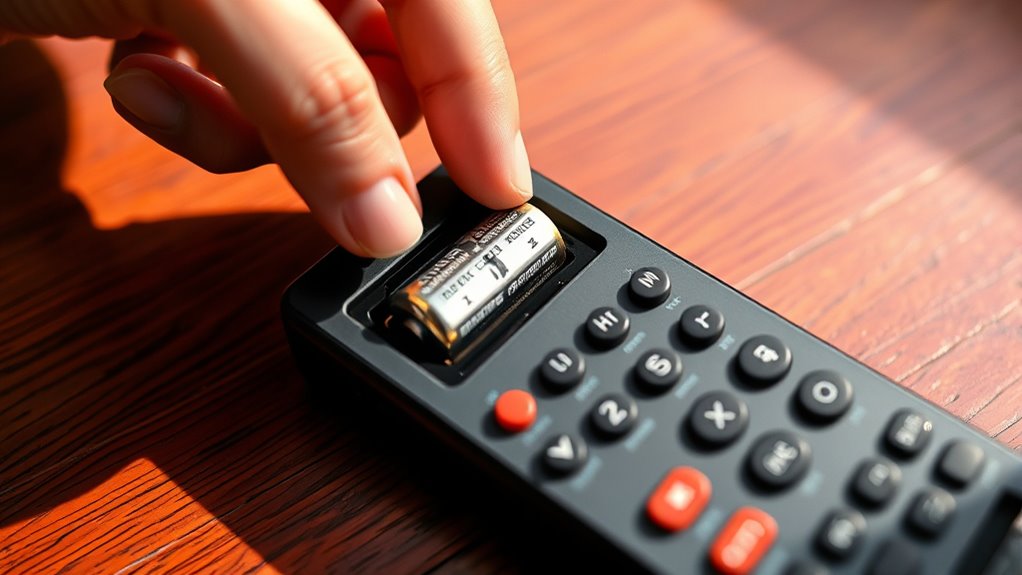
If your remote control stops responding, one of the first steps is to check the batteries. Remove the battery cover and inspect the current batteries for corrosion or low charge. If they look old or have leaked, dispose of them properly by following battery disposal guidelines in your area. Replacing the batteries with fresh ones guarantees proper remote compatibility; not all batteries work equally well. Use the same type and size specified by the manufacturer, usually indicated on the remote or in the manual. Insert the new batteries, making sure the polarity matches the markings inside the compartment. Once replaced, test your remote. If it still doesn’t respond, try cleaning the battery contacts with a dry cloth to ensure a good connection. Proper battery handling and replacement often solve remote responsiveness issues. Additionally, ensuring that your remote has proper signal transmission can help maintain reliable operation.
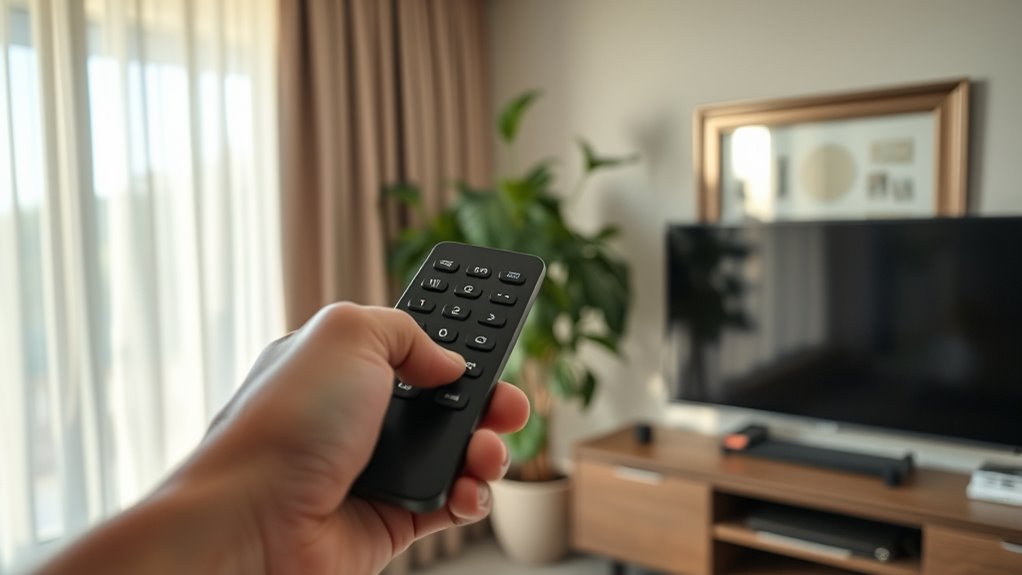
Ensuring Proper Line of Sight for Infrared Remotes

Infrared remotes rely on a clear line of sight to communicate effectively with your device. To guarantee proper infrared alignment, position the remote directly in front of the sensor, avoiding obstructions like furniture or other objects. Keep the remote at a reasonable distance—usually within a few feet—to maintain a strong signal. Make sure you’re not aiming the remote at reflective surfaces, which can interfere with the infrared signal. Adjust your remote positioning if it’s angled or too far away; small changes can make a big difference. If the remote still doesn’t respond, check for dirt or smudges on the sensor or the device’s IR receiver. Proper alignment and mindful remote positioning are key to reliable communication and smooth operation. Additionally, understanding how sound vibrations influence cellular regeneration could inspire new ways to optimize your remote’s performance through better technology design.
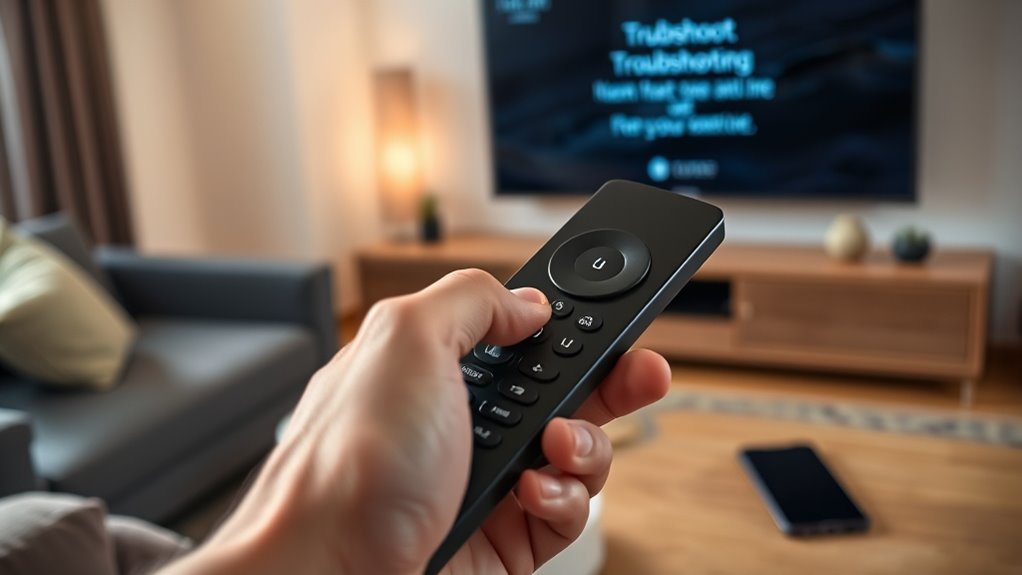
Resetting Your Remote Control to Fix Unresponsiveness
To reset your remote and fix unresponsiveness, start by removing the batteries carefully and waiting a few seconds before reinserting them. Next, reprogram the remote settings if needed to guarantee proper communication with your device. Finally, test the remote’s functionality to see if it responds correctly after the reset. Incorporating proper troubleshooting techniques can help identify underlying issues and ensure optimal remote performance.
Remove Batteries Carefully
Carefully removing the batteries is a crucial first step when resetting your remote control. Handle the batteries gently to avoid damage, which can lead to leaks or malfunction. Once removed, consider proper battery disposal—don’t just toss them in the trash; recycle them according to local regulations. Removing the batteries also prevents accidental power drainage during the reset process. If you plan to reconfigure your remote later, this step helps prevent unintended remote customization issues caused by residual power. Take care not to force the batteries out, as this might damage the compartment or contacts. After removal, wait a few minutes before reinserting new batteries, ensuring the remote fully resets. This simple step helps improve responsiveness and prepares your remote for the next troubleshooting phase. Additionally, understanding the industrial juice manufacturing process can highlight the importance of maintaining device cleanliness and safety during maintenance routines.
Reprogram Remote Settings
Have you tried reprogramming your remote settings to resolve unresponsiveness? If your remote design isn’t working properly, reprogramming can often restore functionality. Begin by checking your remote’s compatibility with your device, as mismatched models can cause issues. To reprogram, locate the device’s setup or code search mode, typically found in the manual. Press and hold the setup button until the LED indicator lights up, then input the correct code for your device. If your remote supports automatic code searches, follow the prompts to scan for the right code. Reprogramming resets the remote’s internal settings, aligning it with your device’s signals. This process can fix unresponsive buttons caused by software glitches or improper configuration, helping your remote regain full responsiveness. Additionally, understanding remote control troubleshooting techniques can help prevent future issues.
Test Remote Functionality
After reprogramming your remote, it’s important to verify that it functions correctly. Start by testing the remote’s buttons, paying attention to its design and how comfortable it feels in your hand. Good remote ergonomics make testing easier and more precise. Confirm that each button responds smoothly without sticking or requiring excessive force. Check the remote’s design to see if any buttons are misaligned or damaged. If your remote has a display or indicator lights, observe whether they activate properly when buttons are pressed. Testing thoroughly helps identify if the reset fixed the unresponsiveness or if further troubleshooting is needed. Remember, a well-designed remote with good ergonomics enhances your testing experience, making it easier to pinpoint issues and confirm proper functionality. Additionally, understanding Log In Home Evaly WordPress security features can help ensure your remote setup is protected against unauthorized access.
Troubleshooting Signal Interference and Obstructions
Signal interference and obstructions can considerably disrupt your remote’s responsiveness. Infrared obstacles like furniture, curtains, or even a person standing in the way can block the signal. Signal interference from other electronics, such as Wi-Fi routers or cordless phones, can also cause issues. To troubleshoot:
Infrared obstacles and nearby electronics can block signals; ensure a clear line of sight and reduce interference.
- Clear the path between your remote and device, removing any infrared obstacles.
- Move other electronic devices away from your remote or TV to reduce signal interference.
- Ensure you’re aiming directly at the sensor with a clear line of sight.
- Turn off nearby devices that might be causing interference and test the remote again.
- Understanding Bitcoin IRA concepts can help you better grasp how digital signals and electronic devices interact in a modern setup.
Testing Remote Functionality With a Smartphone Camera

Wondering if your remote is sending signals properly? You can quickly test this using your smartphone camera. First, verify your remote is compatible with your device—most IR remotes work, but some newer remotes use Bluetooth or Wi-Fi, which this method won’t detect. Point the remote at your phone’s camera lens and press any button. If the remote is functioning correctly, you should see a small flashing light on your phone screen when pressing a button. This is the IR signal being emitted. If you don’t see any light, it indicates a problem with the remote’s transmission, and you may need to troubleshoot further. Smartphone troubleshooting like this helps confirm whether the remote is sending signals properly before exploring other fixes. Understanding time zone functionality can also be useful if remote controls are part of a multi-device setup.
Reprogramming or Re-Pairing Your Remote With Devices
If your remote isn’t responding properly, reprogramming or re-pairing it with your device can often resolve the issue. Proper remote pairing ensures your remote communicates effectively with your device. Here are steps to help you reprogram or re-pair:
- Check the remote’s compatibility with your device.
- Remove the batteries, then reinsert them to reset the remote.
- Follow the device’s pairing instructions, often involving holding specific buttons.
- Use the device’s menu to complete the device reprogramming process.
- Ensuring your device’s firmware is up to date can improve automation and compatibility.
Cleaning Remote Buttons and Sensors for Better Performance
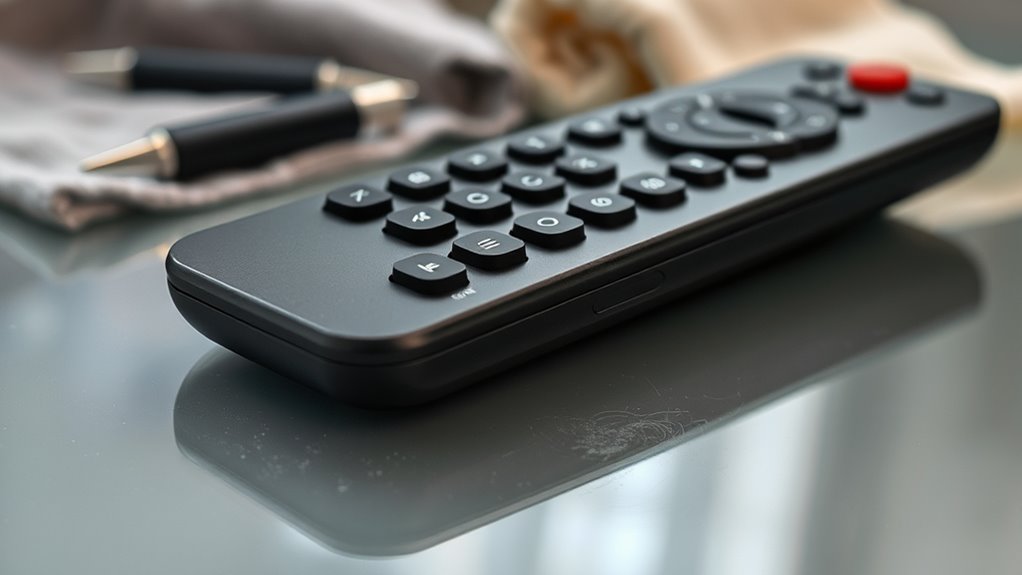
Dust and dirt can block your remote’s buttons and sensors, causing unresponsiveness. Use a soft cloth or cotton swabs to gently clean these areas without damaging them. Proper tools help guarantee your remote stays clean and works smoothly.
Removing Dust and Dirt
Regularly removing dust and dirt from your remote’s buttons and sensors can substantially improve its responsiveness. Over time, debris can hinder remote control ergonomics and interfere with sensor signals, making your device less responsive. To keep your remote working smoothly, consider these steps:
- Use a soft cloth to wipe the surface and remove surface dust.
- Gently clean around buttons with a cotton swab dipped in rubbing alcohol.
- Keep your remote in proper remote control storage to prevent dust buildup.
- Avoid eating or smoking near your remote to limit dirt accumulation.
Maintaining a clean remote not only enhances performance but also extends its lifespan. Proper cleaning keeps your remote functioning reliably and ensures quick, effortless control of your devices.
Using Proper Cleaning Tools
Using the right cleaning tools can make a significant difference in maintaining your remote’s responsiveness. To effectively clean remote buttons and sensors, use soft microfiber cloths, gentle brushes, and isopropyl alcohol. These remote cleaning techniques remove dirt and oils without damaging delicate components. Avoid harsh chemicals or abrasive materials that could harm the remote’s surface or circuitry. When cleaning, focus on the gaps between buttons and the sensor area to ensure unobstructed signal transmission. Additionally, follow remote storage tips by keeping your remote in a clean, dry place away from dust and moisture. Proper storage prevents dirt buildup and reduces the need for frequent cleaning. Regularly using appropriate cleaning tools and proper storage practices keeps your remote responsive and prolongs its lifespan.
When to Consider Replacing Your Remote Control
Sometimes, despite troubleshooting efforts, your remote control stops responding consistently or shows signs of wear that can’t be fixed. You should consider replacing it if:
If your remote is unresponsive or visibly worn, replacing it ensures better performance and reliability.
- The remote’s aesthetics are markedly damaged or broken.
- It no longer offers remote control compatibility with your devices.
- Buttons are sticky, unresponsive, or falling off.
- You’ve already replaced batteries multiple times without improvement.
When deciding, think about whether a new remote could better match your setup or offer enhanced features. If your current remote looks worn out or fails to function with your devices, a replacement may be more practical. Upgrading ensures better performance and a more appealing, functional remote control experience.
Additional Tips for Maintaining Remote Control Functionality

To keep your remote working smoothly, make sure to replace the batteries regularly so it always has enough power. Keep the sensors clean by wiping them gently to prevent signal issues. When you’re not using the remote, store it in a safe, consistent spot to avoid damage and accidental button presses.
Replace Batteries Regularly
Replacing your remote’s batteries regularly is one of the simplest ways to guarantee it stays responsive. Fresh batteries prevent remote battery issues and assure consistent power source maintenance. When batteries weaken, signals weaken or stop altogether. To keep your remote working smoothly:
- Check batteries every few months, especially if response slows.
- Replace all batteries at once to avoid uneven power drainage.
- Use high-quality, recommended battery types for longevity.
- Remove batteries if you won’t use the remote for long periods.
Regular replacement minimizes power source issues and keeps your remote functioning reliably. Don’t wait for complete failure — proactive battery changes save time and frustration. Remember, maintaining fresh batteries is a simple yet vital step in remote control upkeep.
Keep Sensors Clean
Keeping the sensors on your remote clean is essential for reliable operation. Dust, dirt, and smudges can interfere with the sensor’s ability to send and receive signals, causing unresponsiveness. Regularly wipe the sensor area with a soft, dry cloth or a slightly damp cloth if needed. Avoid harsh chemicals that could damage the sensor or remote firmware. If you notice persistent issues, check if the remote’s sensor calibration needs adjustment, as dirt buildup might affect accuracy. Ensuring the sensor is clean helps maintain proper calibration and ensures smooth communication with your device. Keeping sensors clear prevents unnecessary troubleshooting and extends your remote’s lifespan. Remember, a clean sensor is key to consistent performance and avoiding remote not responding errors.
Store Properly When Not Used
Storing your remote properly when it’s not in use helps prevent damage and keeps it responsive. Good remote storage habits protect its remote durability and guarantee it functions smoothly over time. To maximize its lifespan, consider these tips:
- Keep the remote in a designated spot away from heat, moisture, and direct sunlight.
- Use a soft cloth or case to prevent scratches and dust buildup.
- Avoid placing heavy objects on top of it.
- Ensure batteries are removed if you’ll be storing it for an extended period.
Frequently Asked Questions
Can a Faulty Device Cause My Remote to Stop Responding?
Yes, a faulty device can cause your remote to stop responding. Faulty batteries may not provide enough power, making the remote unresponsive. Additionally, infrared interference from other electronic devices or sunlight can block signals, preventing your remote from working properly. Check your batteries first, and eliminate sources of infrared interference to restore communication. If issues persist, verify the remote’s sensors and buttons are clean and functioning correctly.
How Does Ambient Light Affect Remote Control Performance?
Ambient light can substantially affect your remote control’s performance by causing light interference with the infrared signals. Bright sunlight or strong indoor lighting may overpower the remote’s signals, making it harder for your device to receive commands. To improve responsiveness, keep the remote and device away from direct light sources, or try using the remote in a dimmer environment. This helps guarantee the infrared signals transmit clearly without interference.
Is It Necessary to Update Remote Firmware Regularly?
Think of your remote as a trusty ship steering through vast digital oceans. Regular firmware updates act like essential compass adjustments, guiding you smoothly through changing waters. You should update your remote firmware regularly to guarantee compatibility and performance. Keep an eye on the remote battery too, as a low charge can mimic navigation problems. Staying current with updates and maintaining a fresh battery helps your remote sail seamlessly and respond promptly.
Can Using a Universal Remote Fix All Remote Issues?
Using a universal remote can solve many remote issues, but it doesn’t fix all problems. Universal remotes are designed to work with multiple devices, but compatibility issues can arise with certain brands or models. Before trying this solution, check if your devices are compatible with the universal remote. If they are, you’ll likely find it easier to control everything with one device, but keep in mind some issues may still persist.
What Safety Precautions Should I Take When Opening Remote Controls?
Opening a remote is like handling delicate machinery—both require caution. You should prioritize battery safety by avoiding contact with your eyes and skin, and never try to recharge non-rechargeable batteries. Handle the remote with care to prevent damage, and use proper tools to avoid breaking internal components. Always follow handling precautions, and work in a clean, dry area to ensure safety and prevent short circuits or other hazards.
Conclusion
If your remote still isn’t working after trying these tips, don’t give up just yet. Sometimes, replacing the batteries or cleaning the buttons makes all the difference. Keep in mind, remotes are affordable and easy to swap if needed. Staying patient and methodical often solves the issue. So, before you buy a new device, give these troubleshooting steps a shot—you might find the fix is simpler than you thought!