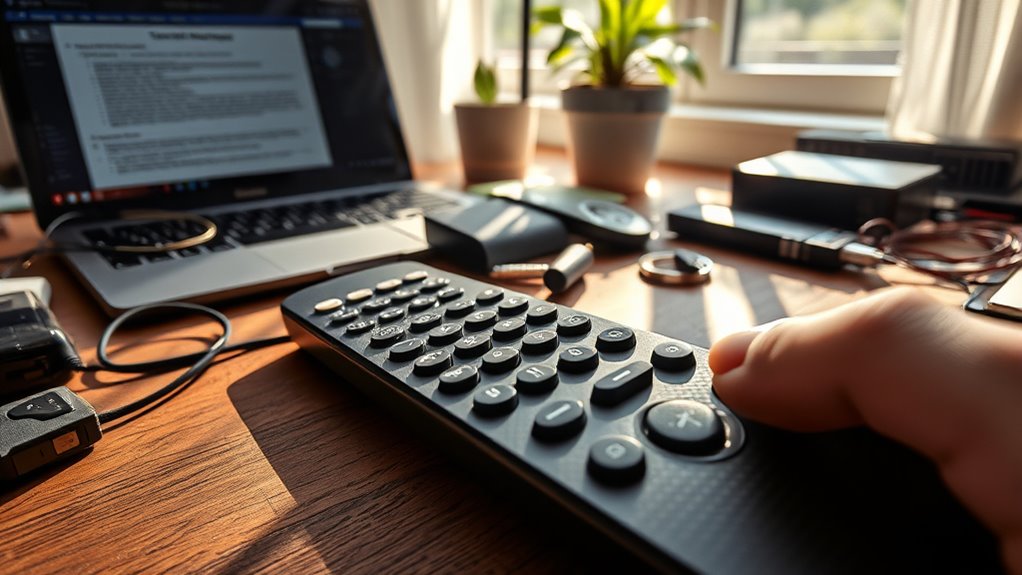
To master fixing a remote that’s not responding quickly, start by checking and replacing the batteries to guarantee they have good contact. Clean the buttons and sensor surface to remove dirt and dust. Reprogram or reconnect the remote to your device, then reset both the remote and the device if needed. Make sure there are no obstructions or interference. If issues persist, detailed tips and troubleshooting steps can help you resolve the problem efficiently.
Key Takeaways
- Check and replace remote batteries, ensuring proper contact and using high-quality types.
- Clean buttons and sensor surfaces regularly with microfiber cloth and isopropyl alcohol.
- Power cycle both remote and device; reset settings according to manufacturer instructions.
- Verify remote compatibility, signal range, and eliminate interference from obstacles or electronics.
- Reprogram or reconnect the remote, updating firmware if needed, and consult support for persistent issues.

Duracell 2032 Lithium Battery, 4 Count (Pack of 1), Child Safety Features, Compatible with Key Fob, Tea Light Candles and Other Devices, CR2032 Battery
LONG-LASTING BATTERIES DESIGNED FOR DEPENDABILITY: Duracell Lithium Coin CR2032 3 Volt batteries deliver long-lasting power and performance you…
As an affiliate, we earn on qualifying purchases.
As an affiliate, we earn on qualifying purchases.
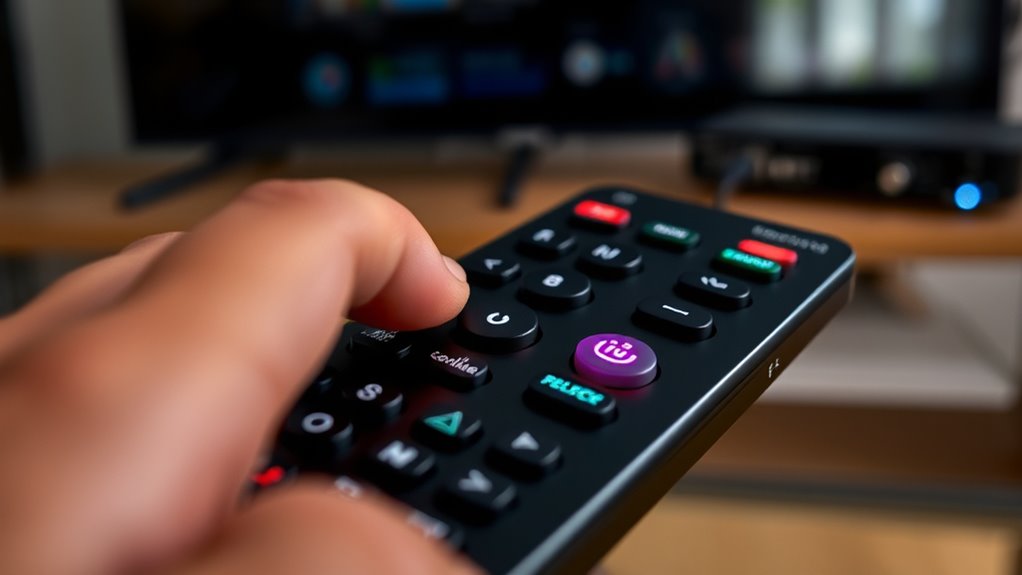
Check and Replace the Remote’s Batteries
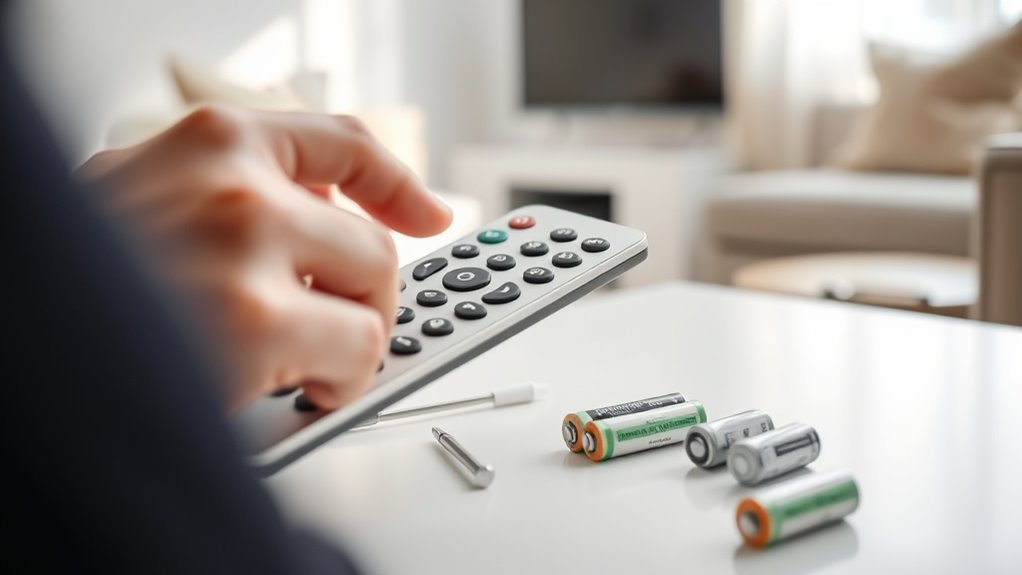
If your remote isn’t responding, the first step is to check its batteries. The remote design often determines how easy it is to access the battery compartment, so make sure you know where it’s located. Examine the remote materials; some remotes use sturdy plastic that can wear out over time, affecting battery contact. Remove the battery cover carefully and inspect the batteries for corrosion or leaks. If they’re weak or dead, replace them with fresh, high-quality batteries. Using the right size and type recommended for your remote guarantees proper contact and functionality. Keep in mind that a well-designed remote makes replacing batteries straightforward, reducing frustration. After replacing the batteries, test the remote to see if it responds, and proceed to the next troubleshooting step if needed. Additionally, choosing vetted home theatre projectors with reliable remote controls can minimize issues related to remote responsiveness.

K&F CONCEPT 24mm Full Frame Sensor Cleaning Swab*6 + 20ml Sensor Cleaner, DSLR SLR Digital Camera CMOS and CCD Sensor Cleaning Swab Kits for Nikon Sony Canon Camera Clean
【6 Pieces of 24mm Sensor Cleaning Swabs】 Tailored according to the size of the Full frame frame sensor;Smudge-and…
As an affiliate, we earn on qualifying purchases.
As an affiliate, we earn on qualifying purchases.
Clean the Remote’s Sensor and Buttons
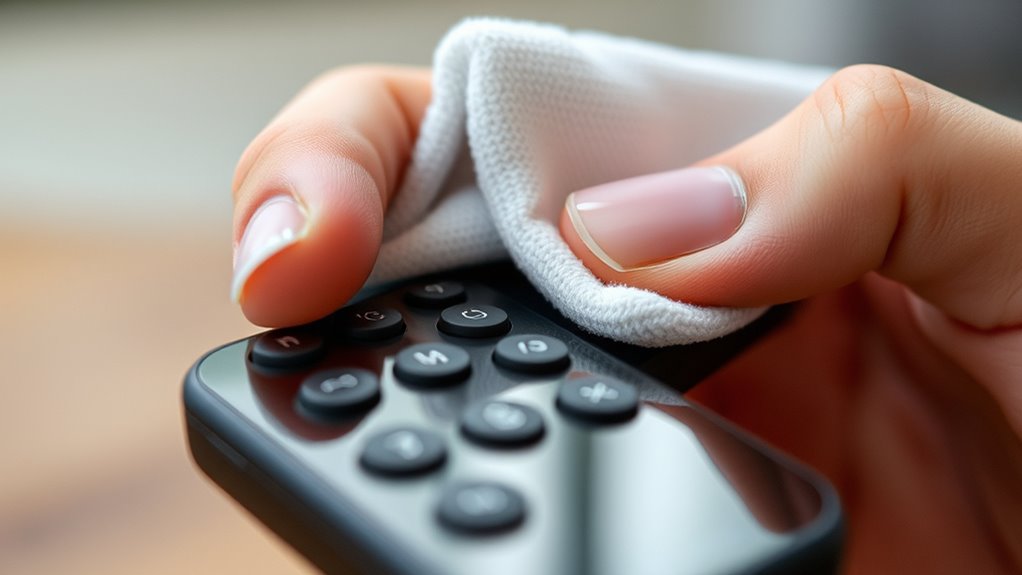
Over time, dirt, dust, and oils from your fingers can accumulate on your remote’s sensors and buttons, causing unresponsive or inconsistent operation. To fix this, use gentle cleaning techniques to remove grime and restore proper sensor calibration. First, turn off the remote and remove batteries. Dampen a microfiber cloth with a mixture of mild soap and water, then wipe the buttons and sensor area carefully. For stubborn dirt, use a cotton swab dipped in isopropyl alcohol. Here’s a quick guide:
| Area | Cleaning Technique | Tips |
|---|---|---|
| Buttons | Gentle wiping with cloth | Avoid excess moisture |
| Sensor Surface | Soft brush or microfiber cloth | Ensure no residue remains |
| Interior Contacts | Cotton swab with alcohol | Prevent corrosion and improve contact |
Regular cleaning helps maintain reliable responses.

LEDGlow Replacement Wireless Remote for Motorcycle LED Lighting Kits
Replacement Wireless Remote for your LEDGlow Motorcycle LED Lighting Kit
As an affiliate, we earn on qualifying purchases.
As an affiliate, we earn on qualifying purchases.
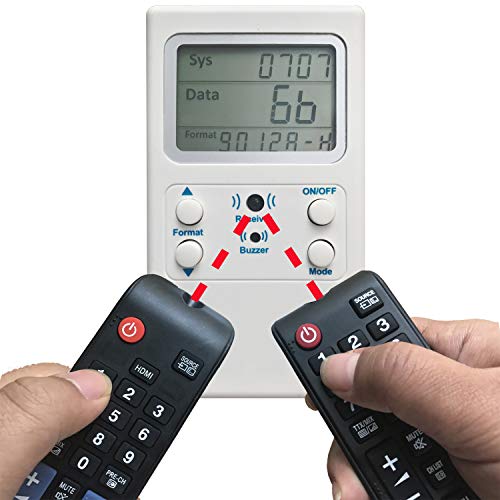
Reprogram or Reconnect the Remote to Your Device
Sometimes, your remote might lose its connection with your device or stop responding due to software glitches or calibration issues. To fix this, try reprogramming or reconnecting it. Start by consulting programming tutorials specific to your remote model, as these will guide you through the process step-by-step. Make sure your remote is compatible with your device; incompatible remotes won’t sync properly. If your remote uses infrared, make sure there are no obstructions. For Bluetooth or Wi-Fi remotes, ensure they’re in pairing mode and within range. You might need to remove and re-add your device in the remote’s settings. Following these steps, you can restore your remote’s connection efficiently, saving you from more complex troubleshooting later. Additionally, understanding security measures in payment processing can help protect your devices from cyber threats during setup.
Generic Universal Tv Ir Remote Control Decoder Tester Infrared Remote Control Testing
Tv Ir Remote Control Decoder
As an affiliate, we earn on qualifying purchases.
As an affiliate, we earn on qualifying purchases.
Perform a Reset on the Remote and the Device
Start by powering off your device and unplugging it for a few moments to perform a complete power cycle. Then, reset your remote according to the manufacturer’s instructions to guarantee it’s properly refreshed. This combined approach often resolves unresponsiveness and gets your remote working again. Additionally, ensuring your remote has a strong signal can be key to maintaining reliable communication with your device.
Power Cycle Devices
When your remote stops responding, performing a power cycle on both the remote and the device can often resolve the issue. Turn off the device and unplug it from the power source. Remove batteries from the remote and press any button for 10 seconds to discharge residual power. Wait a minute, then reconnect the device and reinsert the batteries. Power on everything, and test if voice commands work smoothly. This simple reset can help fix minor glitches caused by software hiccups or remote customization errors. If your remote still doesn’t respond, repeat the process or try recalibrating the remote settings. Power cycling resets the device’s internal memory, often restoring proper communication and eliminating temporary bugs that prevent your remote from functioning correctly. Incorporating essential oils known for their calming and clarifying effects can also help reduce stress during troubleshooting.
Reset Remote Properly
Performing a proper reset on both your remote and the device can often resolve persistent unresponsiveness. Start by removing the batteries from your remote to reset its internal circuitry. While doing this, examine the remote’s design and aesthetics—sometimes dirt or debris in the buttons can interfere with signals. Press and hold any button for about 10 seconds to drain residual power, then reinsert the batteries. For the device, unplug it and wait a few minutes before plugging it back in. This process helps clear any glitches. Resetting restores the remote’s functionality and aligns its signals with the device. Keep in mind that a remote’s design, including button placement and build quality, can influence how well it responds after resetting. Properly resetting both ensures smoother operation and reduces responsiveness issues. Additionally, understanding how AI vulnerabilities may affect device security can help you troubleshoot more effectively if issues persist.
Verify the Remote’s Compatibility and Signal Range
Before troubleshooting a remote that isn’t responding, ensuring that the remote is compatible with your device and that it has a sufficient signal range is essential. Check the remote’s compatibility by verifying its remote firmware version and ensuring it matches your device’s requirements. Sometimes, outdated firmware can cause communication issues. Also, consider the remote’s ergonomics—if it’s uncomfortable or poorly designed, you might not be holding or using it correctly, affecting its performance. Test the remote’s signal range by standing closer to the device and pressing buttons to see if it responds. If the remote works only at close distances, you might need to replace batteries or check for interference, but first, confirm it’s compatible and within effective range. Understanding remote firmware can help prevent many connectivity problems.
Troubleshoot Common Interference and Obstructions
Interference from other electronic devices or physical obstructions can disrupt your remote’s signal and prevent it from working properly. Infrared interference from nearby lights or sunlight can block the signal, while physical obstructions like furniture or clutter can obstruct the line of sight. To troubleshoot, keep the remote and device in direct line of sight. Move other electronics away if they emit infrared signals. Check for physical barriers blocking the remote’s path. Use this table to identify common sources:
| Interference Source | Obstruction Type | Solution |
|---|---|---|
| Sunlight | Physical | Move remote to shaded area |
| Fluorescent lights | Infrared | Turn off or relocate lights |
| Furniture | Physical | Clear the line of sight |
| Other remotes | Infrared | Reduce simultaneous use |
| Walls or doors | Physical | Minimize barriers |
Additionally, understanding the retail hours for stores like Game Cameron Toll or Joanns can help you plan your troubleshooting without rushing.
Seek Professional Help if Issues Persist
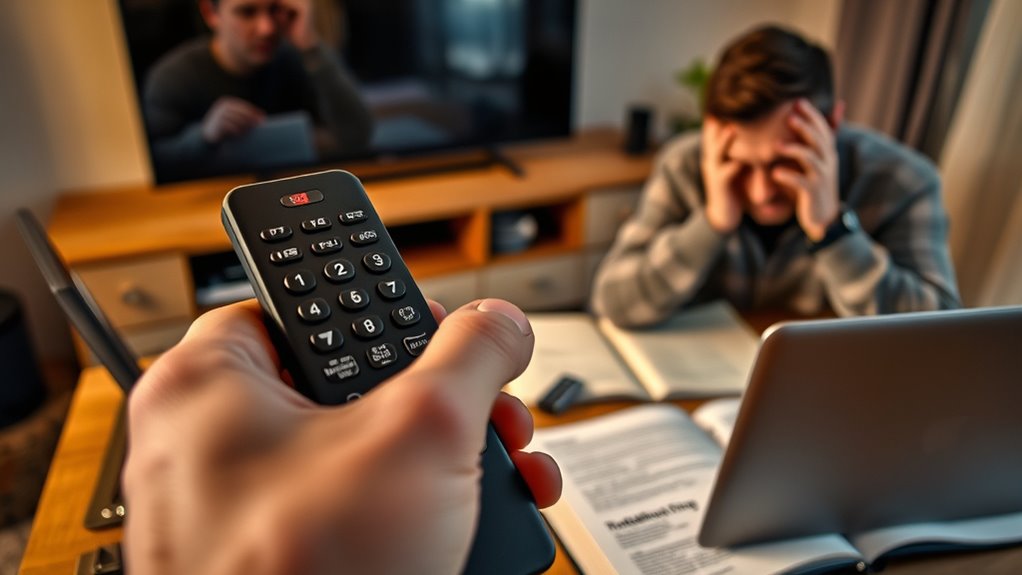
If your remote still isn’t responding after troubleshooting, it’s time to recognize that the problem might be persistent. Contact technical support to get expert advice and solutions tailored to your device. Don’t hesitate to contemplate professional assistance if the issue continues, as it could save you time and frustration. Additionally, understanding Volkswagen Tuning options can help you optimize your vehicle’s performance and prevent similar issues caused by improper modifications.
Recognize Persistent Problems
When remote devices or services repeatedly fail to respond, recognizing these persistent issues early is vital. Consistent unresponsiveness might signal deeper problems with remote design or remote aesthetics. By identifying patterns, you can determine if the issue is hardware-related or linked to software configurations. Keep an eye out for signs like frequent disconnects, slow responses, or unresponsive buttons. To help you assess, consider these points:
- Frequent disconnections despite strong signal strength
- Slow or inconsistent response times
- Unresponsive buttons or controls
- Visible issues with remote aesthetics, such as damage or wear
- Understanding juice cleanses and detox benefits can aid in overall wellness and device health if you’re using health-related tech or apps.
Early recognition allows you to troubleshoot effectively or seek professional help before problems worsen, ensuring your remote setup remains efficient and reliable.
Contact Technical Support
Persistent remote issues can be frustrating, and sometimes troubleshooting on your own isn’t enough. If your remote still won’t respond after trying resets and replacing batteries, it’s time to contact technical support. Start by identifying your television brand, as support options vary. Many brands offer online chat, email, or phone assistance to help diagnose hardware or remote firmware problems. Be ready to provide details about your remote model and recent updates or changes. If your remote’s firmware is outdated, support can guide you through updates or repairs. Remember, professional help can identify underlying issues that simple fixes can’t resolve, saving you time and preventing further frustration. Don’t hesitate to reach out if your remote continues to malfunction despite your efforts. Additionally, understanding remote firmware updates can help you communicate more effectively with support and possibly resolve issues more quickly.
Consider Professional Assistance
Sometimes, despite your best efforts, remote issues require expert intervention. If you’ve tried troubleshooting your smartphone and adjusting remote customization settings without success, it’s time to seek professional help. Experts can diagnose complex problems and resolve issues quickly. They can assist with:
- Advanced smartphone troubleshooting techniques
- Firmware updates or hardware repairs
- Custom remote programming for better compatibility
- Personalized advice for ongoing maintenance
Professional support guarantees your remote functions smoothly and saves you time and frustration. Contacting a specialist might cost a bit, but it’s often the fastest way to restore full control. Don’t hesitate if persistent problems interfere with your setup—experts have the tools and knowledge to get your remote responding again.
Frequently Asked Questions
How Can I Determine if My Remote Is Compatible With My Device?
You can determine if your remote is compatible with your device by checking the remote’s compatibility list, usually found in the user manual or manufacturer’s website. Confirm your remote supports device pairing with your specific model. When pairing, follow instructions carefully—if it connects successfully without issues, it’s compatible. If not, try different pairing methods or consider a universal remote that offers broader compatibility for your device.
What Should I Do if the Remote Still Doesn’T Respond After Resetting?
If your remote still doesn’t respond after resetting, check the remote battery first—maybe it’s as drained as your patience. Next, verify the remote sensor isn’t blocked or dirty, because even the tiniest smudge can stop communication. Sometimes, it’s the simple things. Replace the batteries, clean the sensor, and point the remote directly at the device. If it still fails, you might be facing a more stubborn hardware issue.
Are There Specific Tools Needed to Clean Remote Sensors and Buttons?
You don’t need special tools for DIY cleaning of your remote sensors and buttons. Use a soft cloth or cotton swabs dipped in isopropyl alcohol to gently clean the sensors and buttons. Make sure to remove any dust or grime that might interfere with sensor calibration. Avoid harsh chemicals or excessive moisture, as they can damage the remote. Regular cleaning can help maintain responsiveness and improve overall performance.
How Do I Check if the Remote’s Signal Is Being Blocked?
Sure, because infrared interference and signal obstruction are just figments of your imagination, right? To check if your remote’s signal is being blocked, step closer to the device, ensuring nothing obstructs the line of sight. Remove any objects that could cause infrared interference, like thick curtains or electronic clutter. If it still doesn’t work, try using the remote in a different room, ruling out signal obstruction and confirming your remote’s signal is clear.
Can I Reprogram a Remote Without Professional Assistance?
Yes, you can reprogram a remote yourself through DIY repair and remote hacking techniques. Start by consulting your remote’s manual or searching online for reprogramming instructions specific to your device. Many remotes allow button combination resets or code entry without professional help. Just be cautious, follow safety guidelines, and verify you understand the process to avoid damaging the remote or voiding warranties.
Conclusion
By following these quick troubleshooting steps, you’ll have your remote responding in no time. Think of it like tuning a guitar—sometimes all it takes is a little adjustment to hit the right note. Remember to check the batteries, clean the sensor, and reconnect if needed. If problems stick around, don’t hesitate to seek professional help. With patience and a little effort, you’ll be back to controlling your device smoothly, just like a maestro conducting an orchestra.