
If your Keurig K-Mini is not brewing a full cup, it can be frustrating and affect your morning routine. This guide walks you through practical, safe troubleshooting steps to restore full brews and enjoy your coffee as intended.
Follow these clear steps to identify and fix common issues causing incomplete brewing, from descaling to checking water flow. Regular maintenance can prevent future problems and keep your Keurig working efficiently.
Key Takeaways
| Check for mineral buildup | Descale your machine regularly to remove mineral deposits. |
| Inspect the water reservoir and needle | Ensure water flow isn’t obstructed by clogs or debris. |
| Clean all removable parts | Clean the K-Cup holder and needle to prevent blockages. |
| Use the correct amount of water | Ensure the reservoir is filled properly and not overfilled. |
| Adjust brew size if needed | Select the appropriate brew size for your cup to avoid partial fills. |

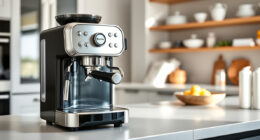
Keurig K-Mini Single Serve K-Cup Pod Coffee Maker, 6 to 12oz Brew size, with Cord Storage, Perfect for Small Spaces, Black
FITS ANYWHERE: Less than 5 inches wide, perfect for small spaces.
As an affiliate, we earn on qualifying purchases.
Step 1: Descale Your Keurig
- Fill the water reservoir with a descaling solution or a mixture of equal parts water and white vinegar.
- Run a brew cycle without a K-Cup, allowing the solution to pass through the system.
- Repeat until the reservoir is empty, then rinse thoroughly with fresh water by running multiple brew cycles with clean water.

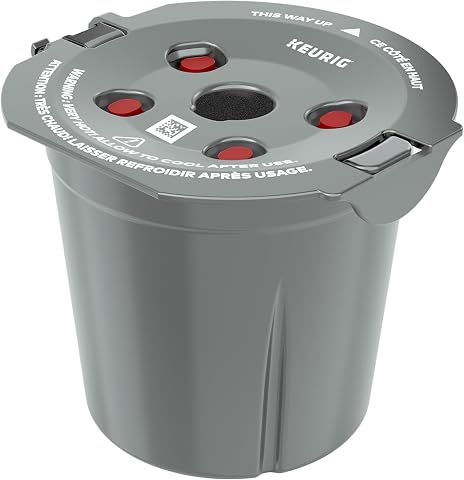
My K-Cup® Reusable Coffee Filter
BREW WITH GROUND COFFEE: Brew a single cup using your own favorite ground coffee
As an affiliate, we earn on qualifying purchases.
Step 2: Check and Clean the Water Needle
- Turn off and unplug your Keurig.
- Remove the K-Cup holder and inspect the needle for clogs or debris.
- Use a paperclip or needle to gently clear any obstructions from the needle holes.
Step 3: Inspect the Water Reservoir and Connections
Ensure the water reservoir is seated properly and free of cracks or blockages. Refill if necessary, making sure the water level is adequate for your brew size.
Step 4: Clean the Machine Components
- Remove and wash the drip tray, K-Cup holder, and any removable parts with warm, soapy water.
- Wipe the exterior with a damp cloth.
Step 5: Test Your Machine
After cleaning and descaling, run a test brew with just water to ensure the full cup is brewing properly. Adjust the brew size if needed.
The Products in This Guide
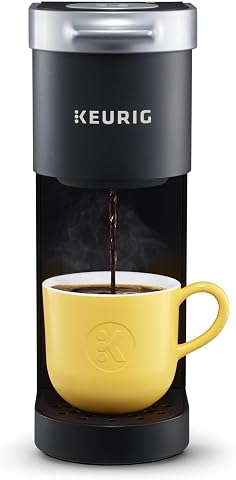
Keurig K-Mini Single Serve K-Cup Pod Coffee Maker
- ✔ Power: 120V
- ✔ Auto Off: Yes
- ✔ Travel Mug Friendly: Yes
My K-Cup® Reusable Coffee Filter
- ✔ Size: Fits standard K-Cup slots
- ✔ Weight: Less than 4 oz
- ✔ Cleaning: Dishwasher safe
Keurig K-Mini Single Serve K-Cup Pod Coffee Maker
The Keurig K-Mini is compact and perfect for small spaces, offering quick brews with adjustable sizes. Regular maintenance, including descaling, can resolve issues with partial brews and keep it functioning efficiently.
Pros:
- Space-saving design
- Fast brewing process
- Adjustable brew sizes
- Removable drip tray
Cons:
- Requires regular descaling
- Limited water reservoir capacity
- No built-in water filter
Best for: Small kitchens and office spaces needing quick, reliable coffee.
Not ideal for: For users who prefer larger brew capacities or built-in water filters.
Bottom line: A compact and efficient coffee maker, best maintained with regular descaling.
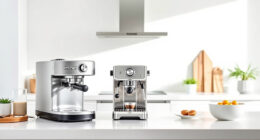
My K-Cup® Reusable Coffee Filter
The My K-Cup® Reusable Coffee Filter allows you to brew your favorite ground coffee with the Keurig K-Mini, offering flexibility and cost savings. It’s easy to clean and ensures full flavor extraction.
Pros:
- Brew with ground coffee
- Reusable and eco-friendly
- Easy to clean
- Compatible with various Keurig models
Cons:
- Requires measuring grounds
- May need to clean more often
- Not suitable for single-serve pods
Best for: Those who prefer brewing their own ground coffee.
Not ideal for: For users solely interested in K-Cup pods.
Bottom line: An excellent accessory for brewing ground coffee in your Keurig.
Frequently Asked Questions
Why does my Keurig only brew part of the cup?
This is often caused by mineral buildup or clogs in the water needle. Regular descaling and cleaning can resolve this issue.
How often should I descale my Keurig?
Descale your Keurig every 3-6 months, or more frequently if you notice slow brewing or partial cups.
Can I use my own ground coffee in a Keurig?
Yes, with a reusable filter like the My K-Cup®, you can brew ground coffee instead of using K-Cup pods.
What safety precautions should I take when cleaning my Keurig?
Always unplug the machine before cleaning, avoid using harsh chemicals, and ensure all parts are dry before reassembling and use.
Get Perfect Brews Every Time with Proper Maintenance
Maintaining your Keurig K-Mini with regular descaling and cleaning can prevent partial brewing issues and extend the life of your machine. Follow these steps consistently, and you’ll enjoy full, flavorful cups of coffee every morning.
Affiliate disclosure: As an Amazon Associate we earn from qualifying purchases. Prices and availability are accurate as of the time of publishing.